 Skip to content

DIY CRAFT GUIDE
GLITTER GUIDE FOR EPOXY CRAFTERS
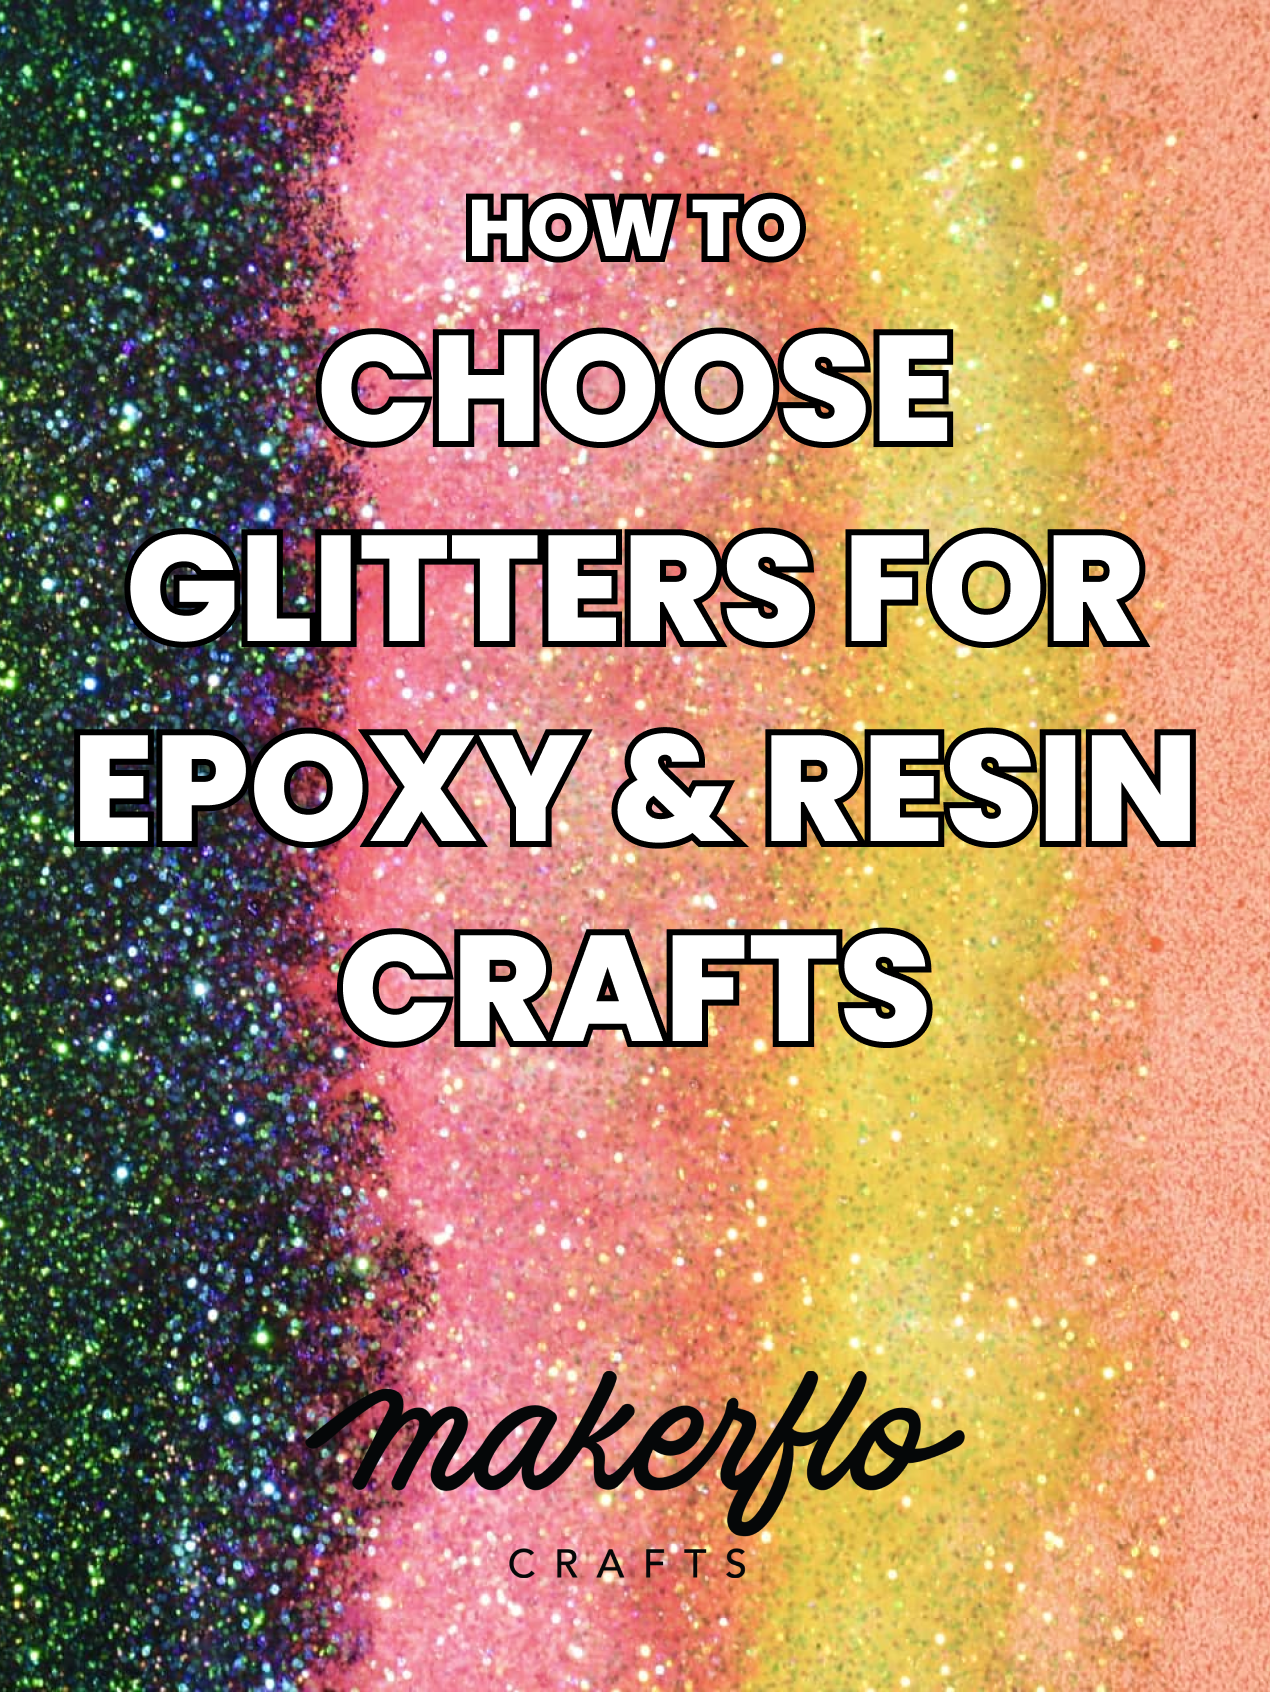
How to Pick Your Glitter When crafting with epoxy or resin
How to Pick Your Glitter When crafting with epoxy or resin
Not all glitters are created equal, especially when it comes to epoxy and uv resin crafts. In this guide we'll walk you through the basics and considerations for choosing glitters for your crafting projects.
Here's what's important:
- Glitter Quality
- Particle Size
- Glitter Style
- Opacity
Let's dive in!
1. GLITTER QUALITY
1. GLITTER QUALITY
When referring to a glitter's quality, especially when it comes to crafts that involve epoxy/resin, and sanding, glitter needs to be durable, and able to withstand high temperatures without melting or bleeding color.
This means you'll want to find a glitter that is:
- Made of a high quality polyester
- Solvent resistant
- Heat resistant
Solvent and heat resistant means the glitter won’t lose it’s color or bleed into the resin when crafting with epoxies and finishes that create heat.
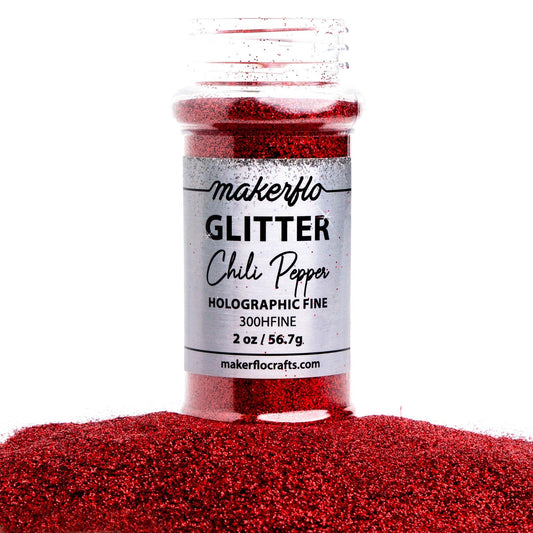
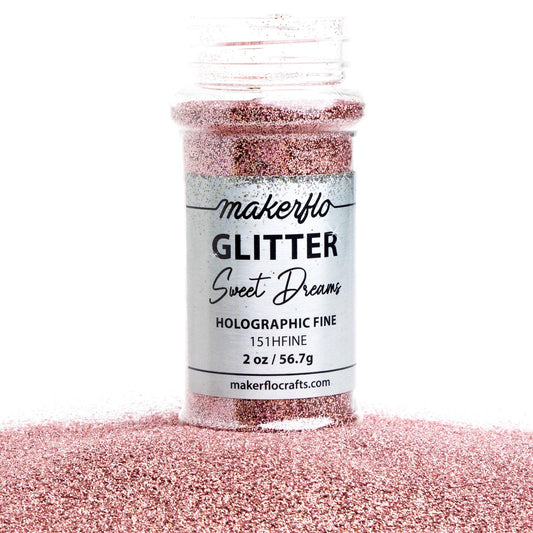
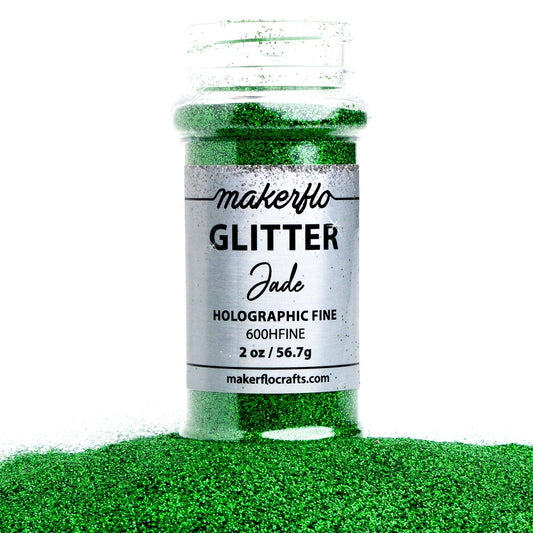
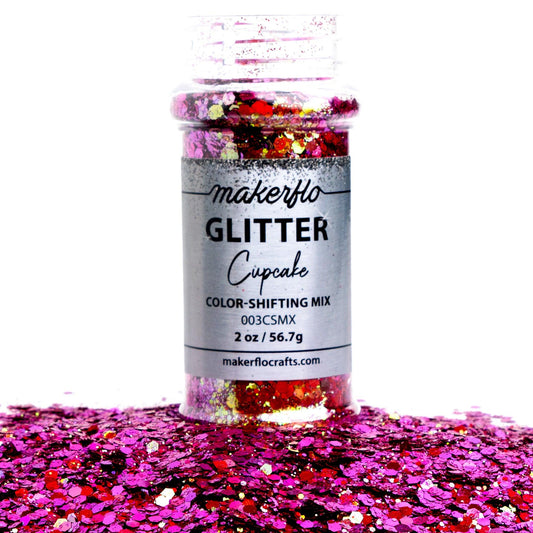
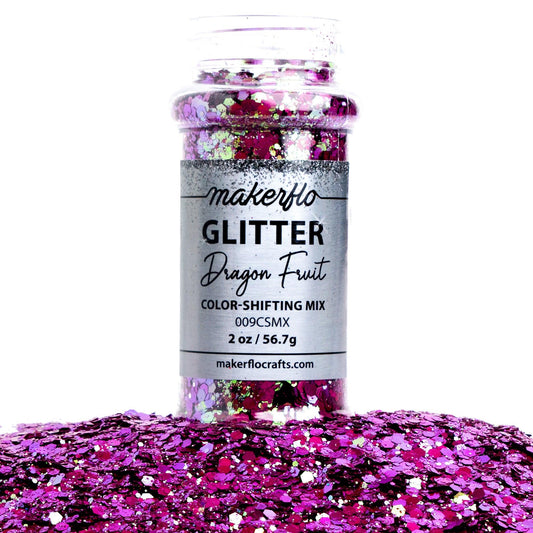
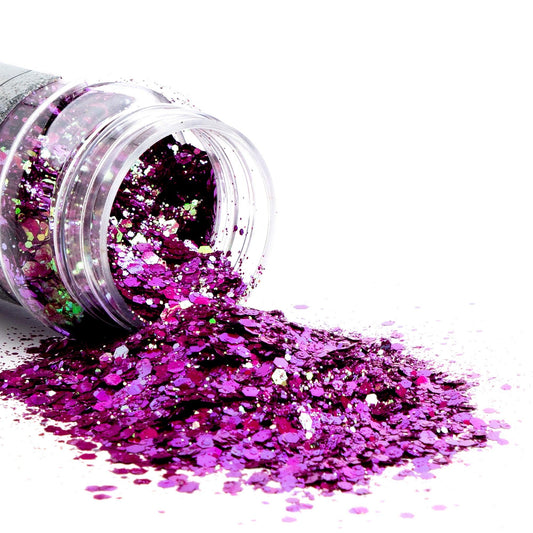
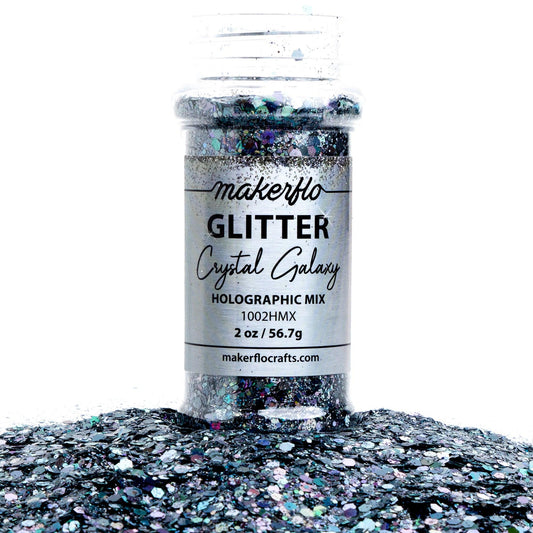
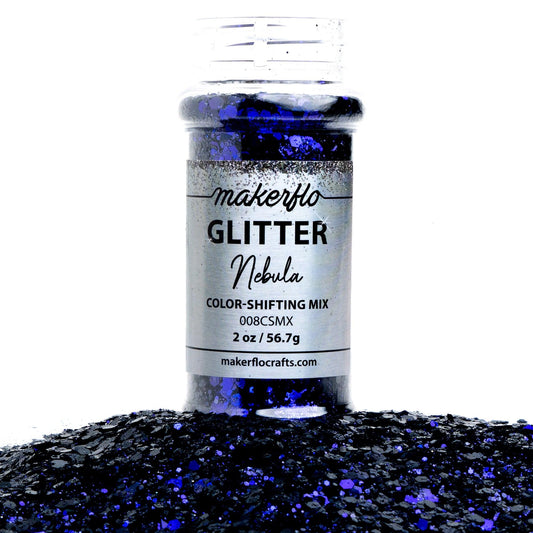
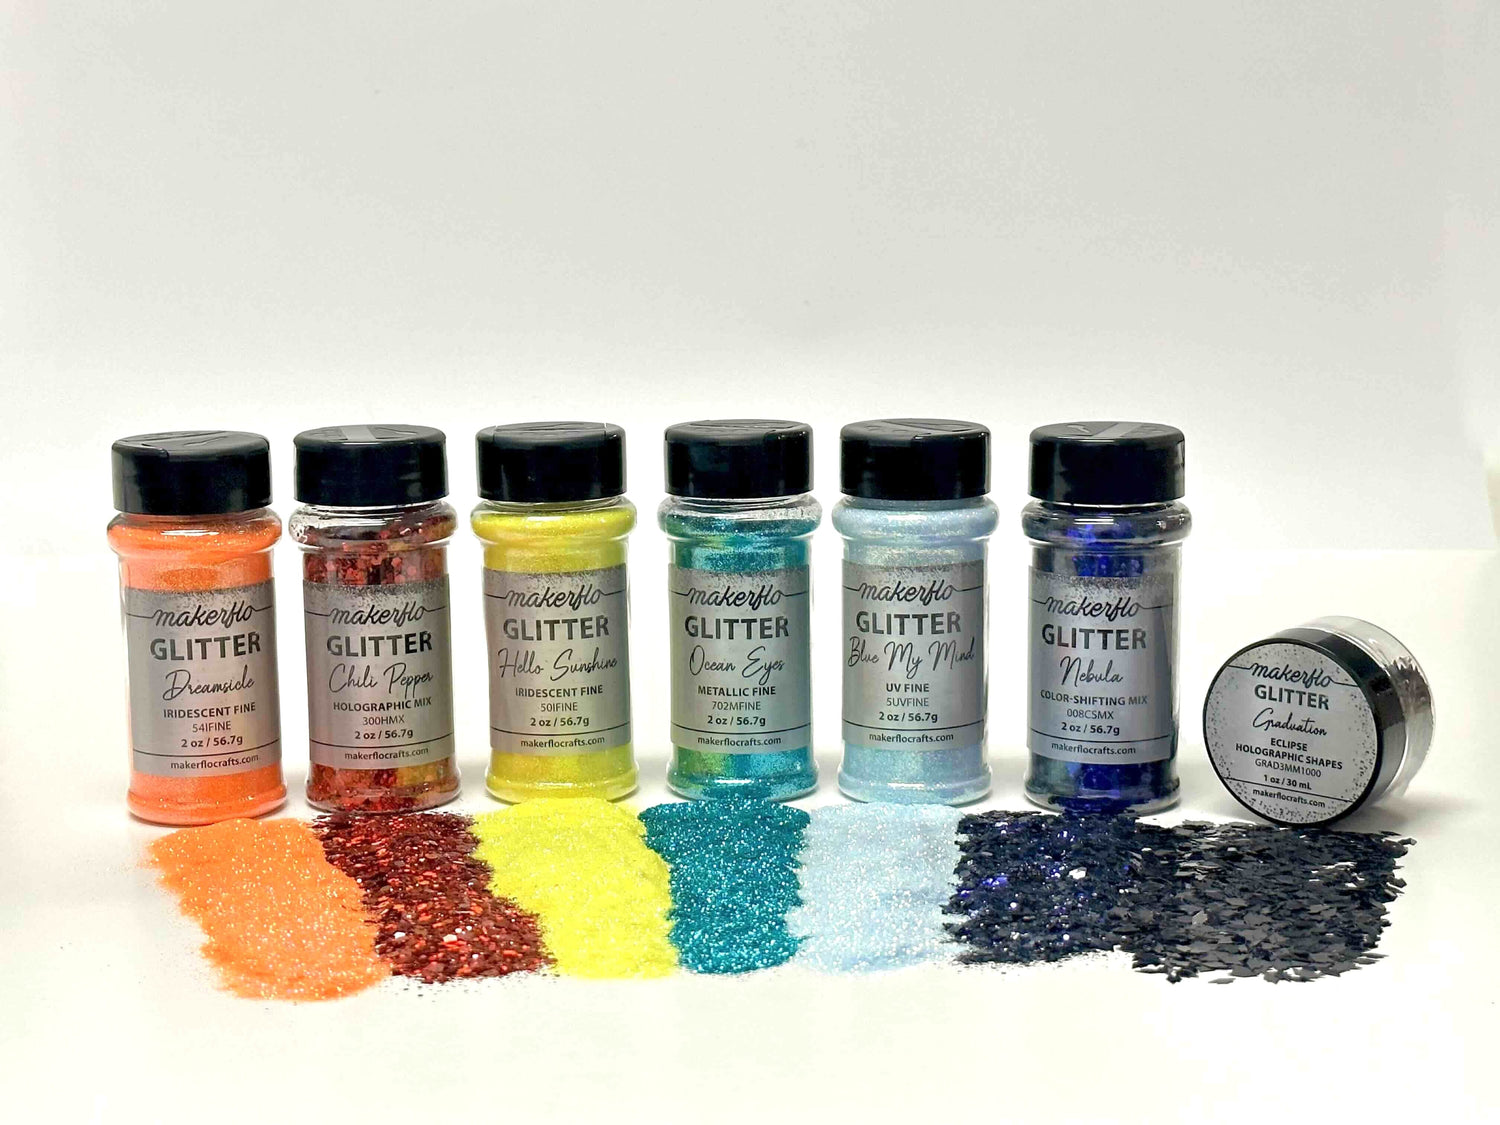
The better the glitter quality, the better the result. MakerFlo glitters were made especially with “tumbler makers” in mind, but they can also be used in other glitter crafts. Shop MakerFlo Glitter here.
2. GLITTER PARTICLE SIZE
2. GLITTER PARTICLE SIZE
Glitter particle size creates the final look, the size will also determine the care you must take when crafting your tumbler. Here's the rundown when crafting with fine glitter, chunky mix glitter and glitter shapes.


Easy to use, Full coverage
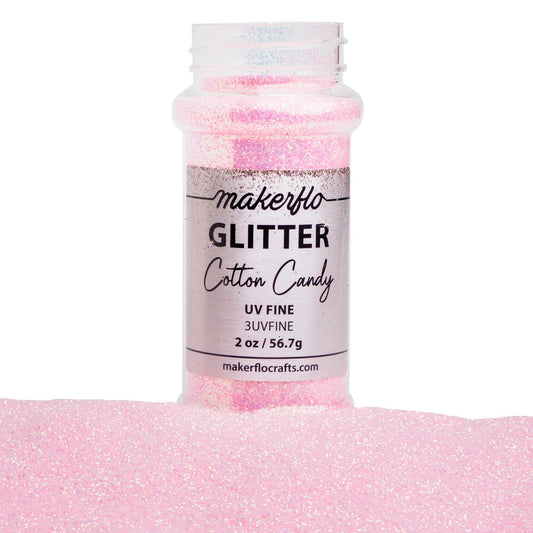
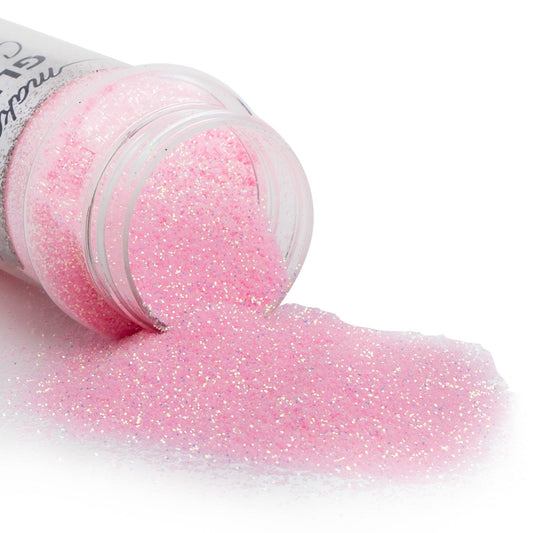
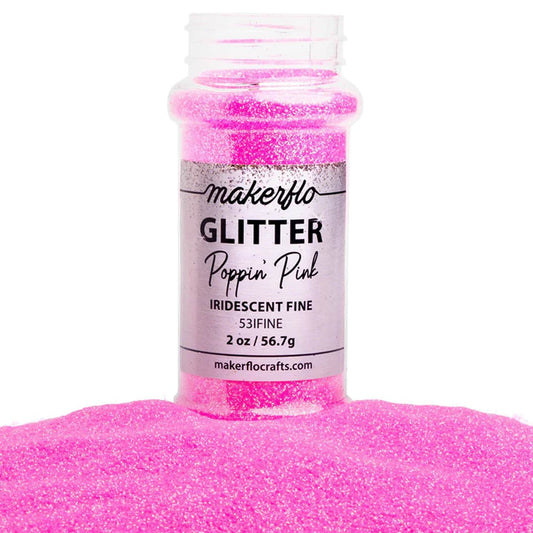
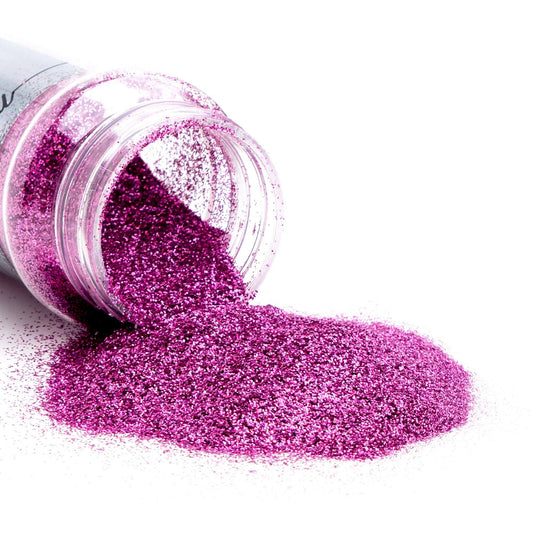
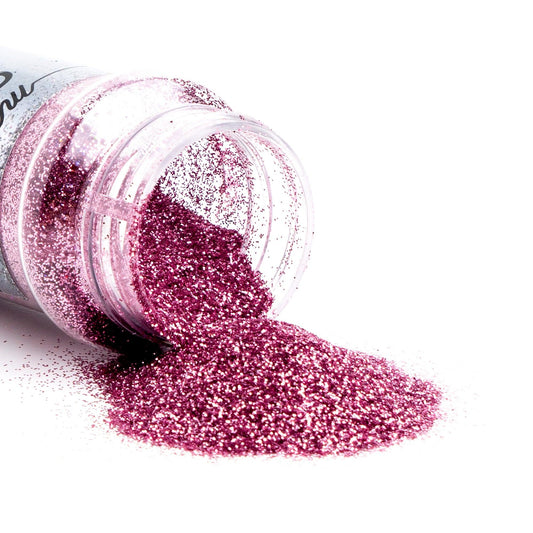
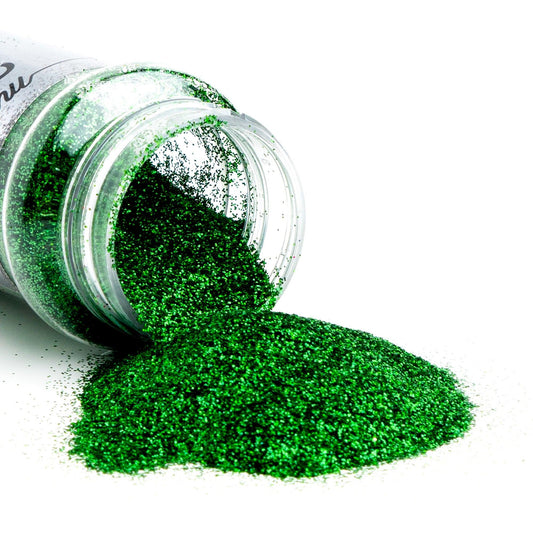
Fine Glitter
Here's the deal, finer glitters are easier to work with and are recommended for beginners. This is for two reasons.
One, the finer (or smaller the glitter particle) it lays flat more effortlessly than a larger glitter or chunky mix. This means fewer finishing coats (and sanding in between). It also means more even coverage. While a chunky mix or larger glitter particle may create “peaks and valleys” as applied, generally speaking a finer glitter will apply more evenly.
Fine (or ultra fine glitter) looks amazing when used alone, it can also be used to fill “the valleys” when using chunky mixes, and or mixing with other glitters. It’s highly versatile, a little goes a long way, and if crafting with only fine glitter you will generally have fewer top coats.
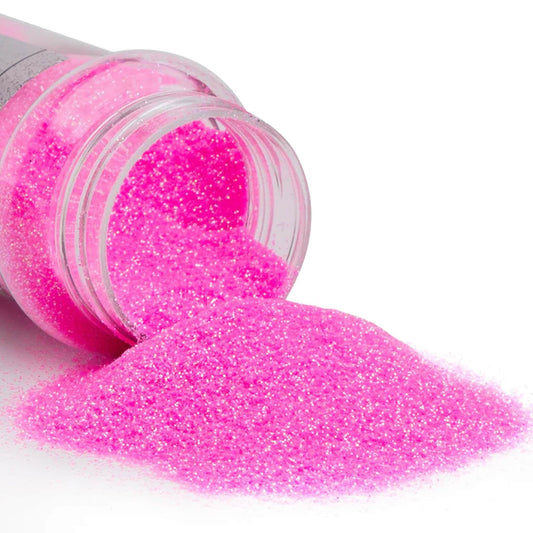
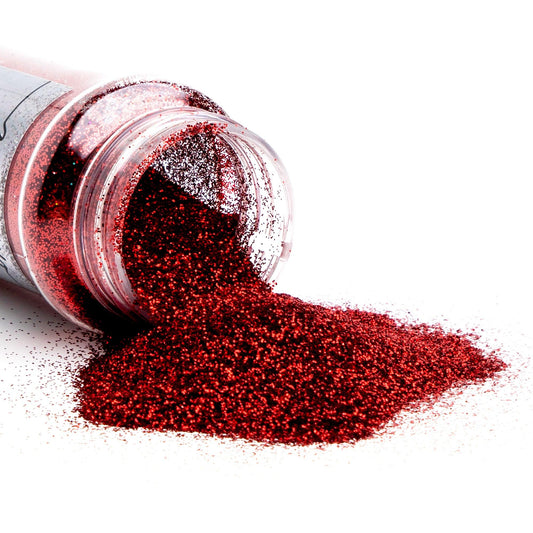
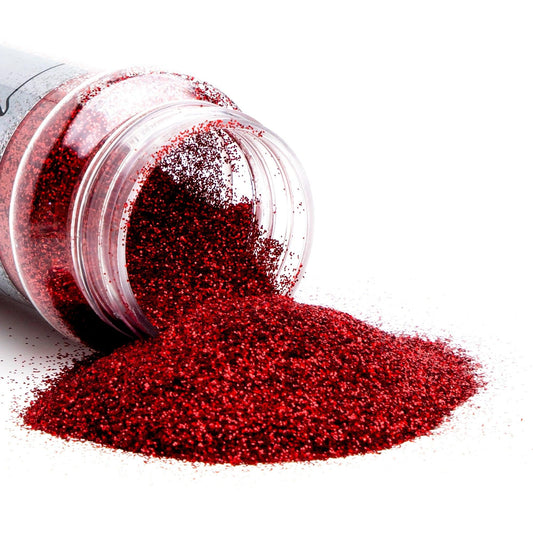
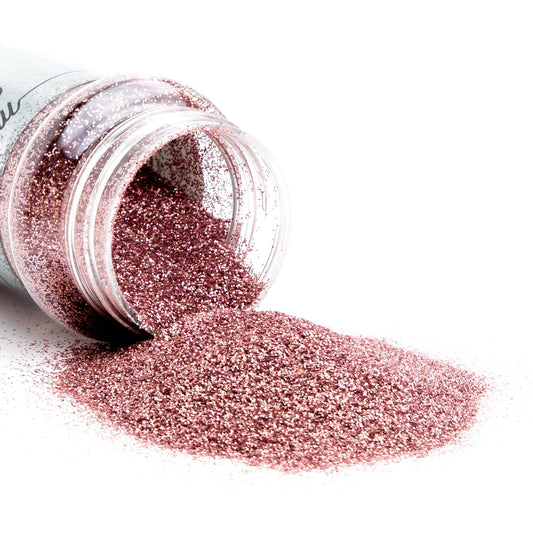
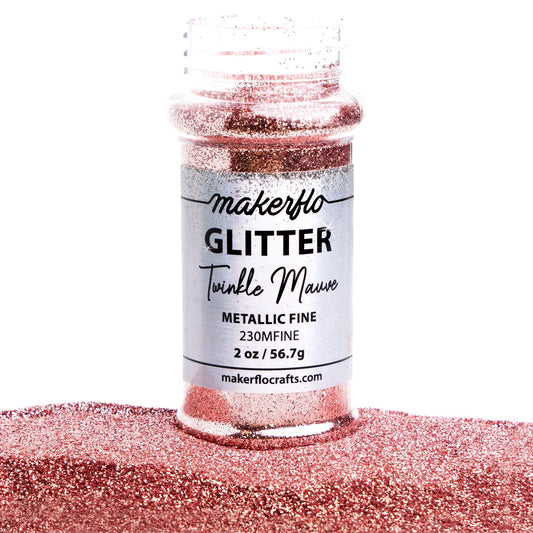
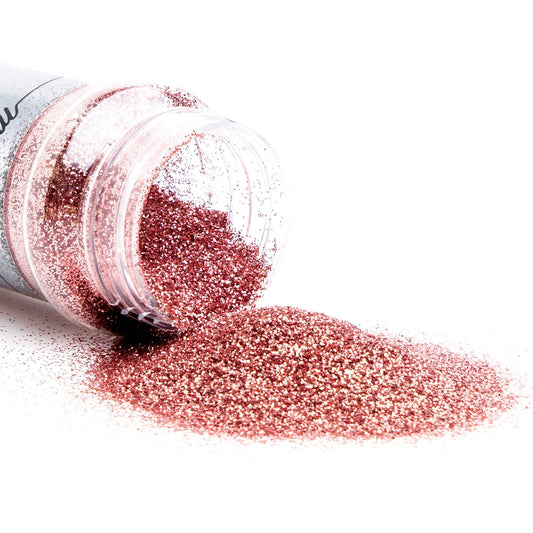
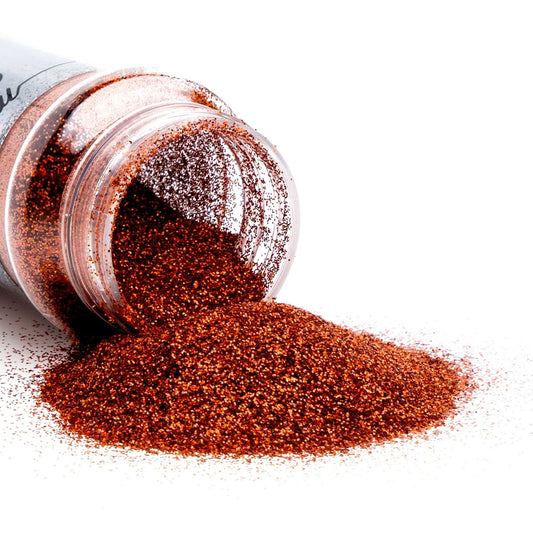
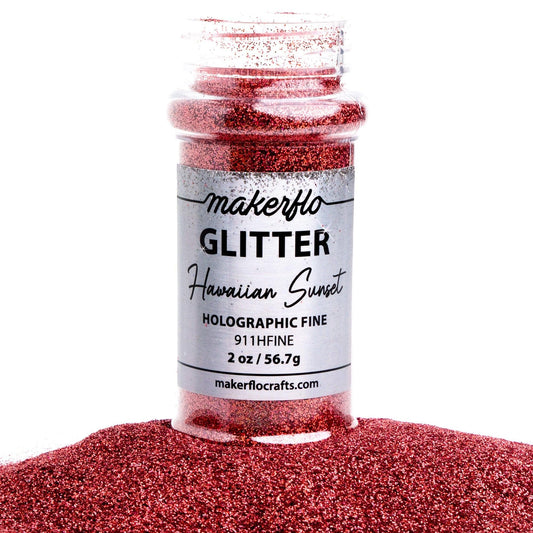
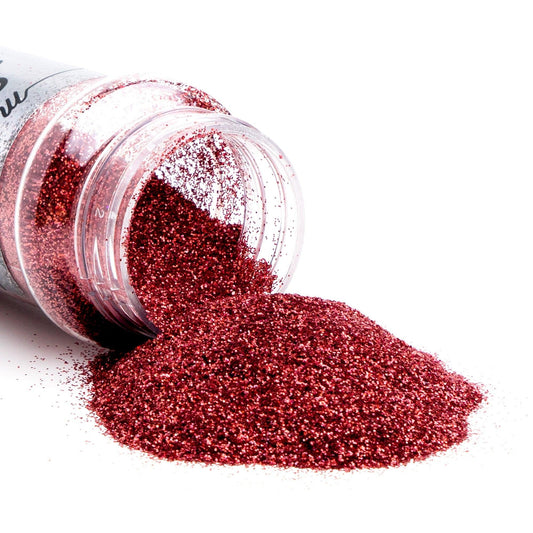
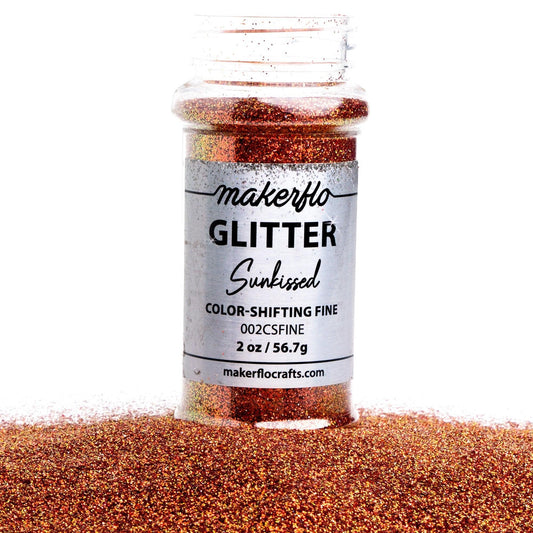
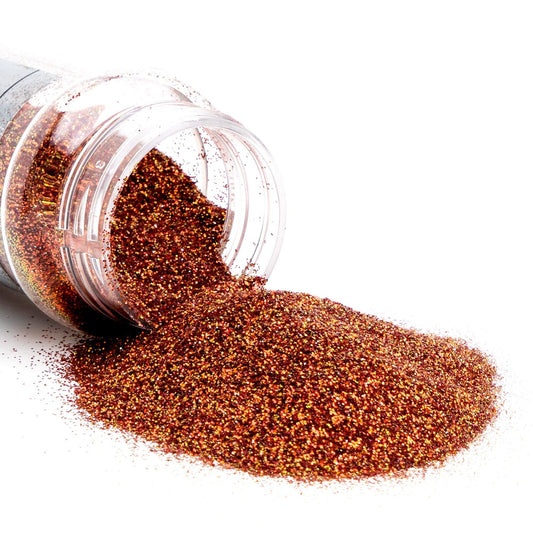
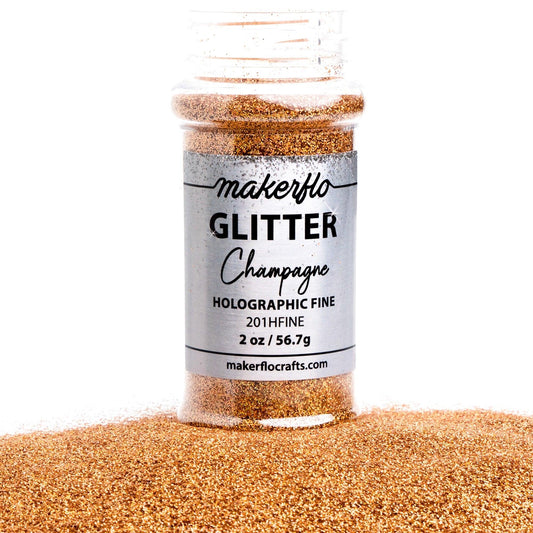
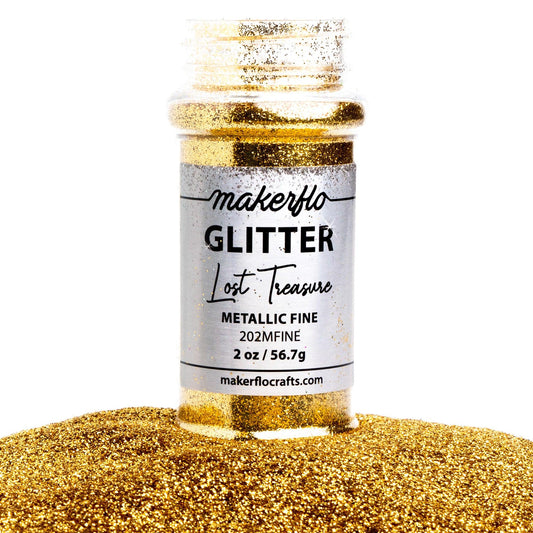
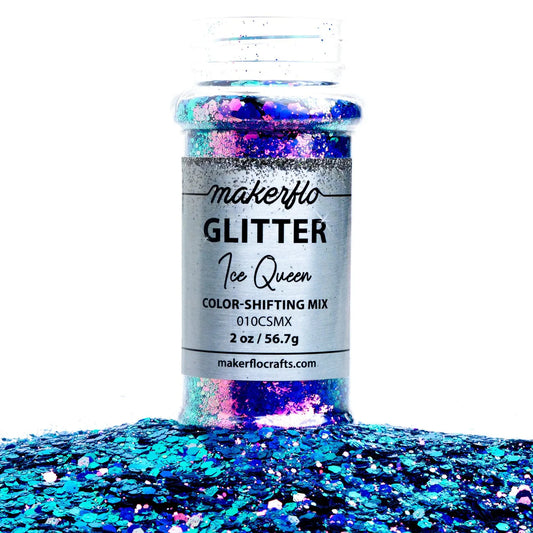
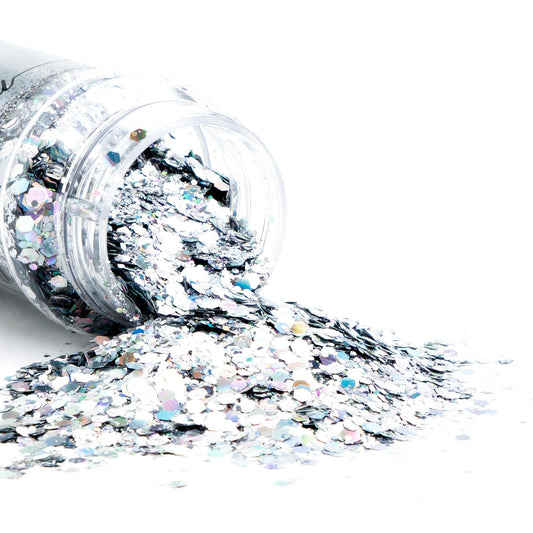
Our fine glitter measures 1/96 (or 0.25mm). It provides full coverage and is easy to use. Perfect for beginner's and available in color shift, holographic, metallic, iridescent and UV.
Pictured: Ice Queen Color Shifting Fine Glitter

Moderately Difficult to Use, Medium Coverage
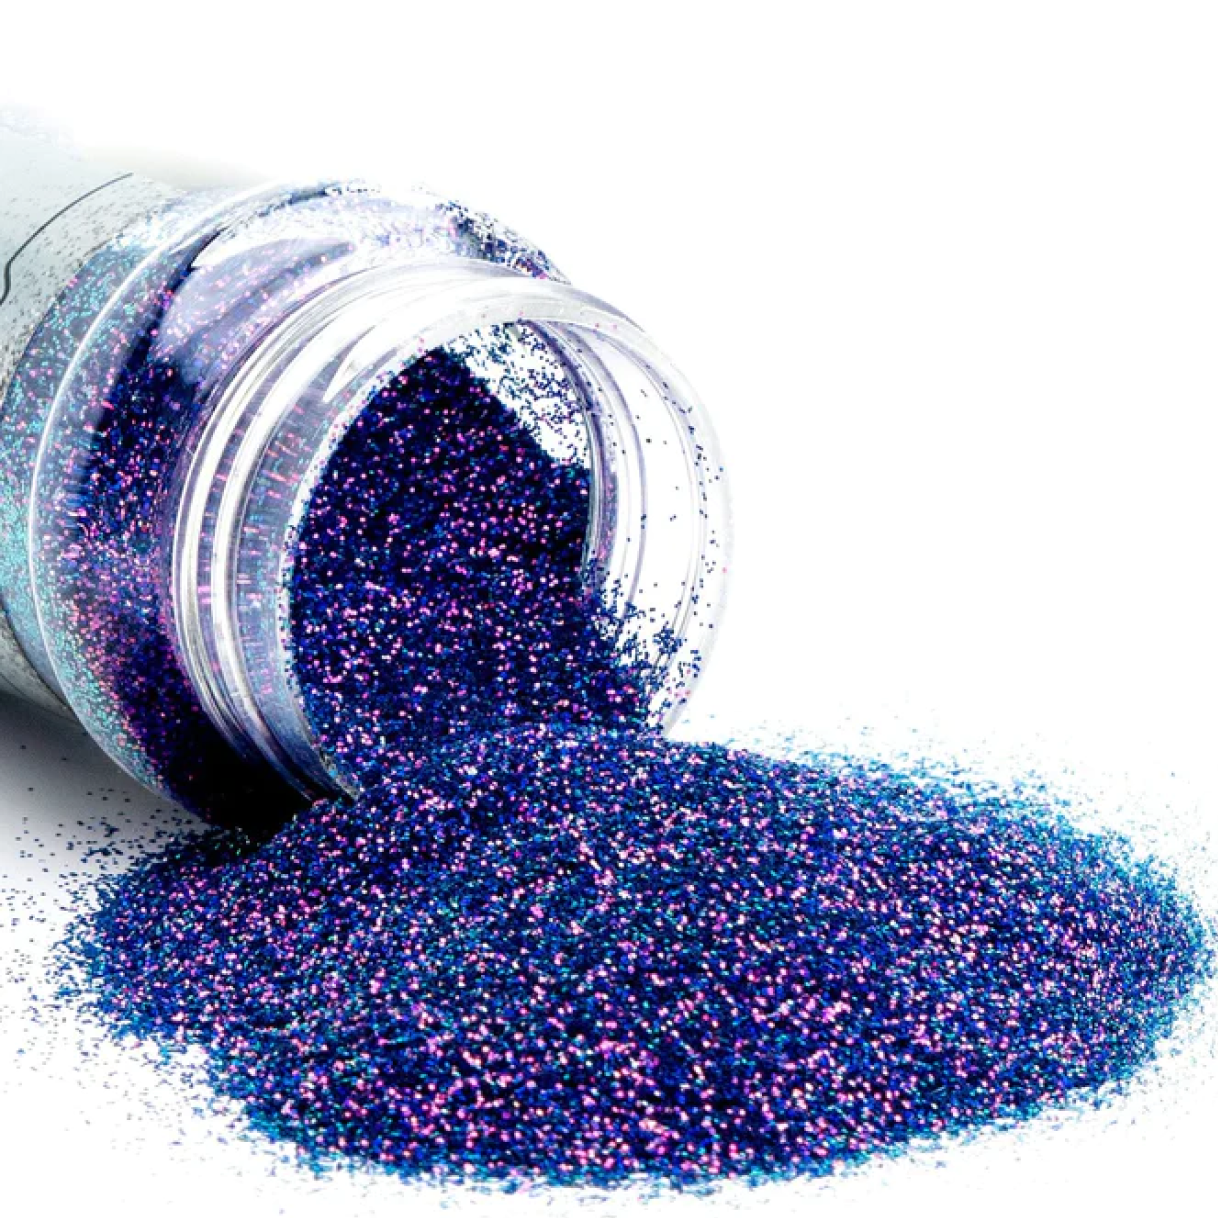
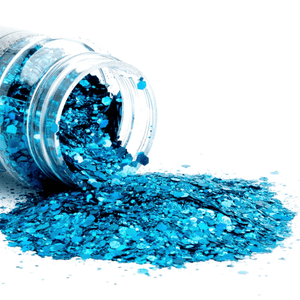
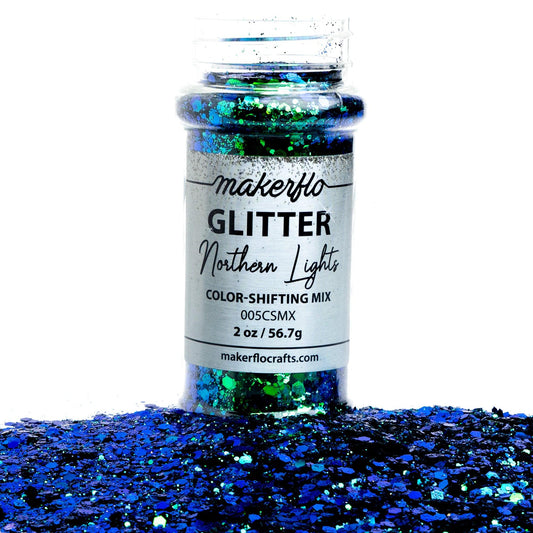
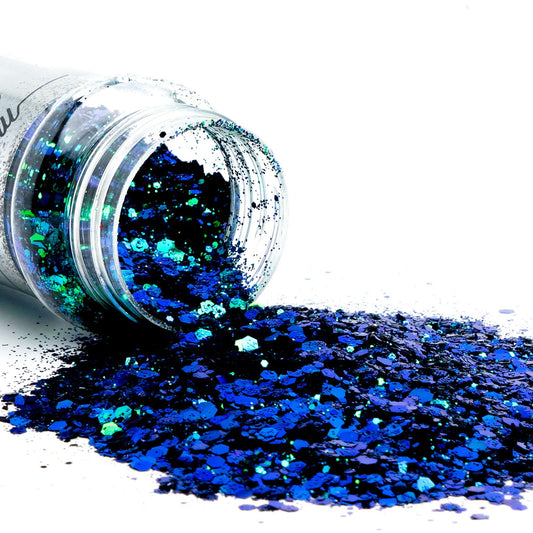
Chunky Mix Glitter
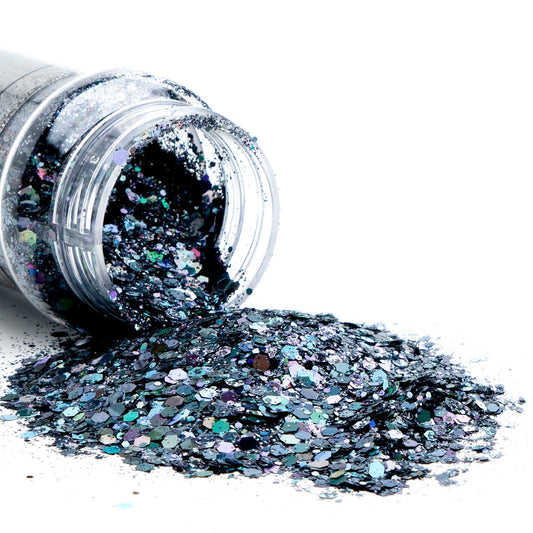
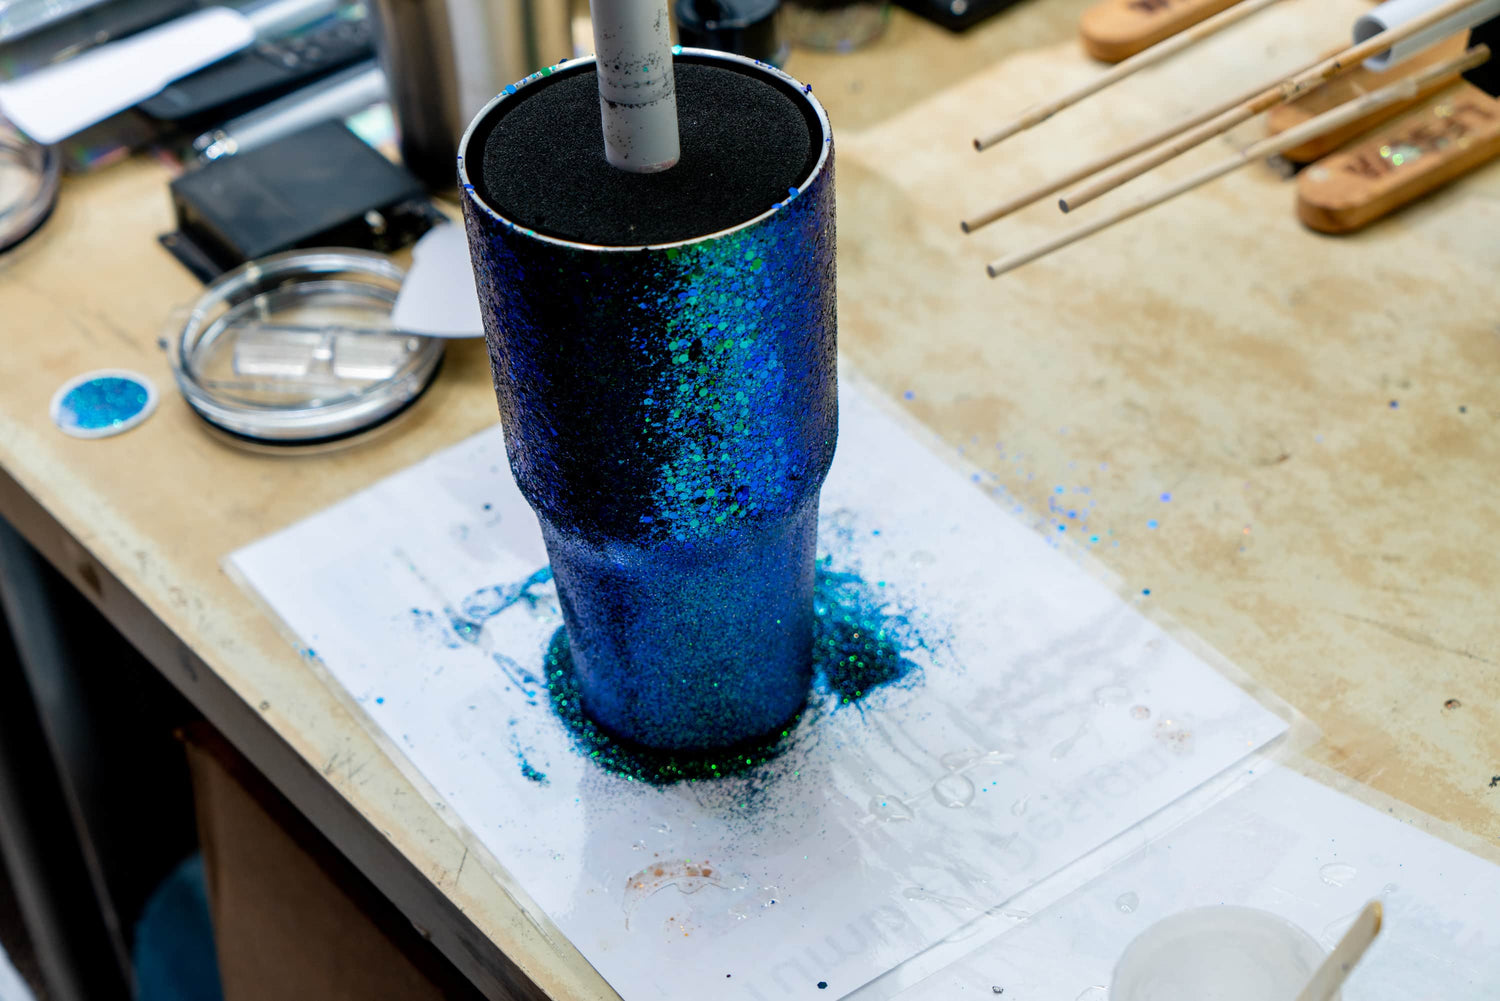
Chunky Mix Glitter creates dramatic sparkle and shine. It can be used as an all over glitter or just the top or bottom of a tumbler to create a two-toned ombre sparkle effect. Chunky Glitter is fun and sparkly but it can be difficult to work with.
The larger the glitter particle size, the more difficult it is to work with, for a few reasons.
Chunky Glitters are trickier because of the “peaks and valleys” they create when applied. To maintain a result with maximum sparkle and shine, it requires making sure the glitter lays flat on the tumbler. Chunky or larger glitters can stick to the adhesive by their edge, if this happens, the glitter will not properly reflect light.
To smooth out the surface and minimize the “peaks and valleys” many crafters will use fine glitters in a matching color to fill the “valleys” to achieve equal coverage. This is where fine glitters can become super useful in crafting with chunkier mixes.
If you’re working with epoxy, resolving unflattened glitter has an even shorter window time, as the epoxy hardens which requires more finesse when applying chunky glitters and quick acting “tap and fill” skills to resolve glitter that does not lay flatly.
When you’re working with epoxy the tap and shake method is recommended when applying to remove larger pieces before they adhere by their edge.
Chunky Mix Glitters also use a lot more layers of top coat epoxy to ensure a smooth, hard-coated and protective finish. More coats mean more sanding.
Top coats should be sanded carefully when working with larger glitters since over sanding can rub the color and holographic coating off the glitter, thus eroding the beauty of the designed intention.
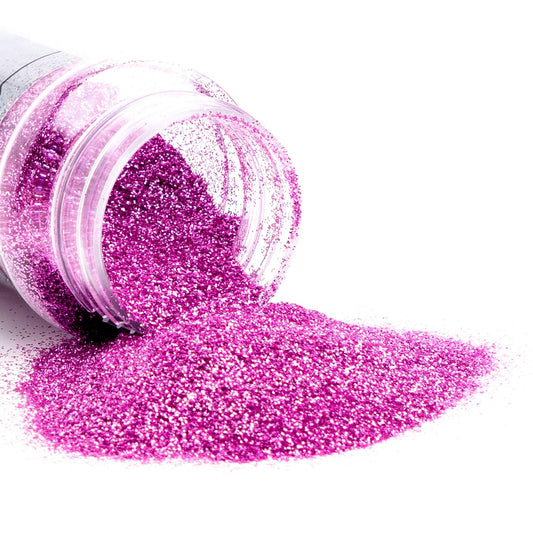
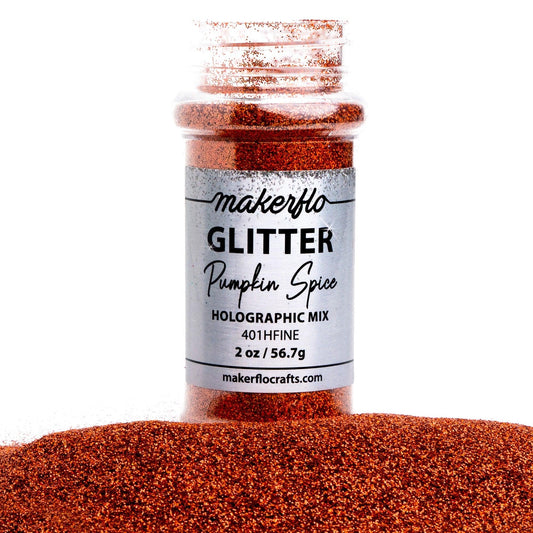
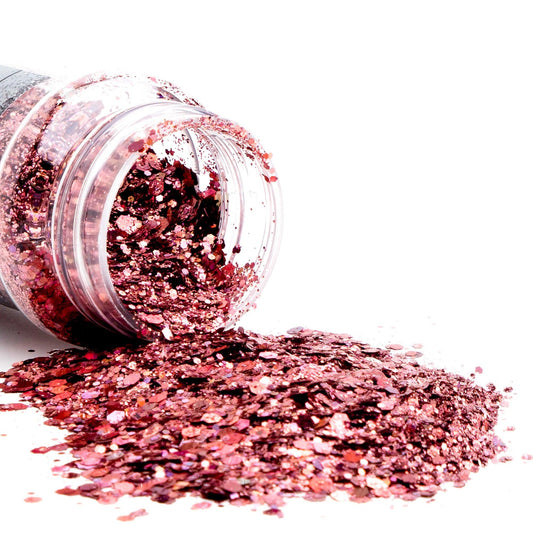
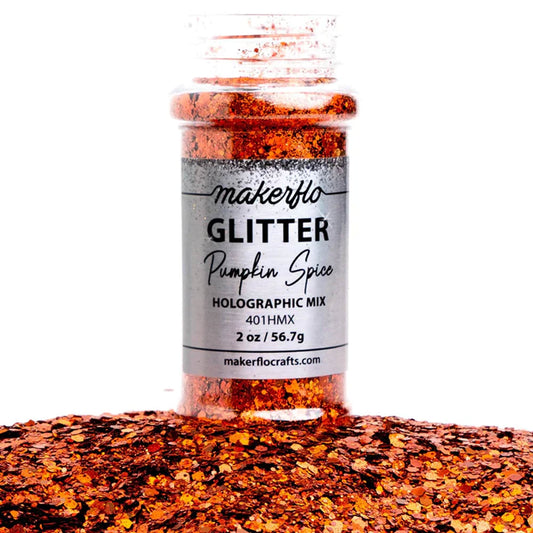
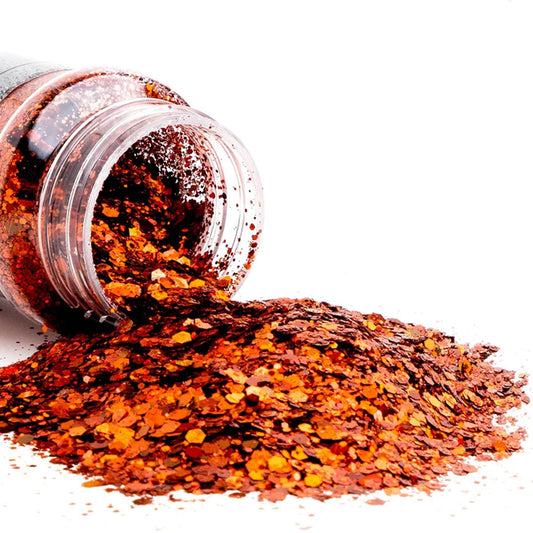
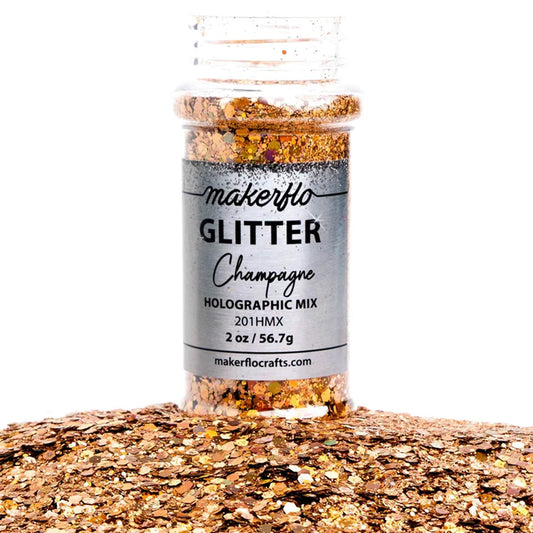
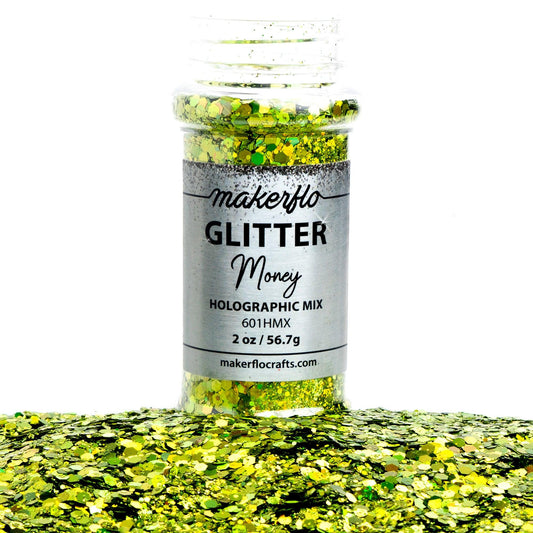
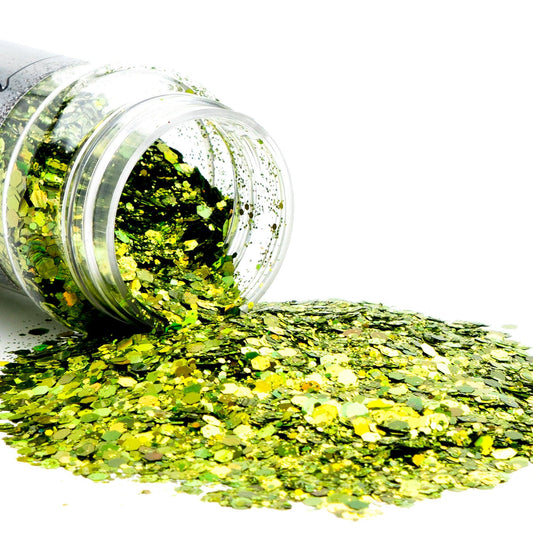
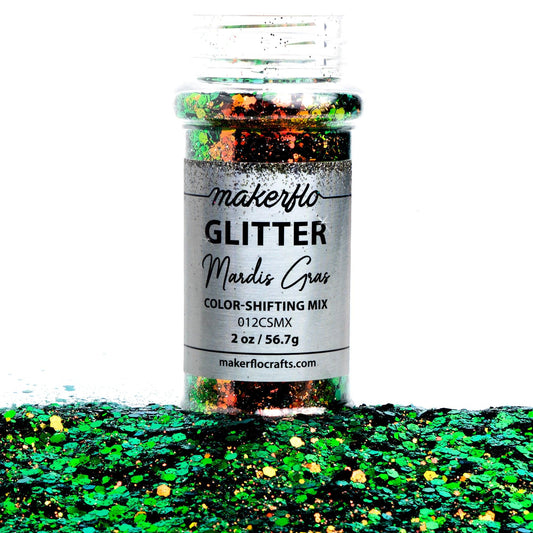
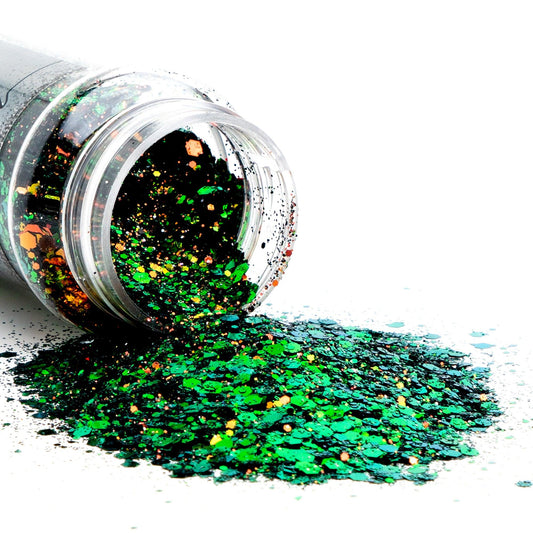
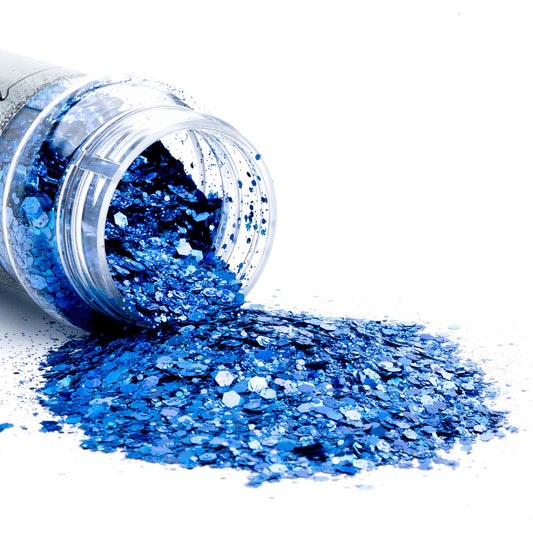
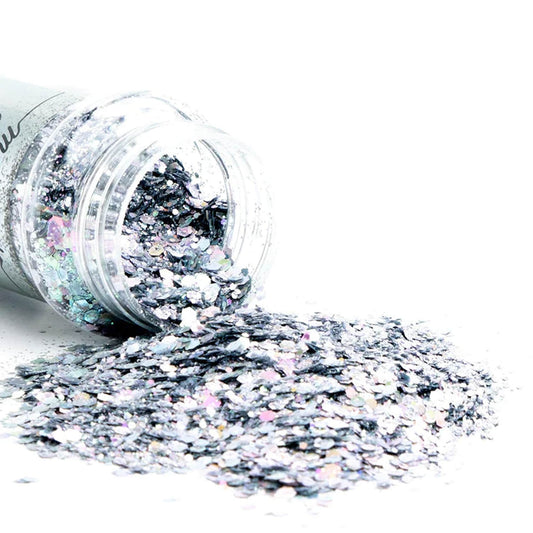
Our chunky glitter mixes include 4 sizes ranging from ultra fine 1/128” (0.2mm), fine 1/64” (0.4mm), large 1/24” (1.0mm) and jumbo 1/10” (2.5mm). Chunky Mixes are beautiful for their sparkle and shine, but they can be a little tricky to apply.
Pictured: Blue Velvet Holographic Chunky Mix

Difficult to use, low coverage
Glitter Shapes
Glitter Shapes are the finishing touch and in most cases require more coats of epoxy or CrystaLac.
Shapes in most cases are layered on top of already cured and sealed glitters. Glitter Shapes come in a variety shapes such as hearts, stars, butterflies, diamond rings, stiletto heels and are often used to personalize tumblers.
Because of their holographic coating and larger size (3-5mm), glitter shapes can be lightly applied while adding extra bling to the tumbler.
Our glitter shapes are 3mm in size. They come in fun shapes and are a great add on for specific, more themed projects and can also be used in lots of other crafting projects.
Pictured: Dot Holographic Shapes
Particle Size
What's the big deal about glitter size?
Glitter particle size creates the final look, the size will also determine the care you must take when crafting your tumbler.
-


Ice Queen Fine
Fine Glitter
Our fine glitter measures 1/96 (or 0.25mm). It provides full coverage and is easy to use. Perfect for beginner's and available in color shift, holographic, metallic, iridescent and UV.
-

Blue Velvet Chunky Mix
Chunky Mix Glitter
Our chunky glitter mixes include 4 sizes ranging from ultra fine 1/128” (0.2mm), fine 1/64” (0.4mm), large 1/24” (1.0mm) and jumbo 1/10” (2.5mm). Chunky Mixes are beautiful for their sparkle and shine, but they can be a little tricky to apply.
-
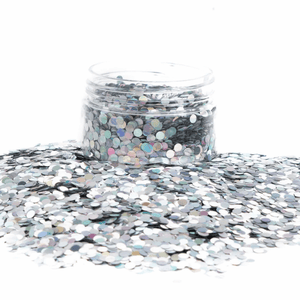

DOT
Glitter Shapes
Our glitter shapes are 3mm in size. They come in fun shapes and are a great add on for specific, more themed projects and can also be used in lots of other crafting projects.


3. Glitter Style
3. Glitter Style
We all know that glitter adds beautiful color and shine to tumbler and epoxy projects, but different styles of glitter provide unique "show-stopping" effects that add that extra special look.
Learn about the different terms and what they can do in your epoxy tumblers and crafts!
Glitter Styles
-


CHUNKY OR FINE
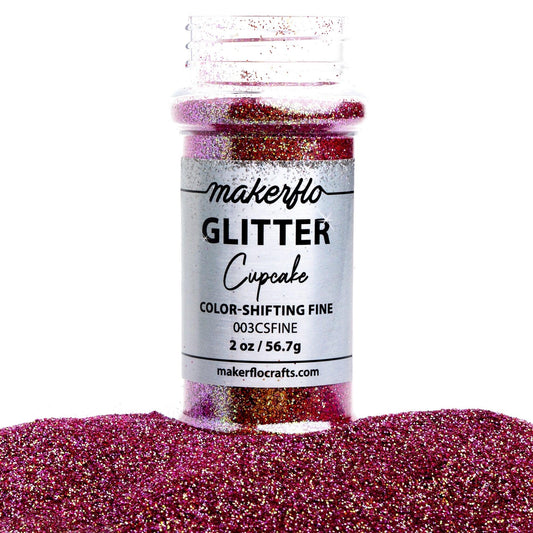
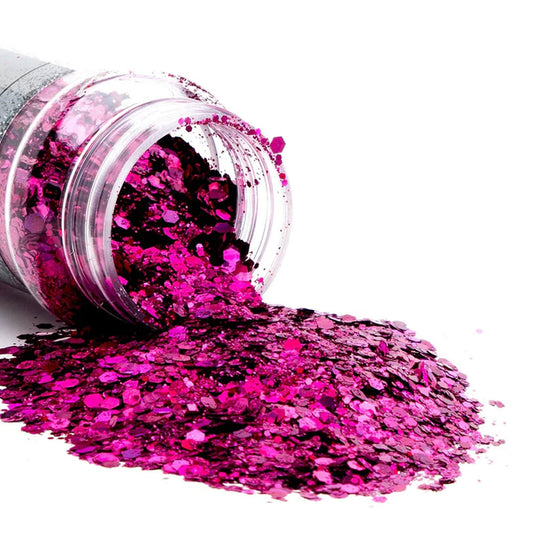
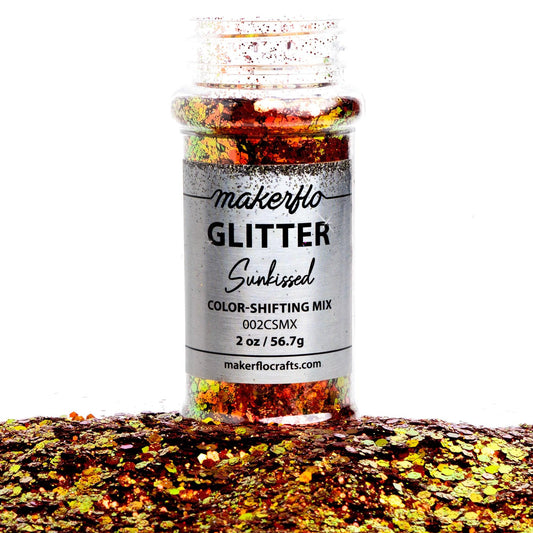
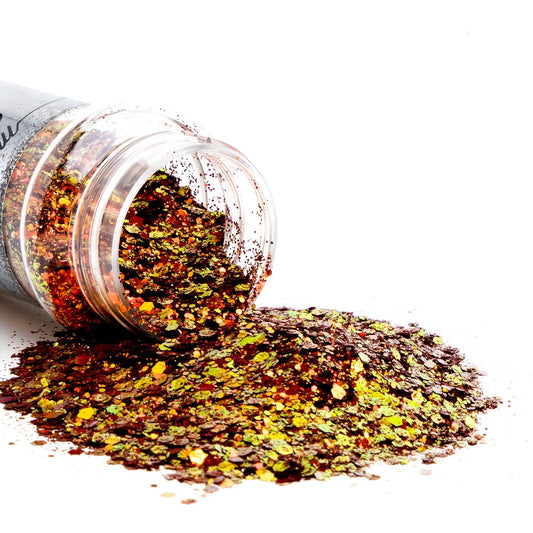
Color Shift
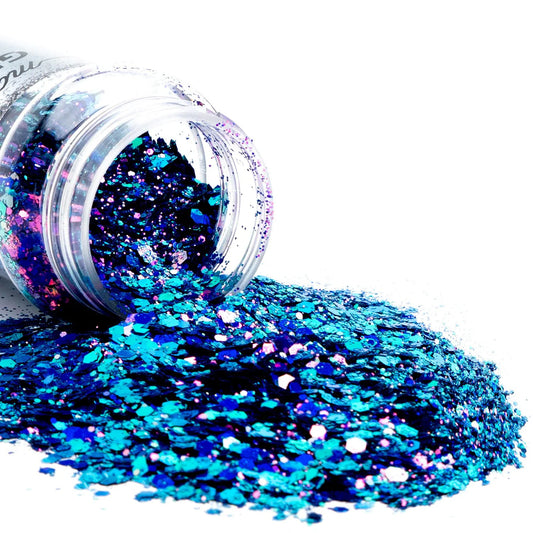
Shifts colors at different angles, chunky mix Ice Queen pictured above creates brilliant, purple, pink and aqua hues depending on how the light reflects off of it.
-


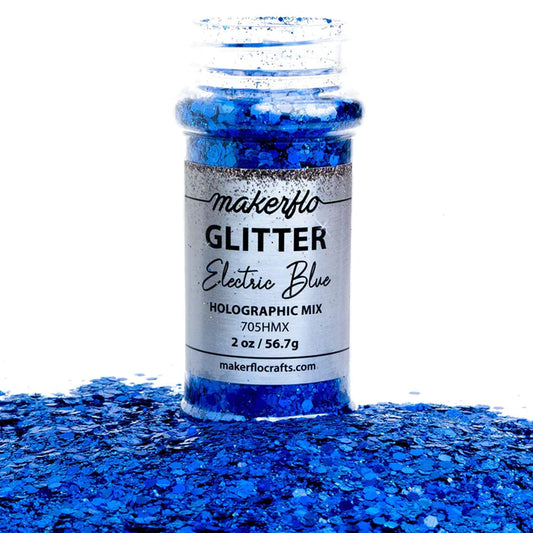
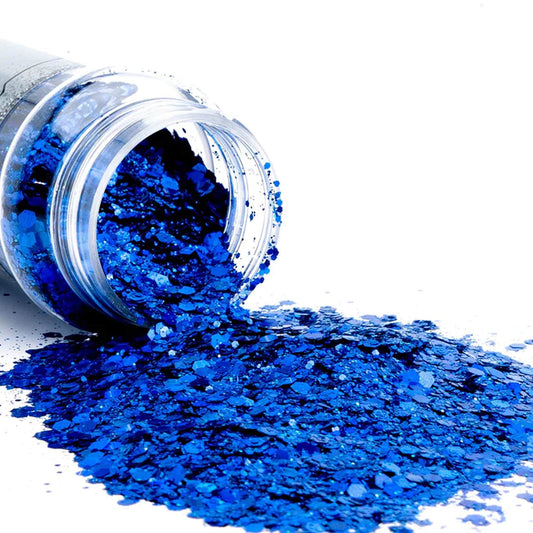
Chunky or Fine
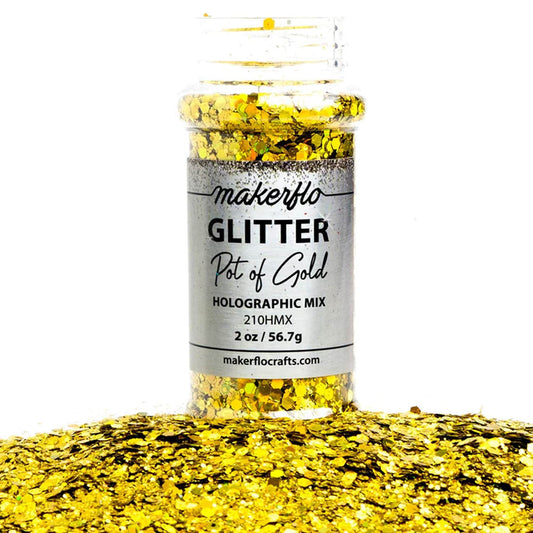
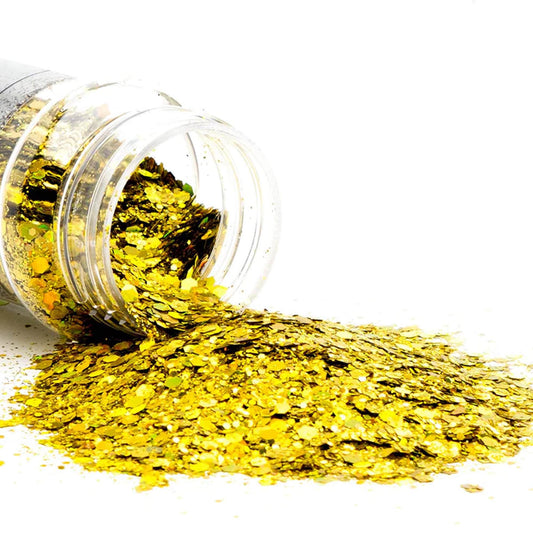
Holographic
Holographic creates prismatic radiant reflections meaning a solid holographic color can reflect all the colors of the rainbow 🌈
-


FINE ONLY
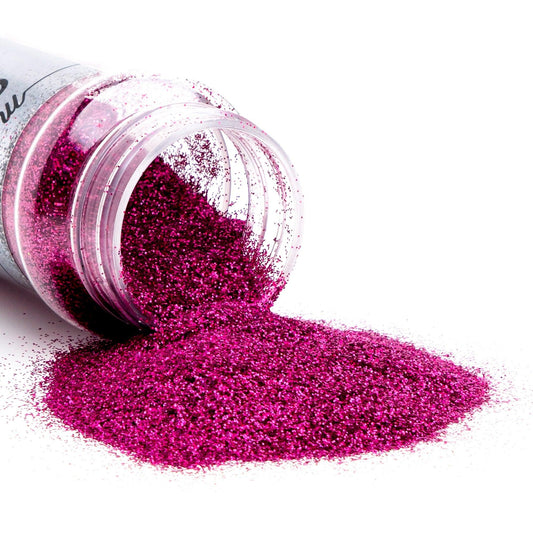
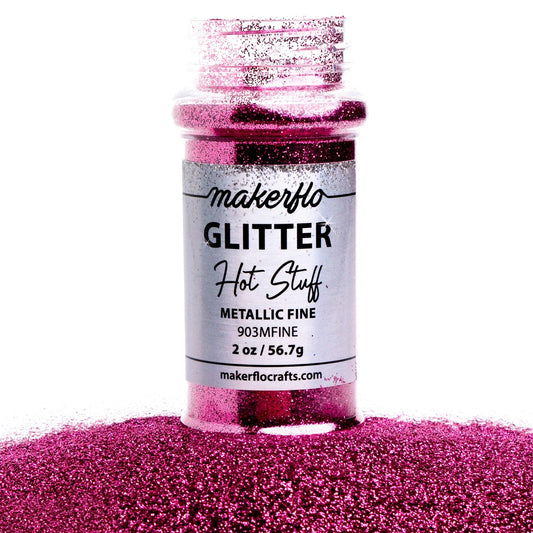
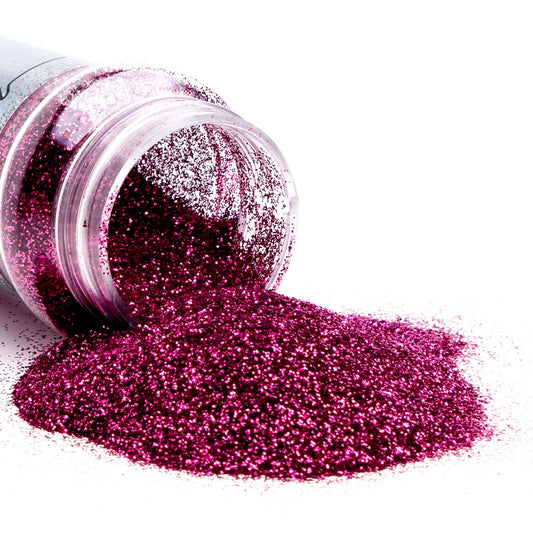
Metallic
Metallic Glitter provides mirror like reflections & constant sparkle.
-


Fine Only
Iridescent
Subtle sparkle with a stable shimmer
-


Fine Only
UV Glitter
Color changes in full sunlight or UV light source


4. Glitter Opacity
4. Glitter Opacity
Each glitter has an opacity rating that relates to the glitter's translucency, to what degree can light penetrate the glitter.
Generally speaking Holographic and Metallic glitters are opaque while Iridescents, UV Glitters and Color Shifting may offer a degree of translucency.
Glitters that have a greater degree of translucency will pick up the base coat color of your tumbler, which can create a really pretty effect.
This is important because if you're working with translucent glitters, your base color will play a role in the finished effect of how the glitter appears. If you're working with an opaque glitter, by matching your base color with your glitter color, you can save on glitter, because the base paint will fill any small gaps you may have missed.


