 Skip to content

DIY CRAFT GUIDE
Getting started wtih UV Resin

Let's Get Started!
With this Essential Tools and Materials list!
UV Resin: Opt for a high-quality UV resin designed for crafts. Try out MakerFlo's newly released UV Resin Craft Formula
Ultraviolet Light Source: A UV lamp or flashlight is essential to cure the resin. (24-36 Watts for our UV Resin) We recommend this UV Flashlight.
Mixing Containers: Use silicone cups or other non-stick containers to prepare and mix the resin.
Stirring Tools: Plastic or silicone stirrers work well to mix resin and additives.
Pigments and Dyes: Add a splash of color to your creations with resin-safe pigments and dyes. (But nothing too opaque)
Molds and Bezels: Choose from an array of silicone molds and bezels to shape your resin.
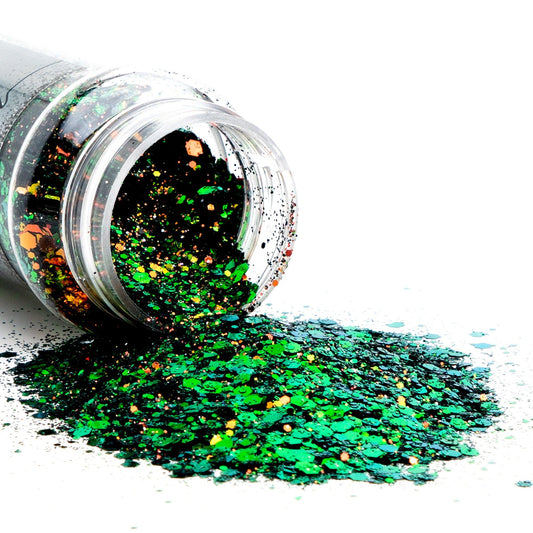
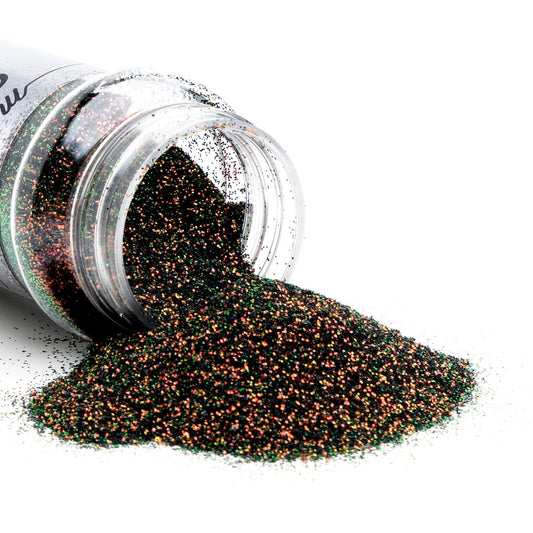
Optional Add-ons: Glitters, sequins, dried flowers, and charms can add a touch of magic to your resin projects.
Cleanliness and PPE
Safety First
Cleanliness and PPE
Safety First
- Safety First: Everyone’s level of tolerance to UV Resin is different so we always recommend using PPE.
- UV resin can cause skin and eye irritation, so wear protective gloves and goggles.
- Work in a Ventilated Area: To minimize resin fumes, choose a well-ventilated workspace or use a respirator mask.
- Read the Instructions: Familiarize yourself with the manufacturer's instructions for the specific UV resin you're using.
- Ensure your workspace is clean and dust-free to prevent imperfections.

Adding Color or Decorative Additions
Adding Color or Decorative Additions
You can add UV resin-safe pigments, dyes (drop by drop to achieve your desired color), glitter, gold flake or other accessories.
When adding colors or pigments, be sure to leave some fluidity in the resin to allow the UV light to penetrate and cure your project.
We would recommend adding these into your resin in a silicone bowl to ensure it’s properly mixed and to distribute the color evenly.
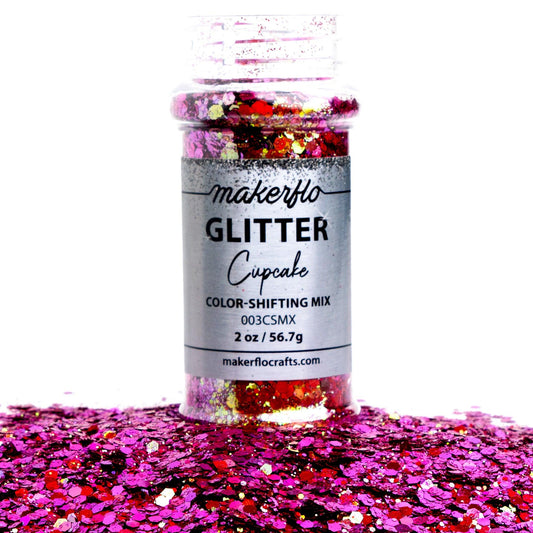
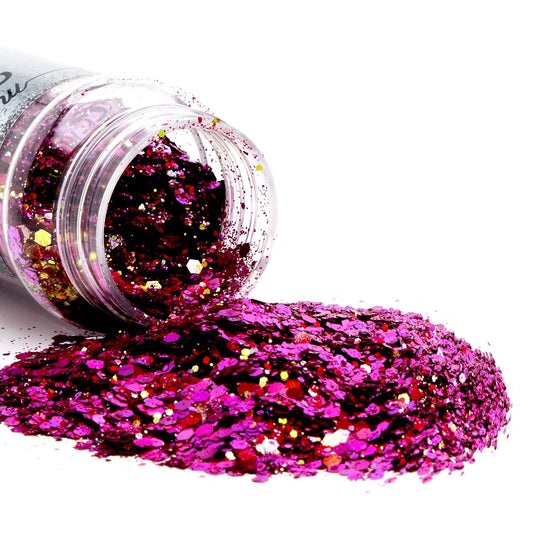
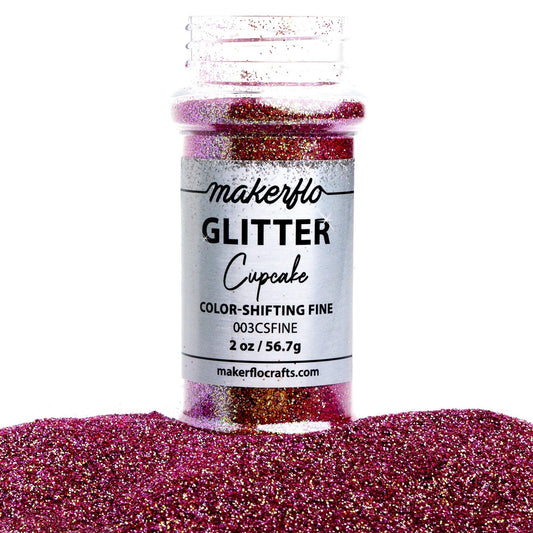
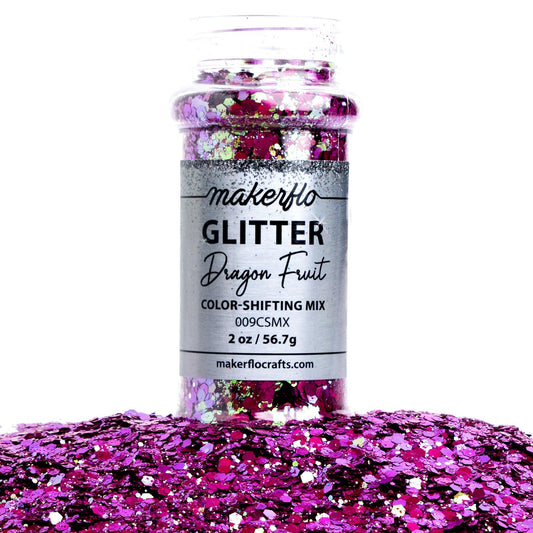
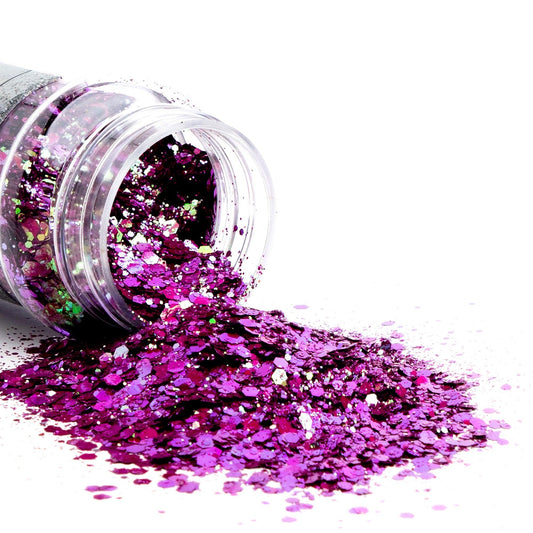
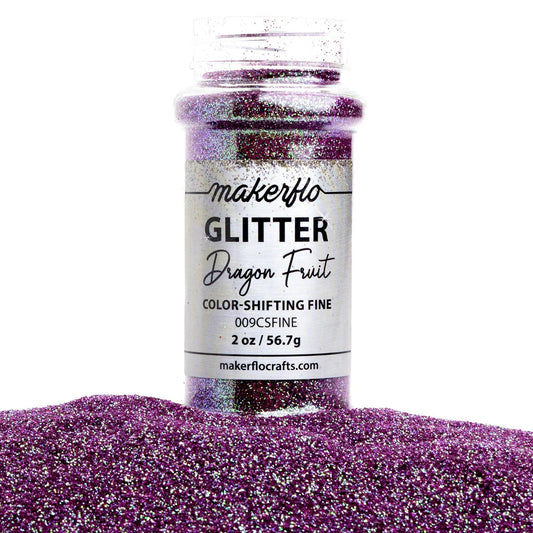
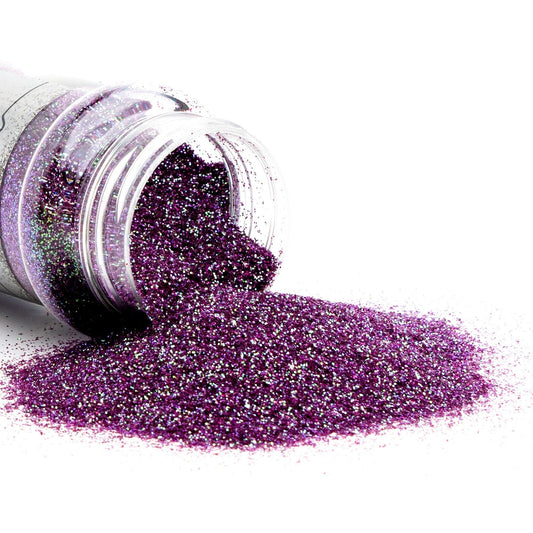
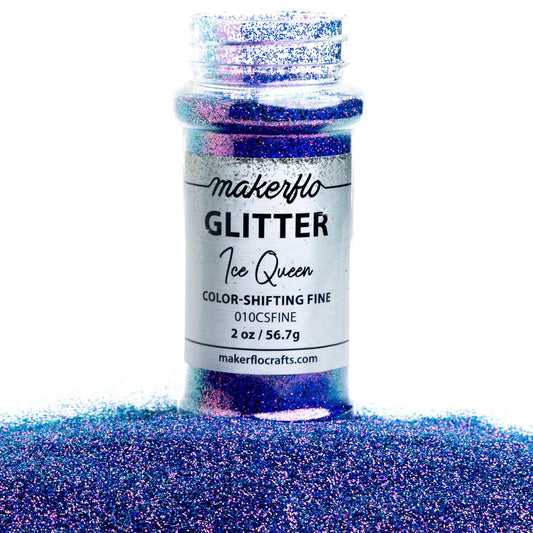
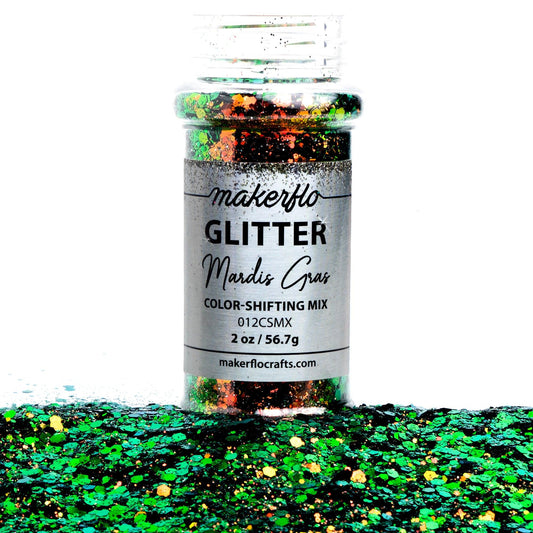
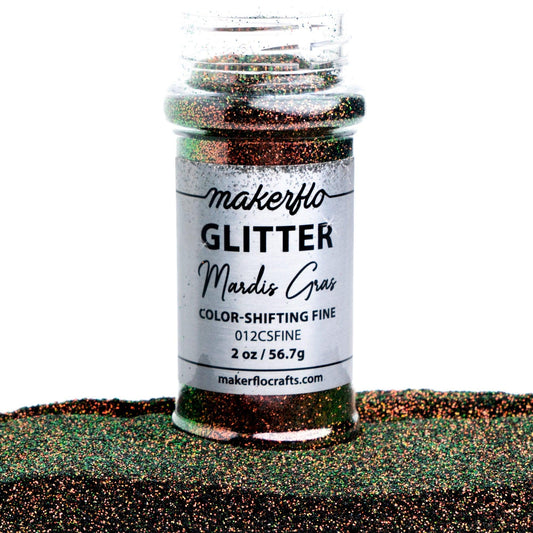
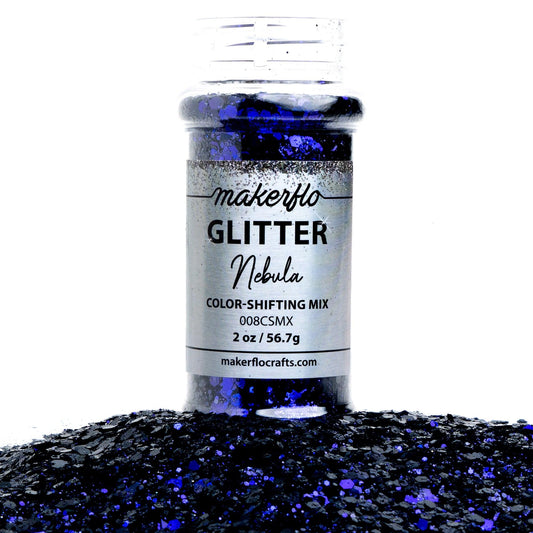
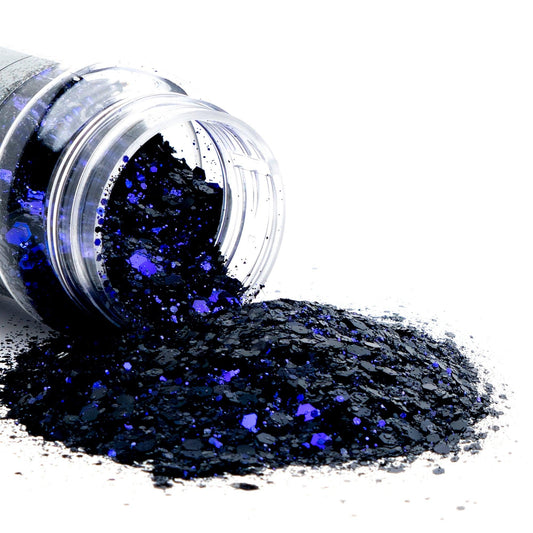
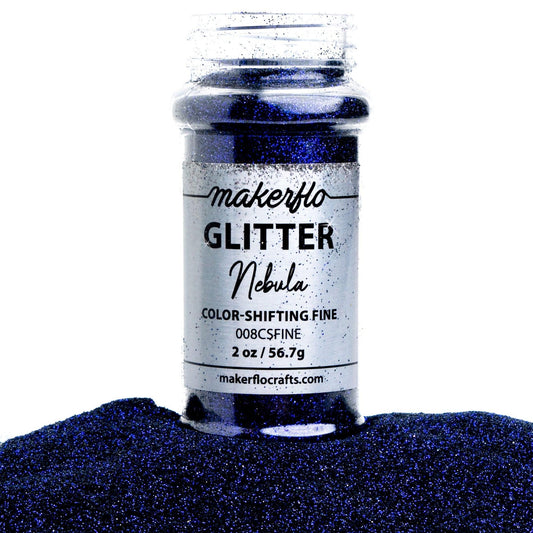
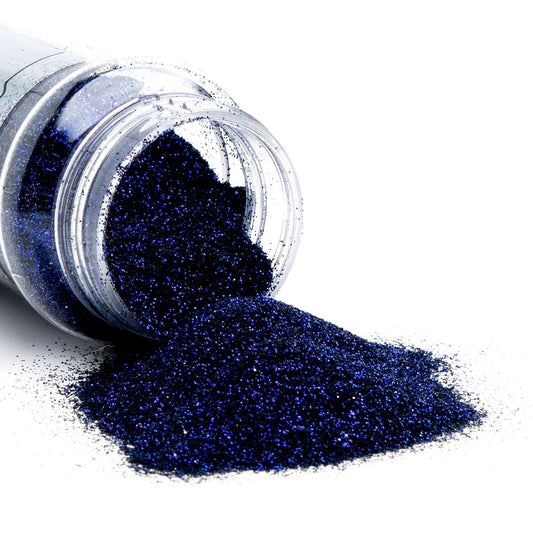
Shop Glitter
MakerFlo Glitter is heat resistant and solvant resistant, meaning their colors won't bleed or fade when crafting with UV Resin, Epoxy or Heat!


Application of UV Resin
Application of UV Resin
- Molds: Select a clear silicone mold that is designed for use with UV Resin and that matches your design vision. Pour the mixed resin into the mold.
- Bezel Magic: If using bezels, pour the resin directly into the bezel and let your creativity flow by adding decorative elements.
- Bubble Troubles? Remove air bubbles by letting the resin sit in your designated application for 1-2 minutes, or… you can use a heat gun or small torch
Pro tip, you can use a warming tray for your UV resin or soak your UV resin bottle in hot water to help pop any bubbles before even starting to craft with it! Just be careful not to get water in your project.


Cure Time!
Cure Time!
It's time to cure your resin masterpiece and watch the magic happen:
UV Exposure: Place your resin creation under a UV lamp or flashlight to cure. Follow the resin manufacturer's instructions for the recommended curing time.
Rotate and Check: Rotate your piece periodically to ensure even curing and check for any imperfections. Typically we would recommend curing the front and the back of the piece.
Finishing Touches: Once fully cured, remove your creation from the mold or bezel and trim any excess resin. Sand, polish, and apply a resin-specific sealer if desired.

That’s it!
That’s it!
Congratulations on completing your UV resin adventure! Now that you've mastered the basics, let your imagination soar and create awe-inspiring jewelry, keychains, and decorative items. Remember, practice makes
