 Skip to content

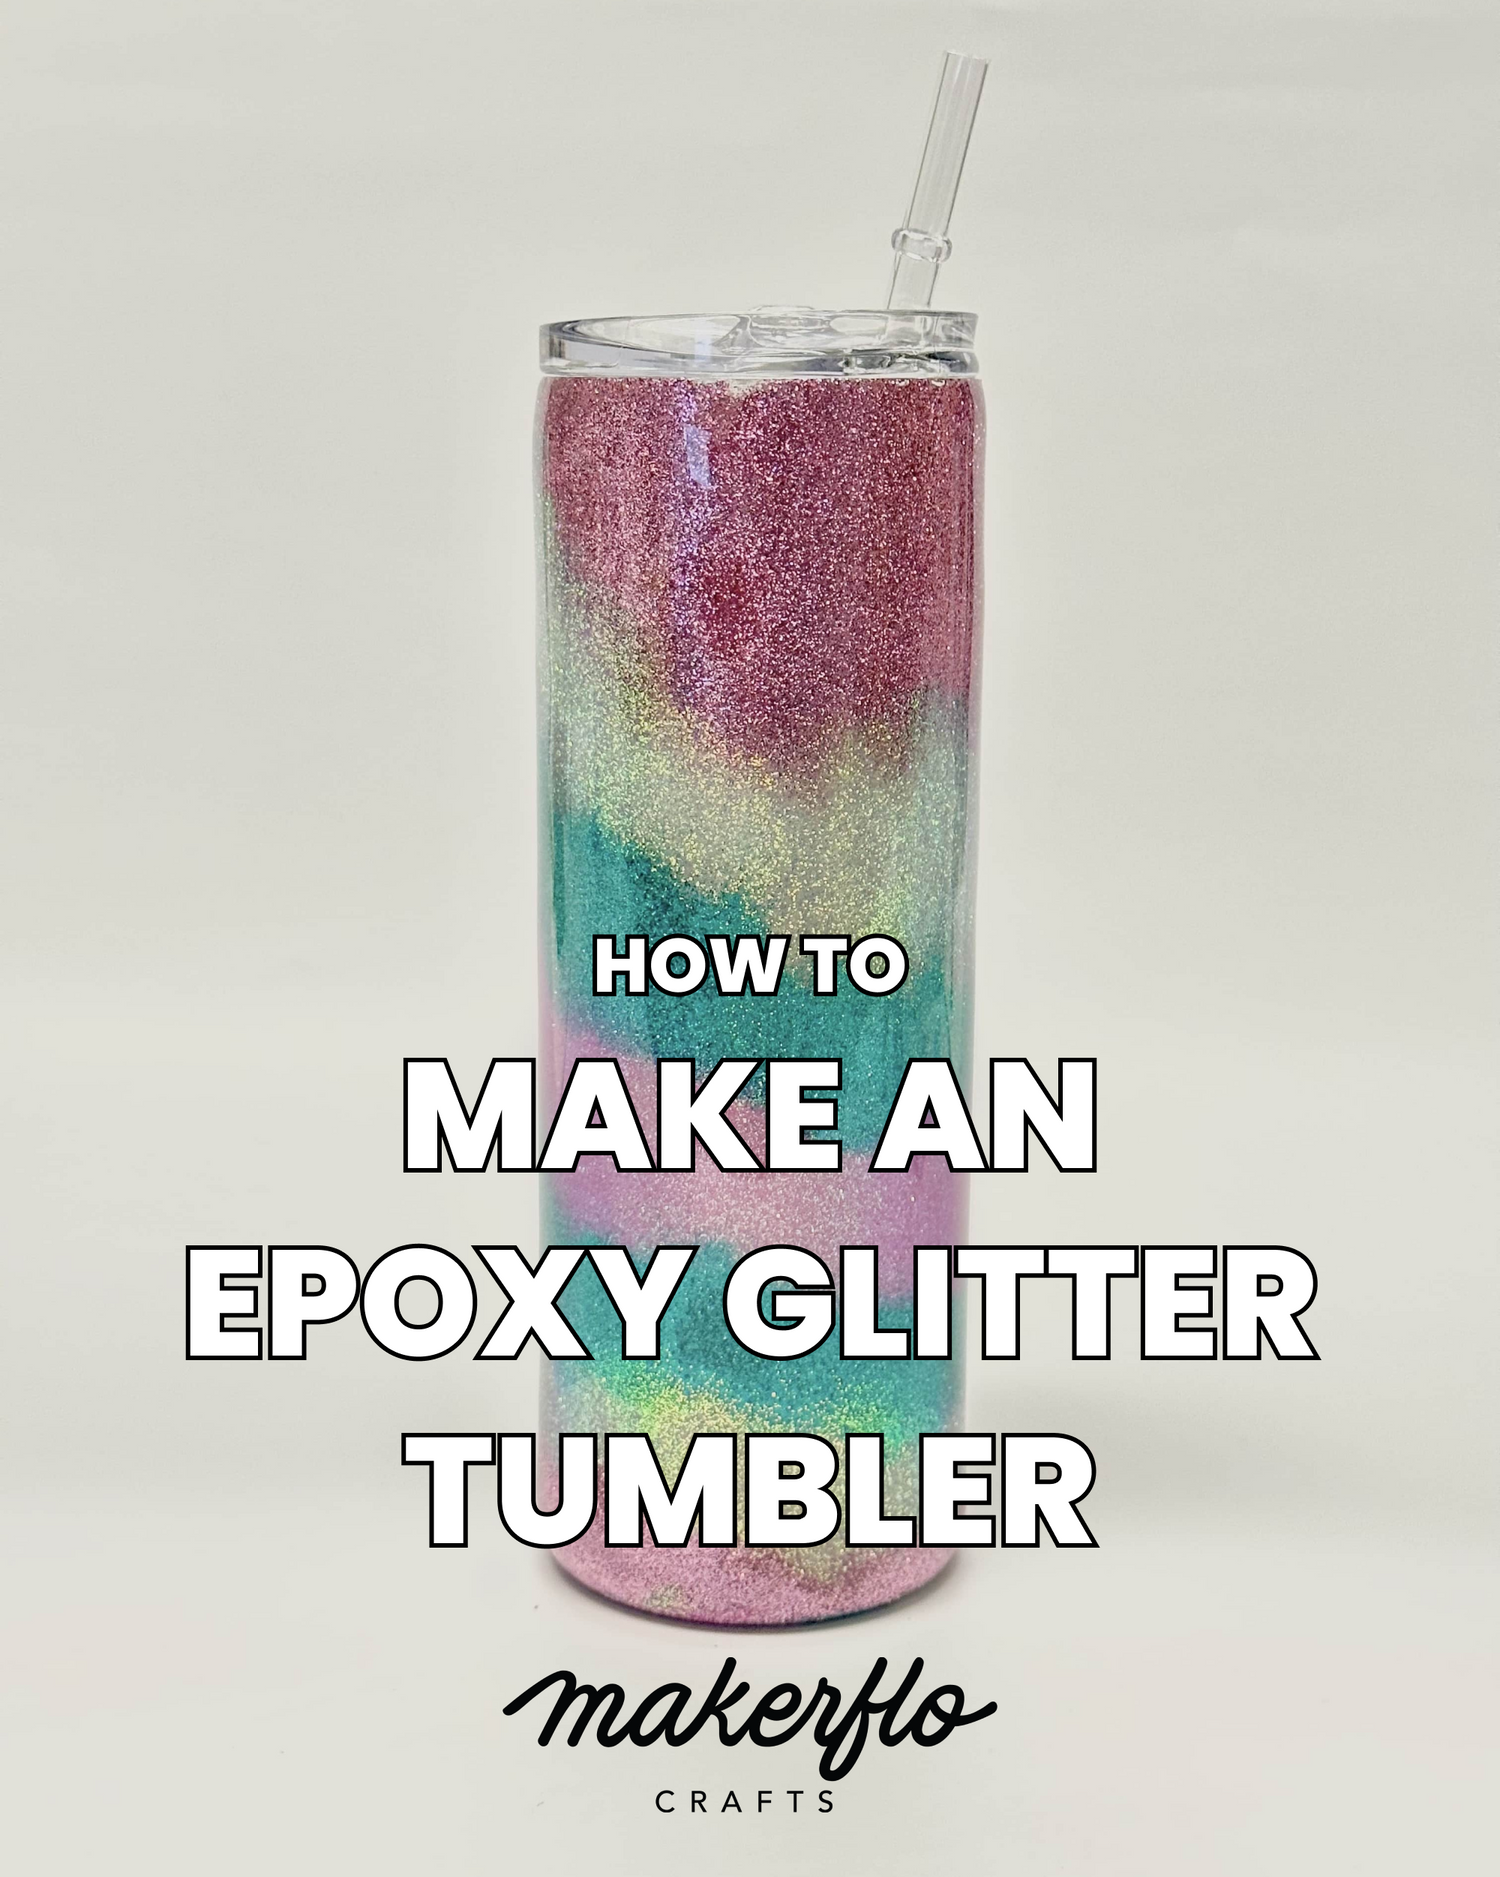
DIY CRAFT GUIDE
How to make a glitter Tumbler
Getting Started
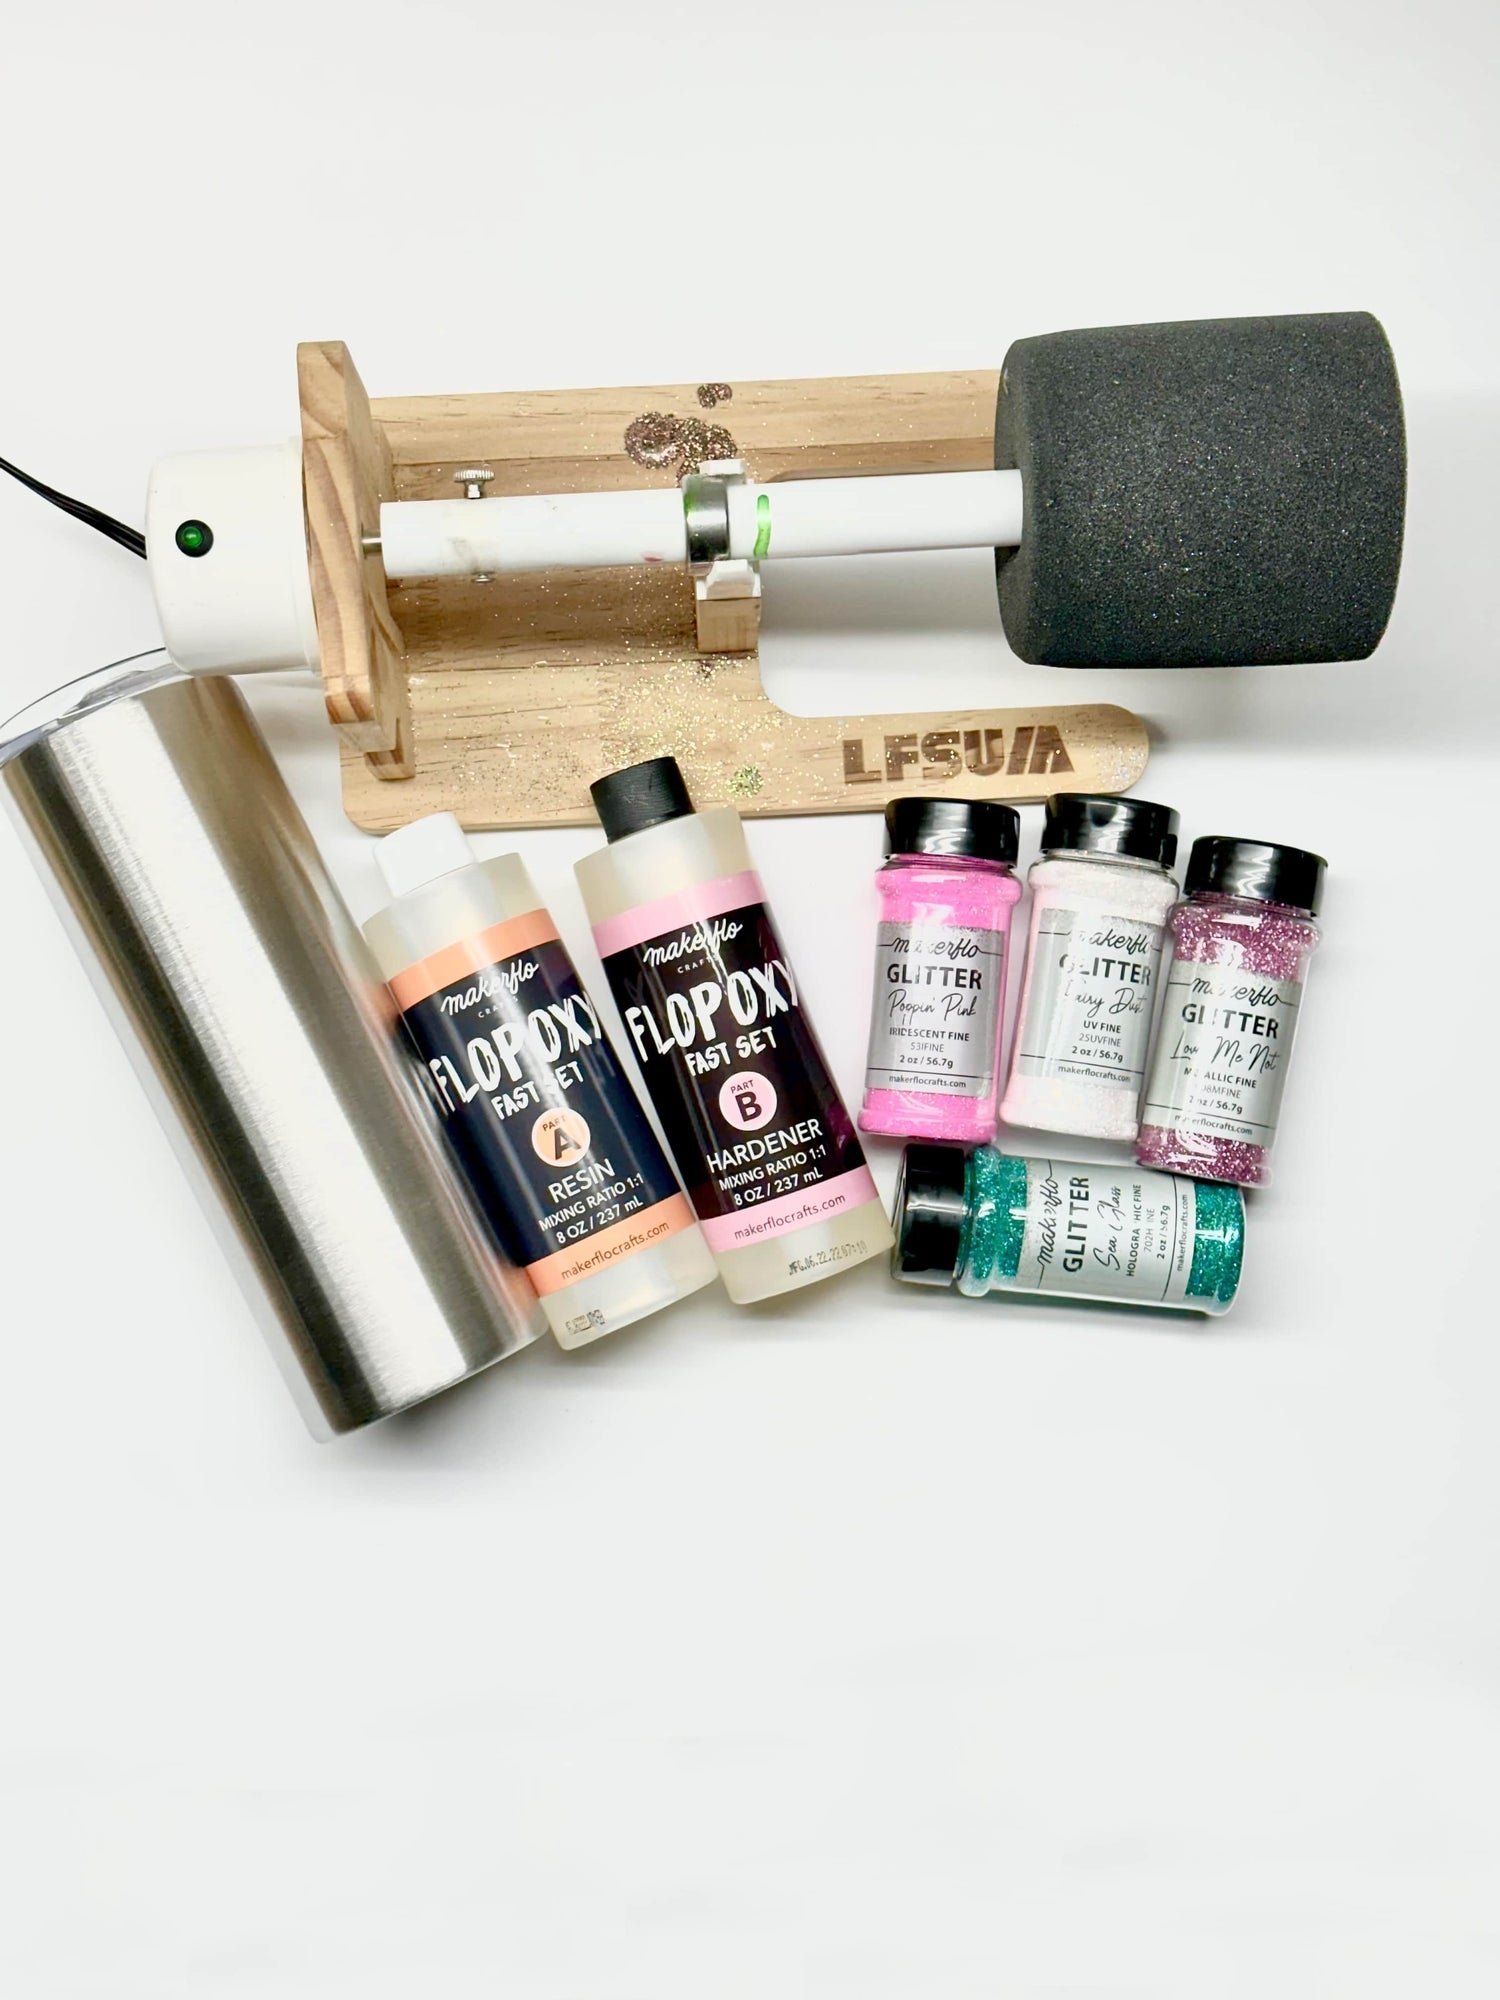
Supplies AND PPE we recommend
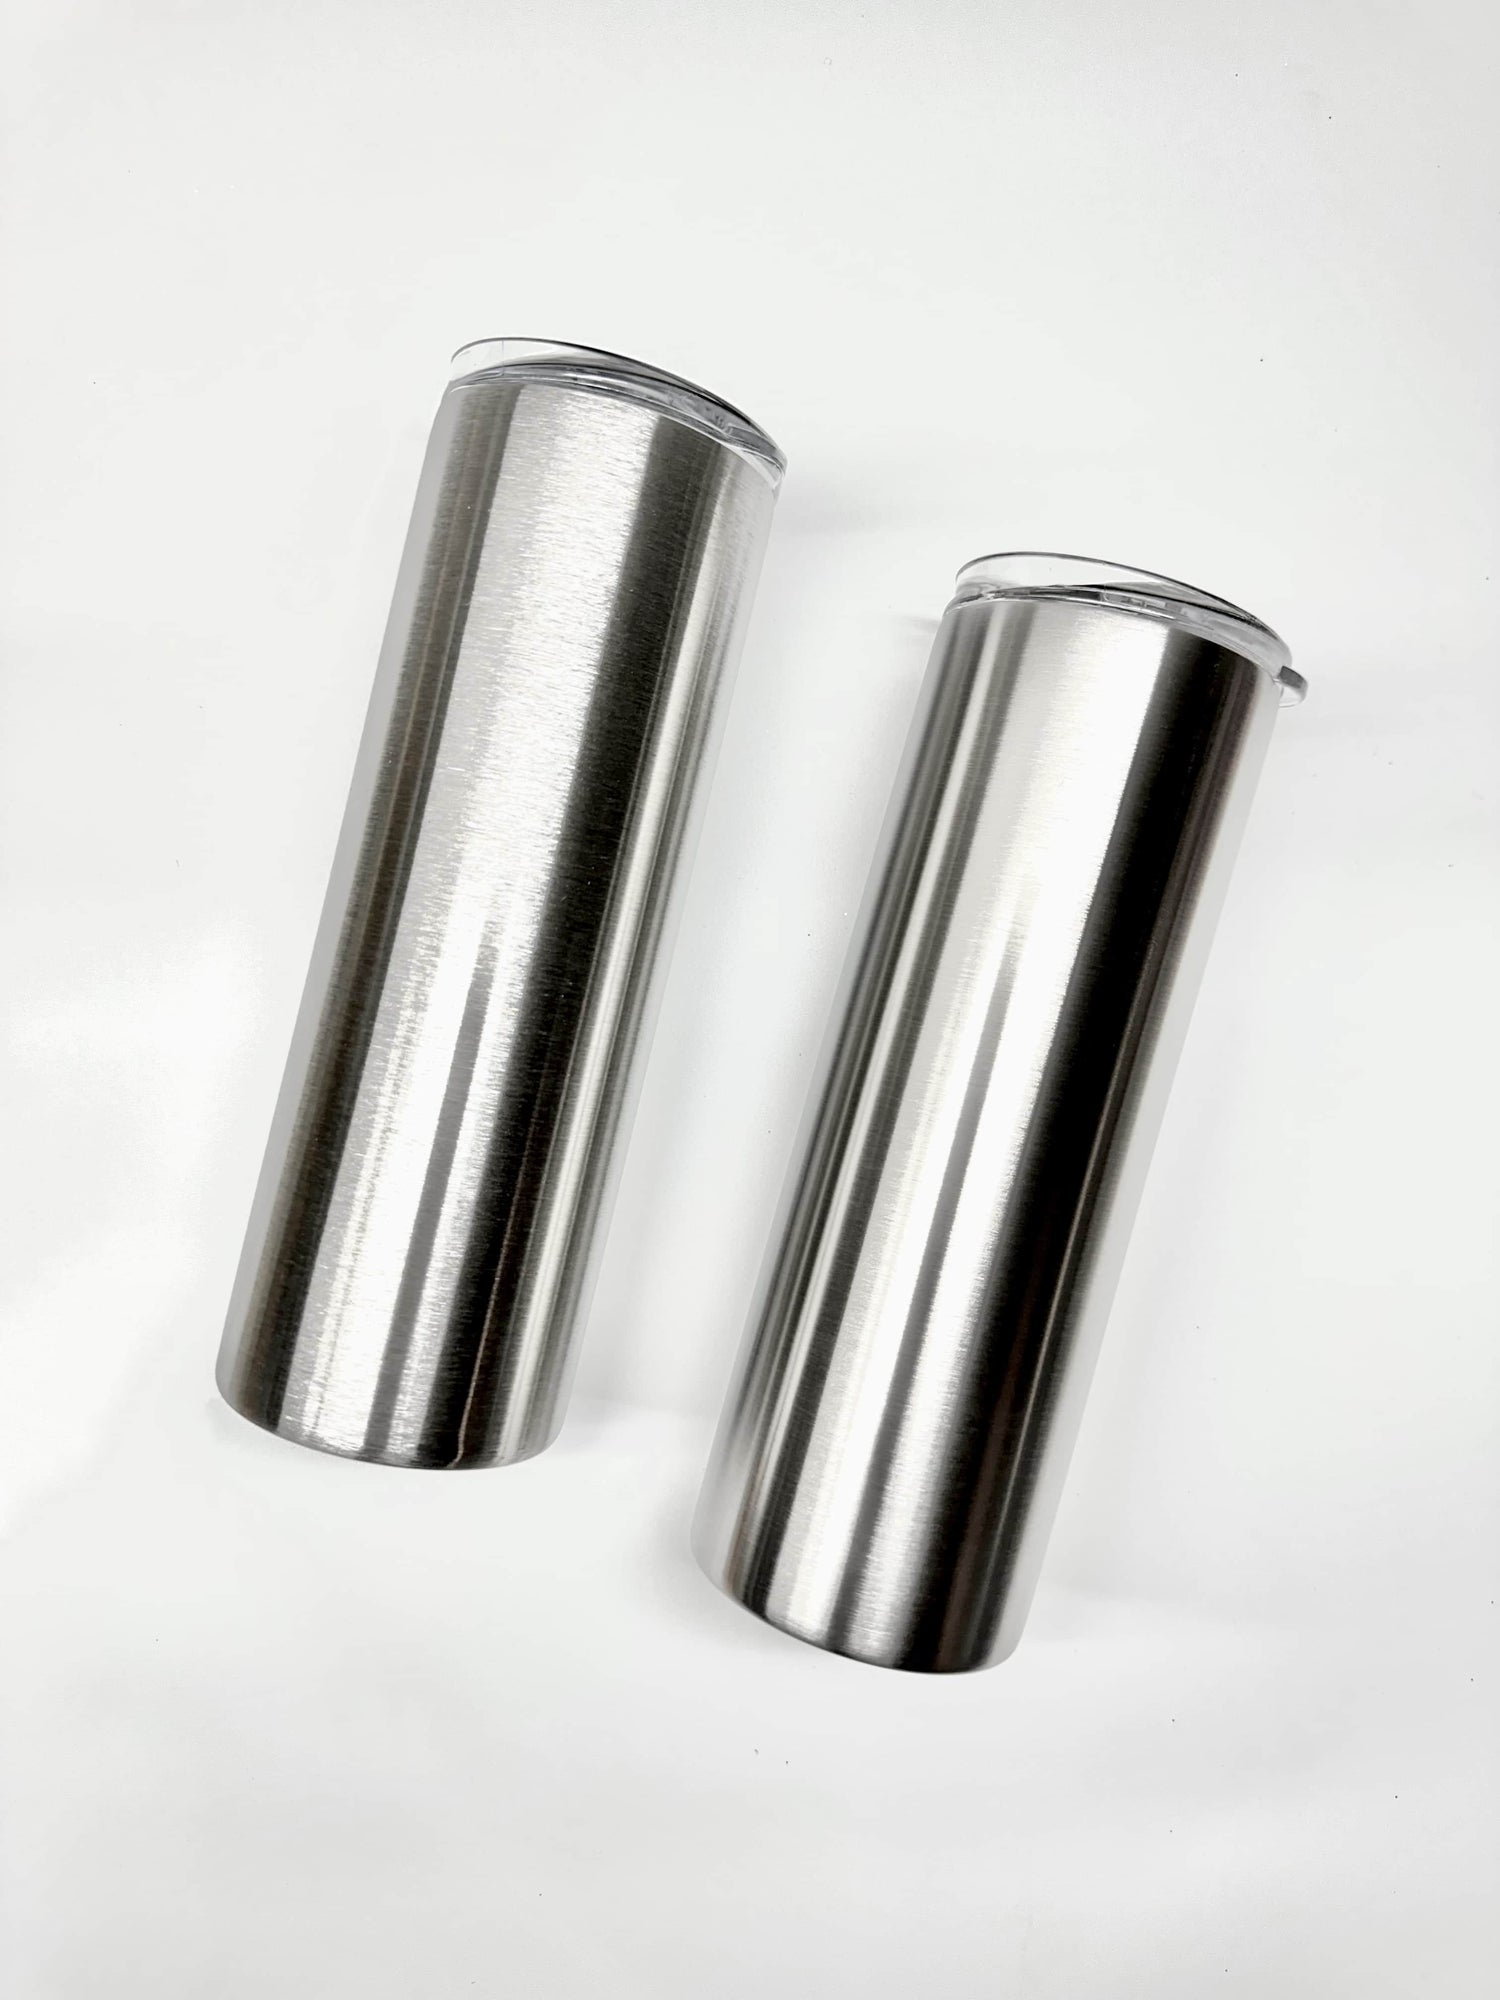
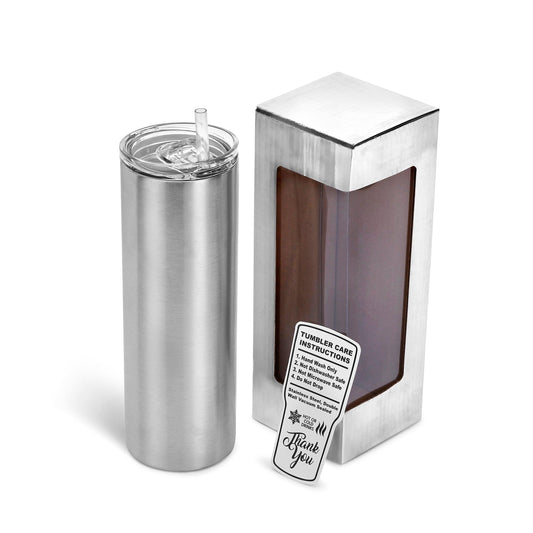
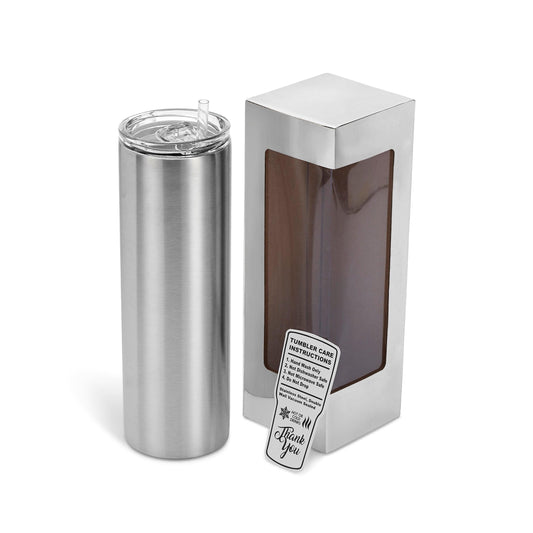
- Stainless steel or pre-sanded tumbler
- Sandpaper, loose sheets or sanding blocks, 100 grit and 220-400 grit
- Matte or semi gloss spray paint, use white or a color that’s similar to your glitter color (optional)
- Glitter glue, spray adhesive, or Epoxy to apply glitter
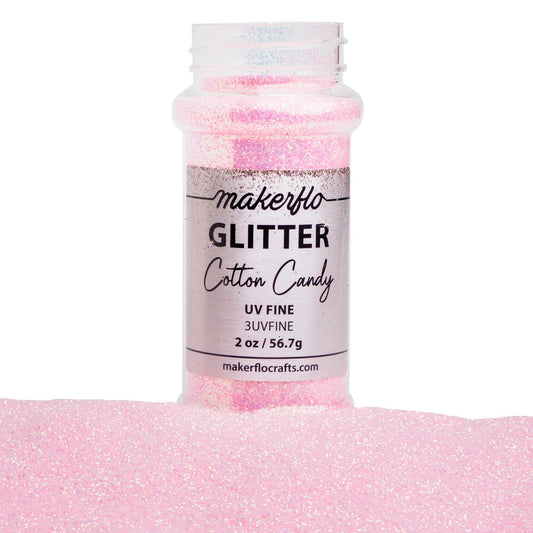
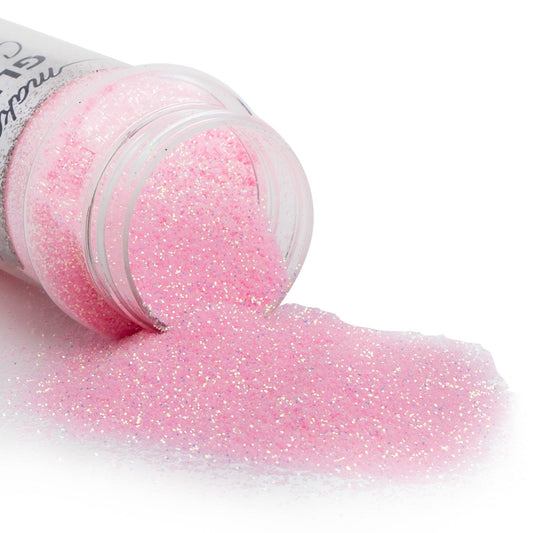
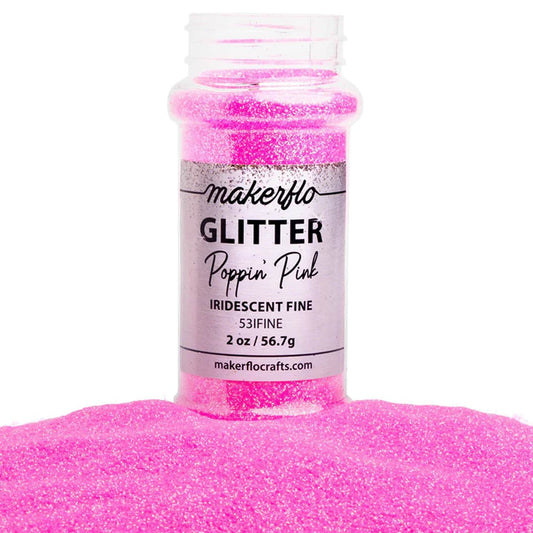
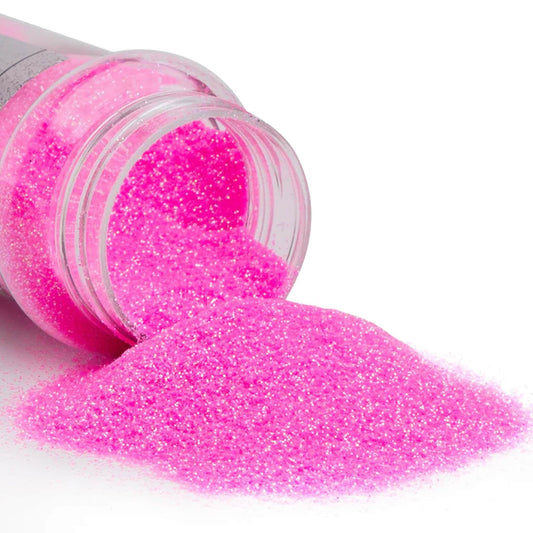
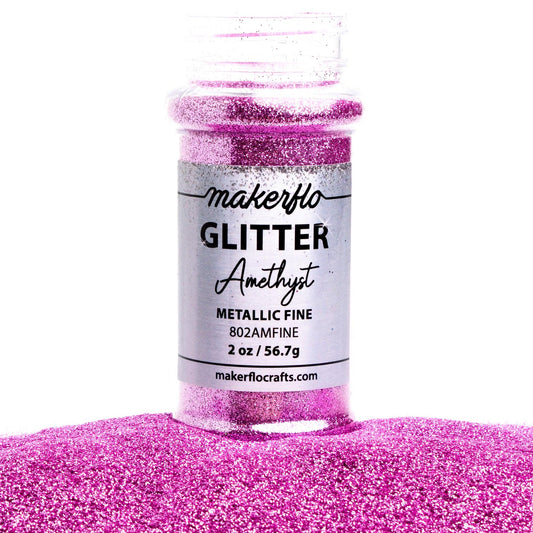
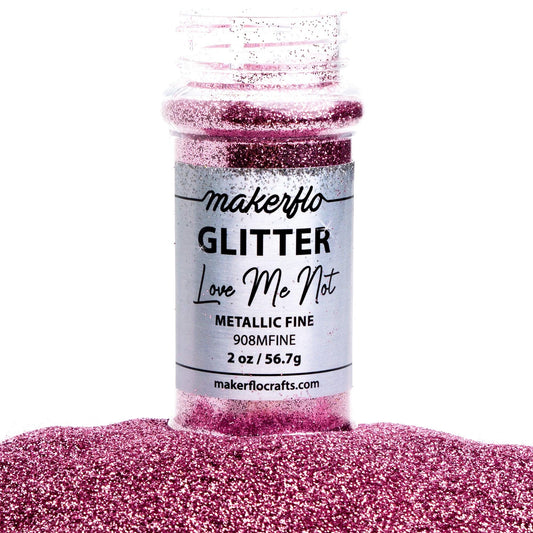
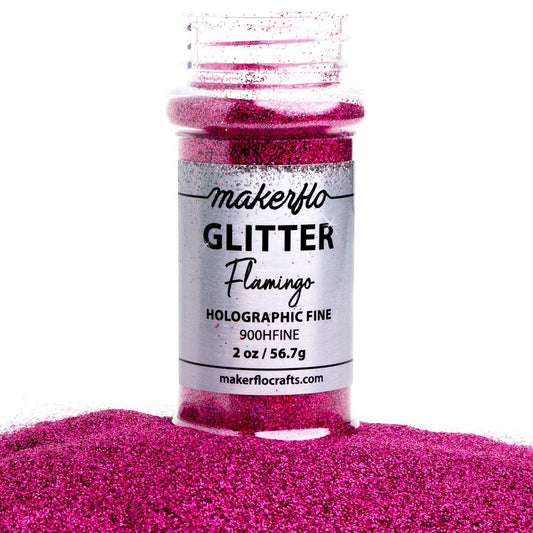
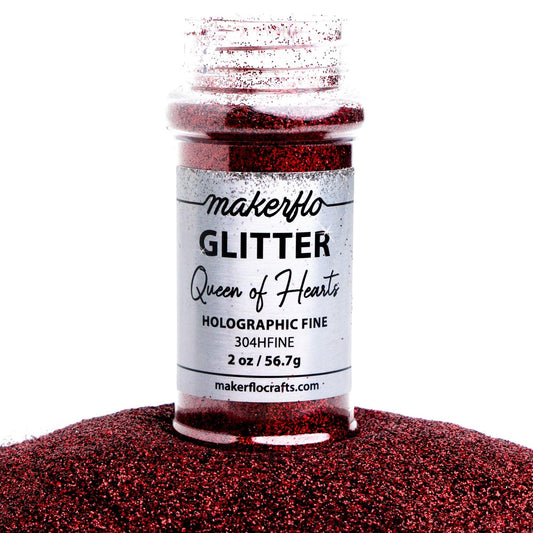
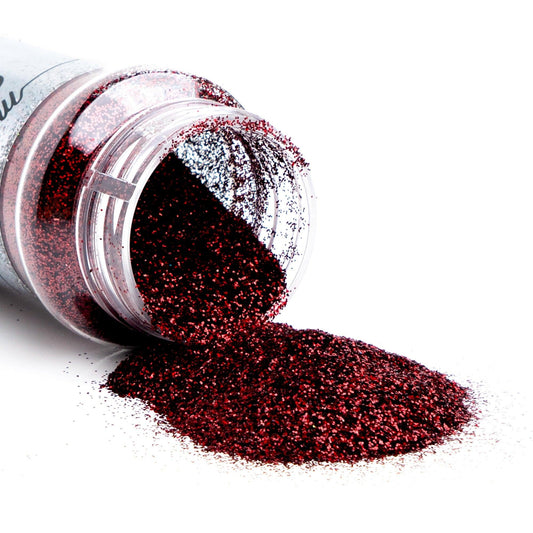
- Glitter, view our fine and chunky mixes
- Epoxy to seal the cup, we recommend our very own Flopoxy
- Cup turner, with arm and foam insert
- Kitchen torch or heat gun (as needed)
PPE (personal protective equipment)
- Particulate respirator (mask), safety goggles, and nitrile gloves
- Silicone measuring cups (reusable) or disposable plastic medicine cups
- Stir stick (stainless steel, silicone or popsicle stick)
- Surface protection (silicone mat, news paper, or parchment paper)
- Glitter catch (for saving glitter that does not stick to your tumbler) parchment paper, paper plates, manila folders or printer paper will all work
- An apron to protect your clothing, check out our MakerFlo apron
- Parchment or wax paper for flattening glitters
- 91% Rubbing alcohol
- Coffee filters, they’re perfect as a lint-free wipe
- Baby wipes for easy cleaning of stir sticks, drips
- Acetone (nail polish remover) for spray paint clean up (Only needed if using Spray Paint)
Step 1
Prepare Your Tumbler
Step 1
Prepare Your Tumbler
If your tumbler is pre-sanded, you can skip this step.
Proper preparation of your tumbler will help ensure your glitter and epoxy binds well with the stainless steel. Put on disposable gloves (any kind will work) to keep your hands clean. Sand the entire tumbler with 200-400 grit sandpaper, paying special attention to the bottom and top rim. Rinse with cool water and dry the tumbler (a black dust residue will wipe off, so don’t use your favorite kitchen towel). For best results, we would recommend wiping clean with a coffee filter & 91% rubbing alcohol to remove any residue left behind.
Save time, by starting with a pre sanded tumbler. It will take this step out of the process 100%!
Shop Stainless Steel Tumblers
Step 2
Apply a base color
Step 2
Apply a base color
This step is optional, but can help you save glitter!
Choose a matte or semi-gloss spray paint color that is close to the glitter color you’ll be using. Secure your tumbler to your turner arm (or other stand) so you don’t have to transfer it while it’s drying.
Spray paint outdoors or in a well-ventilated area, shake can well, and apply following manufacturer directions (usually about 2” away, in short, even bursts across the tumbler surface).
Let it dry completely according to the paint manufacture recommendations.
Shop MakerFlo's FLOPOXY
Tips From Crafters
-
When sanding, try the “water test." Take a new tumbler and run it under water; you’ll see the water beads and rolls off the surface. Now, sand the tumbler and try again. You’ve sanded enough when the water sticks to the tumbler surface and “sheets off.” Tumblers come with a coating to reduce fingerprints, this coating repels water (and epoxy), which is why we need to sand it.
- Sandra
-
As a parent of a kindergartner, I find myself surrounded by piles and piles of returned class projects and homework. After making sure it’s not “framed-and-on the-wall worthy” document, I like to upcycle these pages as desk protectors.
-Jena
-
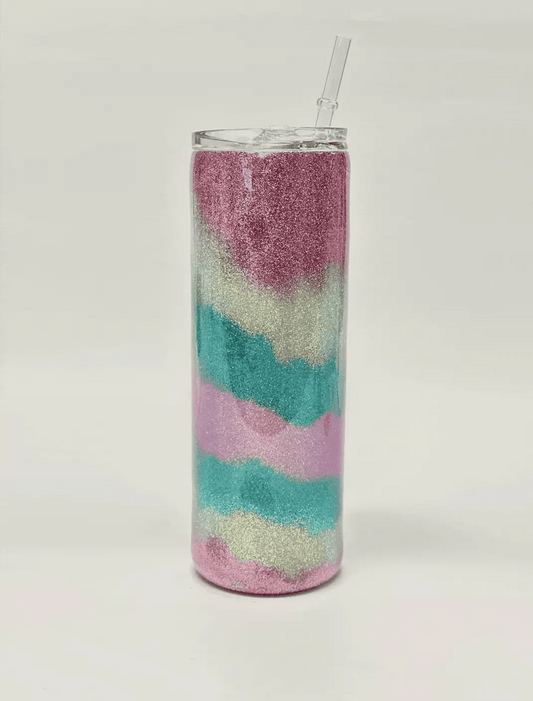
By using a base color that closely matches your glitter, you save time and money! It provides the appearance of better coverage while using less glitter. Also, some semi-translucent glitters (commonly called “cheat glitters”) take on the color(s) from the base under it! This is a great way to achieve the popular unicorn or rainbow burst look.
-Toni
Step 3
Prep Your crafting area
Step 3
Prep Your crafting area
It’s important to prep your working area just like you prepped your tumbler. By taking a minute to grab all of your supplies, you’ll save a lot of frustration (and potentially your entire design) later.
Before you bust out your glitter, epoxy/glue, protect your work area and flooring. Try laying down a large silicone mat, a disposable cookie sheet, old newspapers or printer paper under your working space. This will help prevent drips of sticky glue or epoxy from ruining your dining room table or the carpet in your family room. And it'll hopefully keep the glitter bomb to a minimum.
Next, get something to catch your “overflow” glitter. Finding something that’s not sticky and easily bendable will help you to pour the extra glitter back into the MakerFlo glitter jars. This could be parchment paper, a paper plate or even a manila folder.
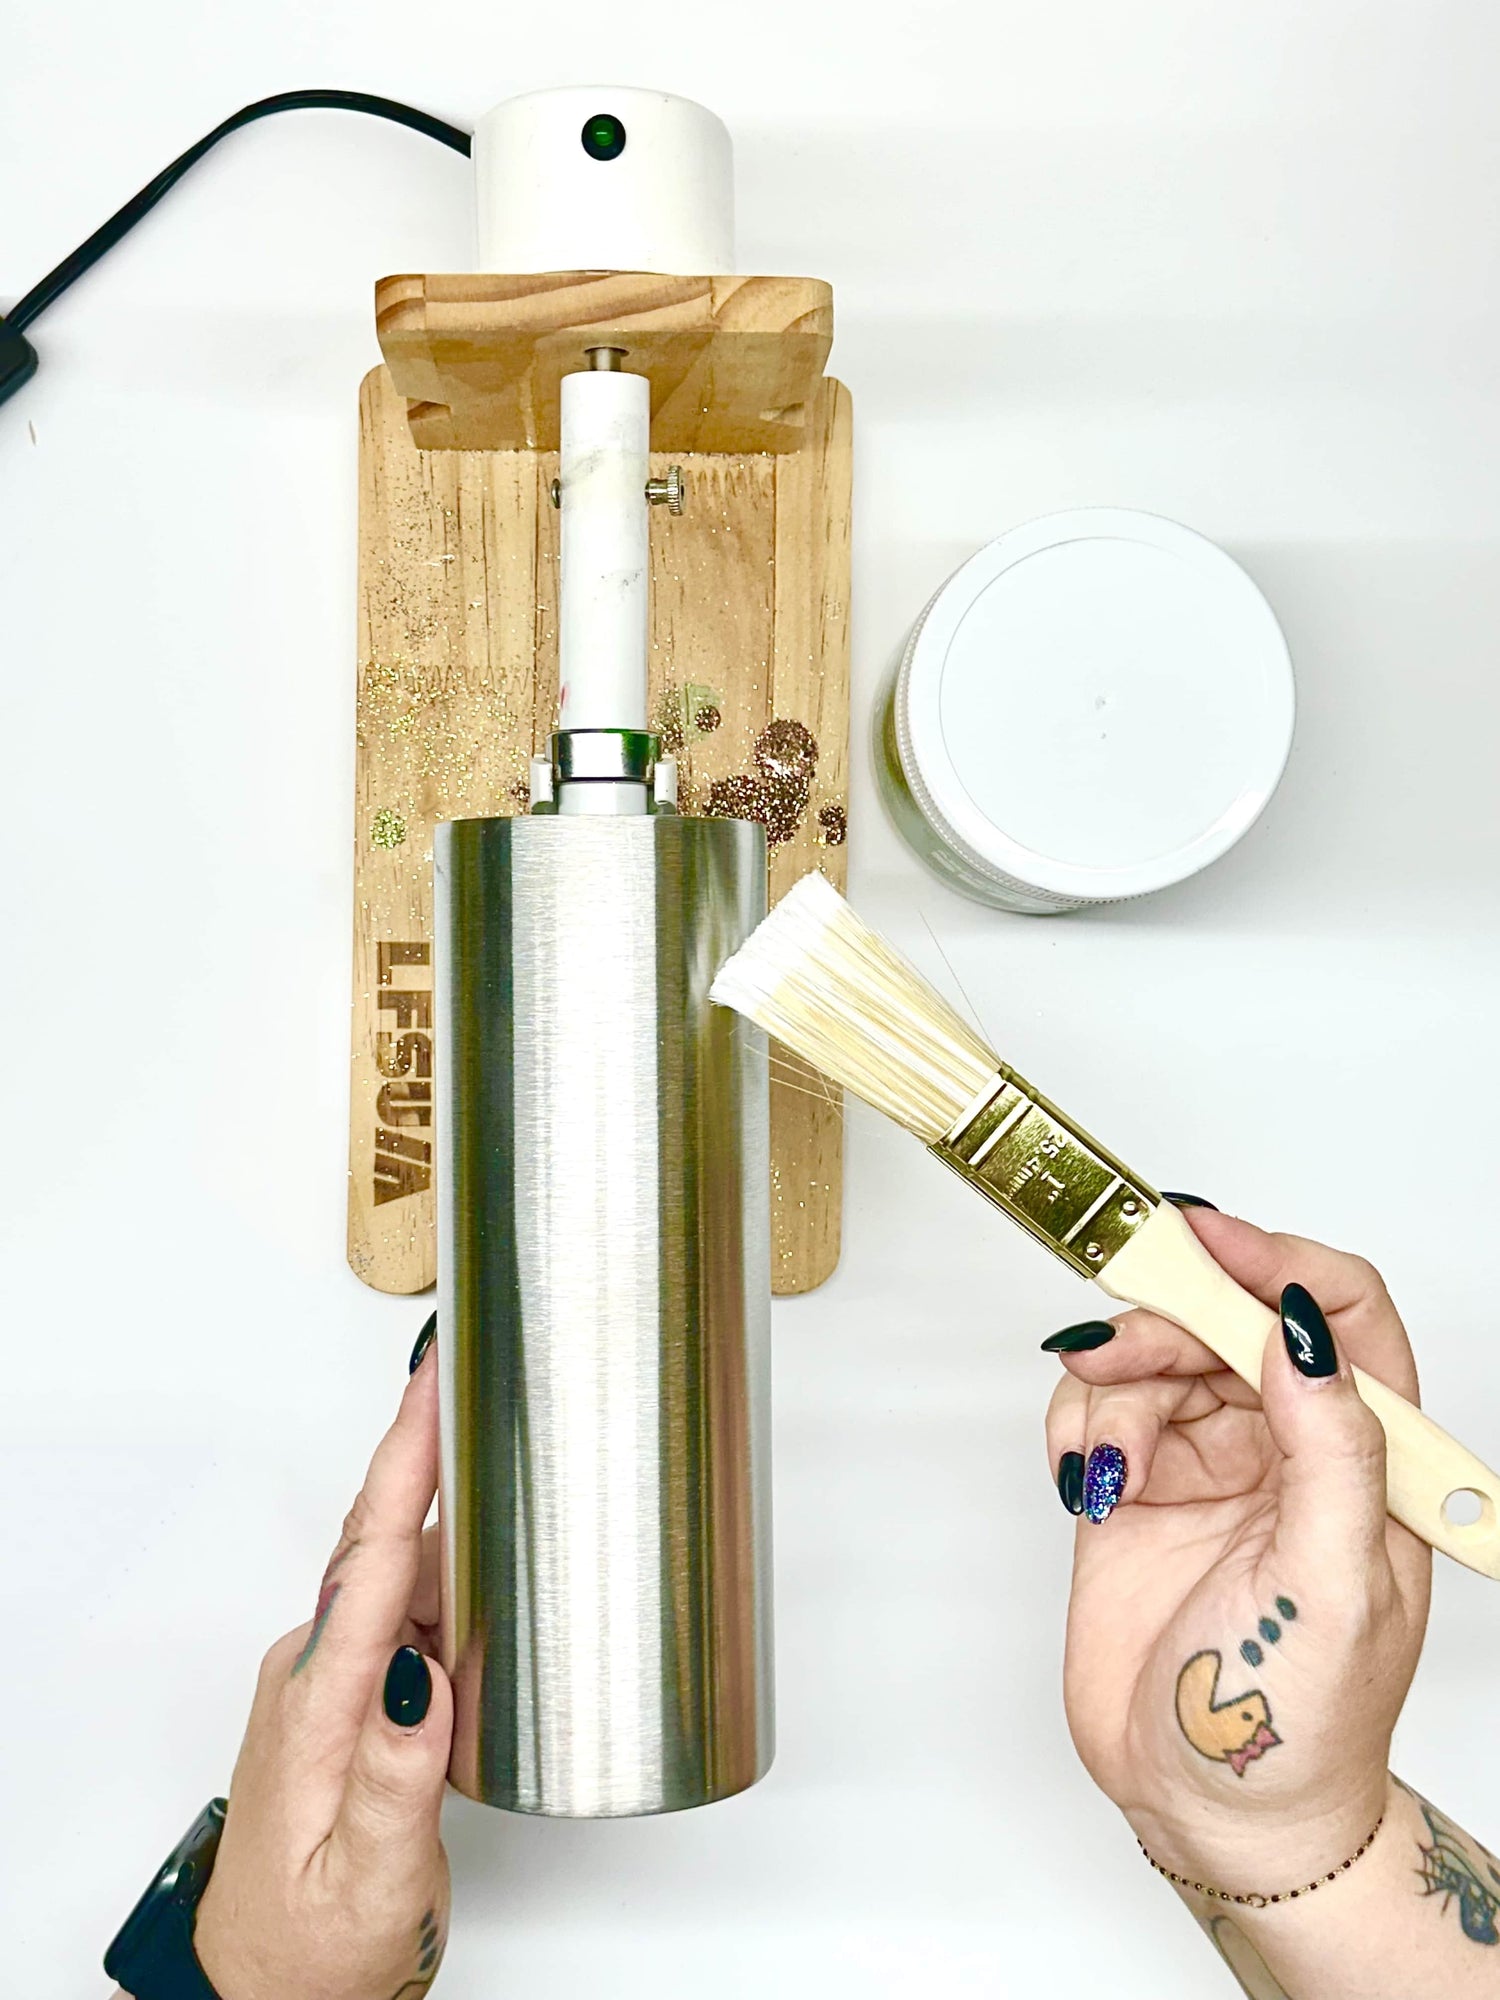
Now it’s time to put your tumbler on the turner. Make sure it's securely attached to the turner arm using a foam insert (some crafters use small footballs as an insert) and attached to your turner.
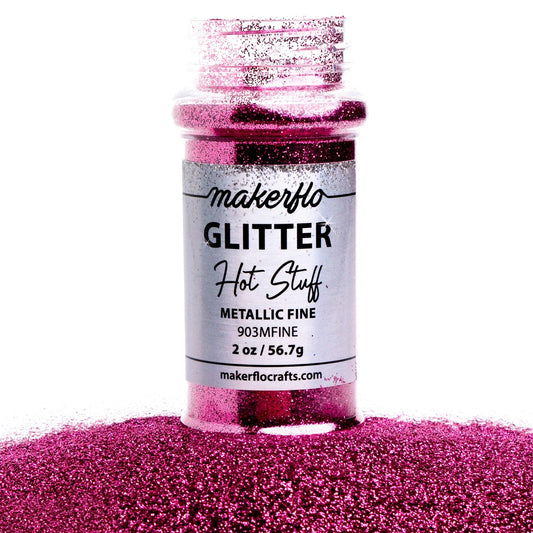
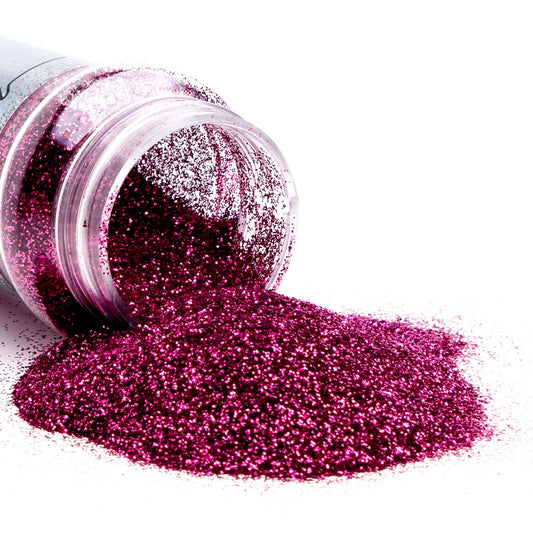
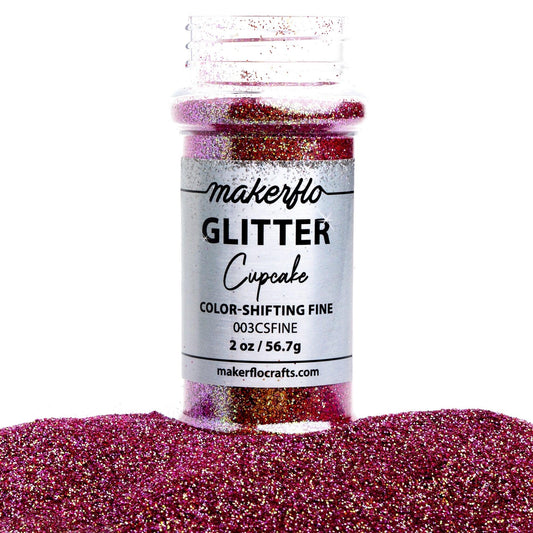
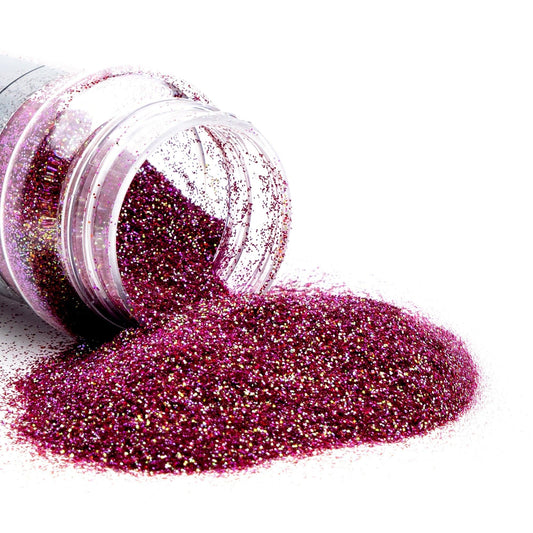
Shop Fine Glitter
Fine Glitter is easiest to work with if you're just starting out, because it provides the best coverage and lays flat onto your epoxy base.


Step 4
Adhere Glitter with Epoxy or Glitter Glue
Step 4
Adhere Glitter with Epoxy or Glitter Glue
You can use glue or epoxy to adhere your glitter. Generally if you’re working with a non-epoxy water based finish, you will need to use glue or spray adhesive.
Using Epoxy to Adhere Glitter
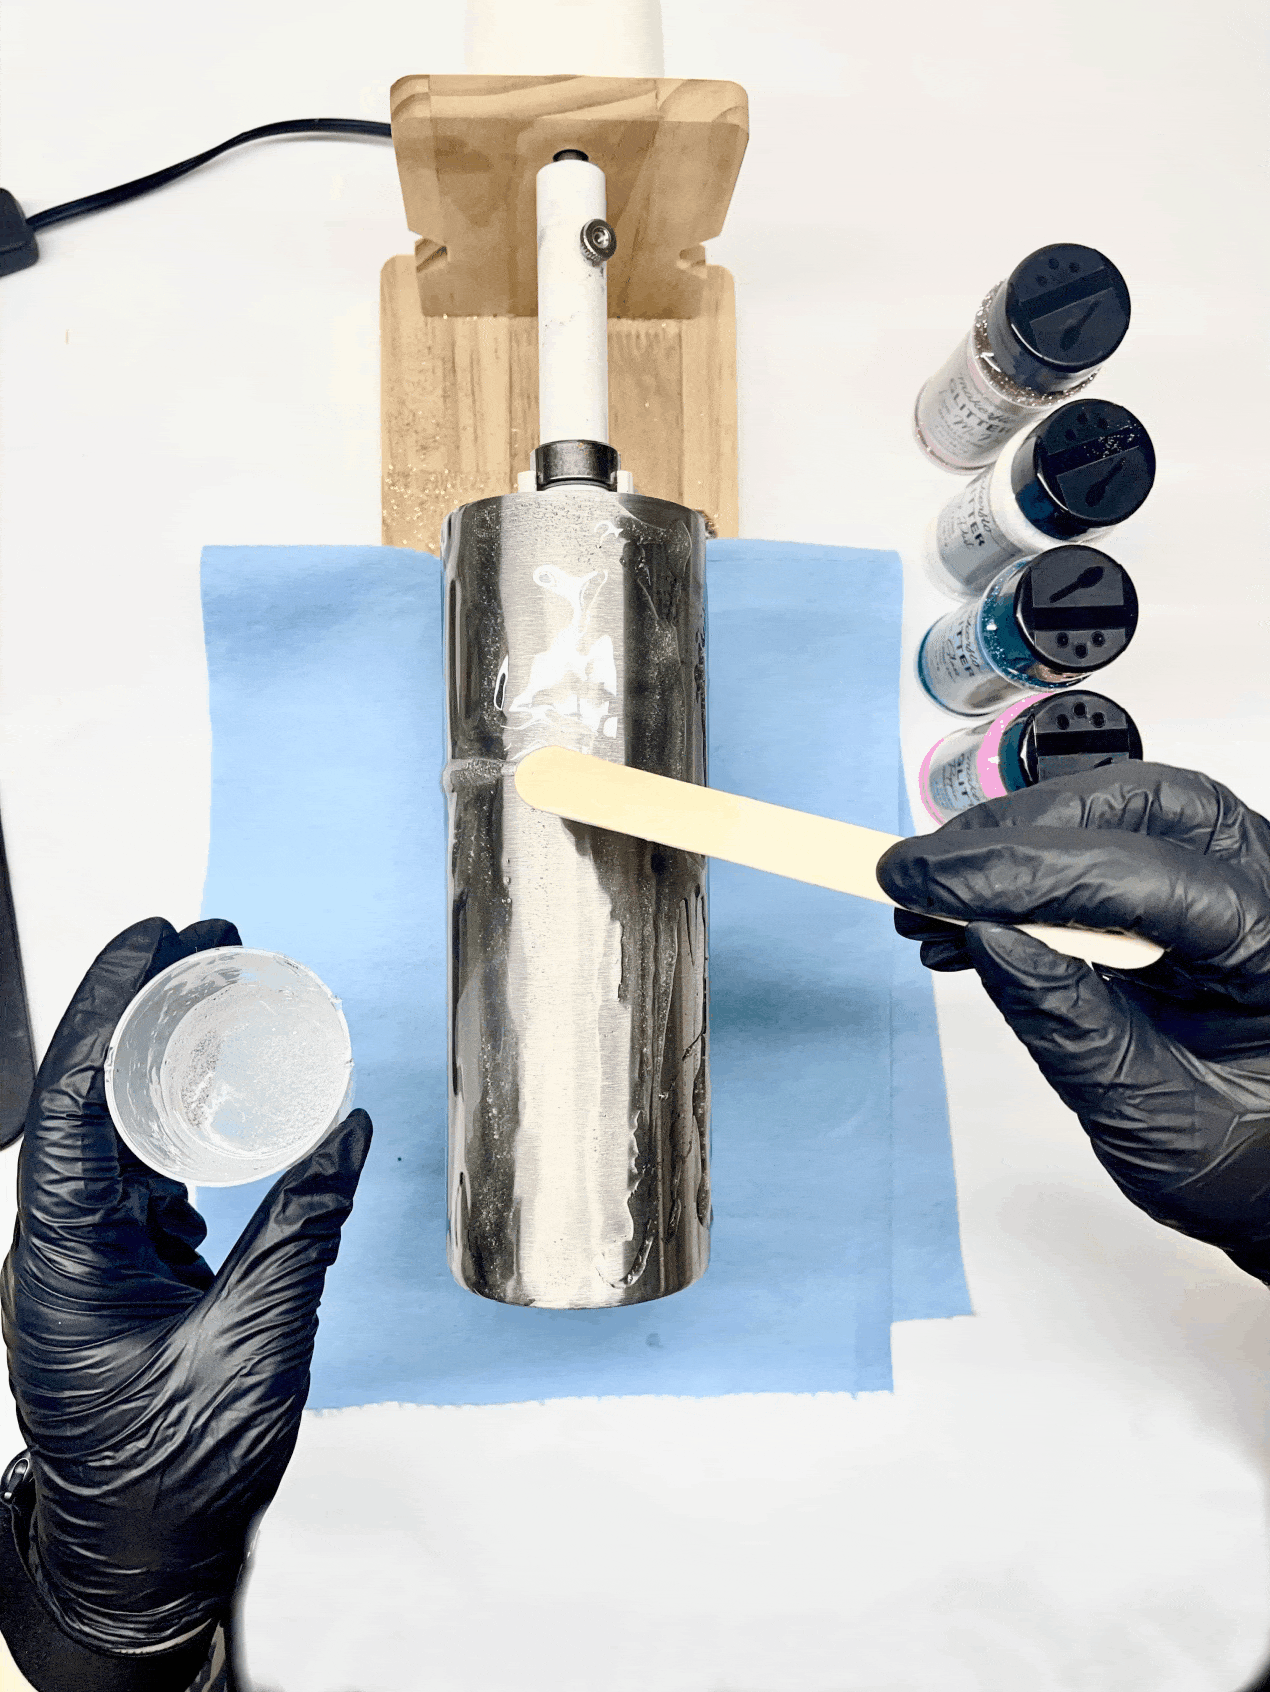
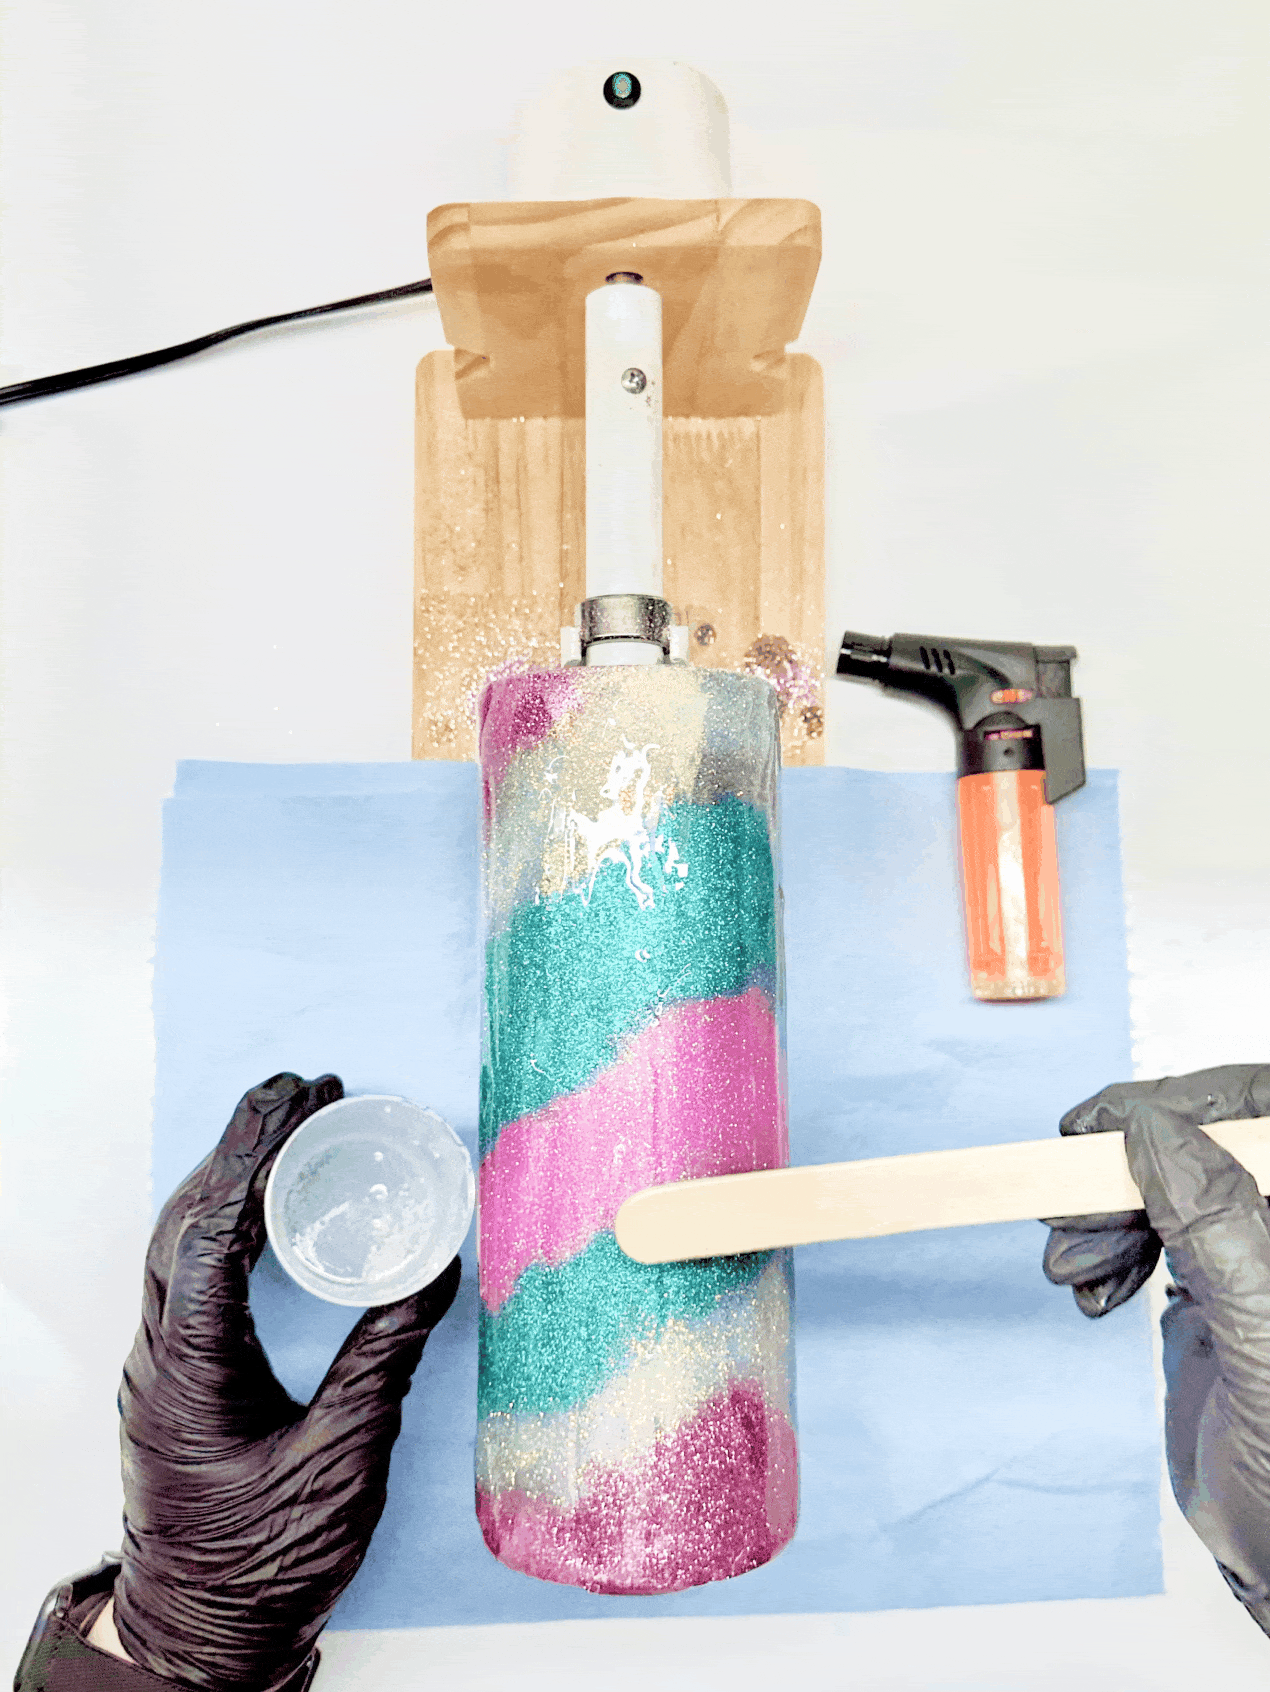
We recommend FloPoxy Using proper PPE, mix parts A and B per manufacturer’s instruction. Apply a small amount of epoxy, 10-20ml depending on cup size, to the tumbler using a gloved hand or a silicone brush. This should be just enough to cover the entire tumbler with a paper-thin coating.
Using Glue to Adhere Glitter
Squeeze out a line of glue and spread it evenly over the entire tumbler surface, using a slightly damp, soft bristled brush. Pay special attention to the top rim and bottom of your tumbler. With your glitter catch sheet in place, generously pour glitter over the wet glue making sure to coat the entire tumbler until no more glitter sticks. Leave turning for 1 hour, then using wax or parchment paper, press the glitter down. This helps flatten and smooth the surface, saving you time later. Allow glitter glue to dry for a total of 2 hours before proceeding.
Next, slide your glitter catch sheet under the tumbler, and start pouring on your glitter. Once fully coated (including the bottom), tap the turner arm a few times to release any loose glitter. Repeat application/tapping as needed until full coverage is achieved. If using Flopoxy, your first coat will be dry to touch within 2-4 hours and ready for more Epoxy!
For all other Epoxies, follow your manufacturer’s directions for dry time, usually between 8-12 hours per coat, before proceeding.

Tips From Crafters
-
If using a spray adhesive, make sure it clearly states that it is non-yellowing and be aware of your surroundings when you spray (adhesive mist is hard to get out of carpet, clothing, etc).
-Holly
-
Fine glitters are the easiest to use! They provide great coverage.
-Lisa
-
Make sure to read your epoxy bottle safety label. Most epoxies require the use of nitrile gloves, particulate respirators (masks), and recommend wearing long sleeves and working in a well-ventilated area when working with Epoxy.
-Stephanie
Step 5
Apply your top coats
Step 5
Apply your top coats
For this step you can use water based finishes or epoxy based finishes (like Flopoxy). The methods for these different finishing types are different. So please refer to the relevant info below.
*Using Epoxy Top Coat Over Glitter
If using epoxy as your top coat, make sure to put on your PPE (mask, gloves, apron) and craft in a well ventilated area.
Using a silicone measuring cup or disposable plastic medicine cups, follow your epoxy manufacturer instructions for mixing parts A and B (most epoxies are equal parts, ie: 15ml of part A and 15ml of part B). When it comes to stirring your epoxy, stir slowly, this will help reduce the amount of bubbles produced! You can use a metal, silicone, or popsicle style stir stick.
Be sure to mix enough epoxy to cover the entire tumbler; about 30ml total for a 30oz tumbler. Mix according to manufacturer instructions, for Flopoxy, we recommend stirring slowly and thoroughly, not vigorously, for 3-4 minutes to minimize bubbles. Try scraping the sides of the mixing cup, the bottom and the stir stick, ensuring a very well mixed epoxy.
Your ‘exposed’ glitter will always soak up more epoxy than the finishing layers that follow. Be sure to mix enough epoxy to cover the entire tumbler in one batch.
Helpful Hint: After mixing, most epoxies have between 15 and 20 minutes before it starts to thicken and become tacky. So be sure you’re ready to use the epoxy before you start mixing. (see Step 3 prepping your craft area)
With your tumbler attached, turn your cup turner on. Begin applying the epoxy to the tumbler with a gloved hand or silicone brush, slowly spreading across the entire tumbler (don’t forget the bottom).
If you see air bubbles, let spin for 3-5 minutes and quickly take a torch or heat gun to the surface to pop any micro bubbles (keep a safe distance about 4”-6” from the tumbler, waving the torch or heat gun quickly so you don’t overheat). Allow the tumbler to dry the minimum amount of time before moving on. (Resist the temptation to TOUCH the tumbler until the dry time has passed. You will leave a fingerprint or indent.) If you see no air bubbles, proceed to the next step!
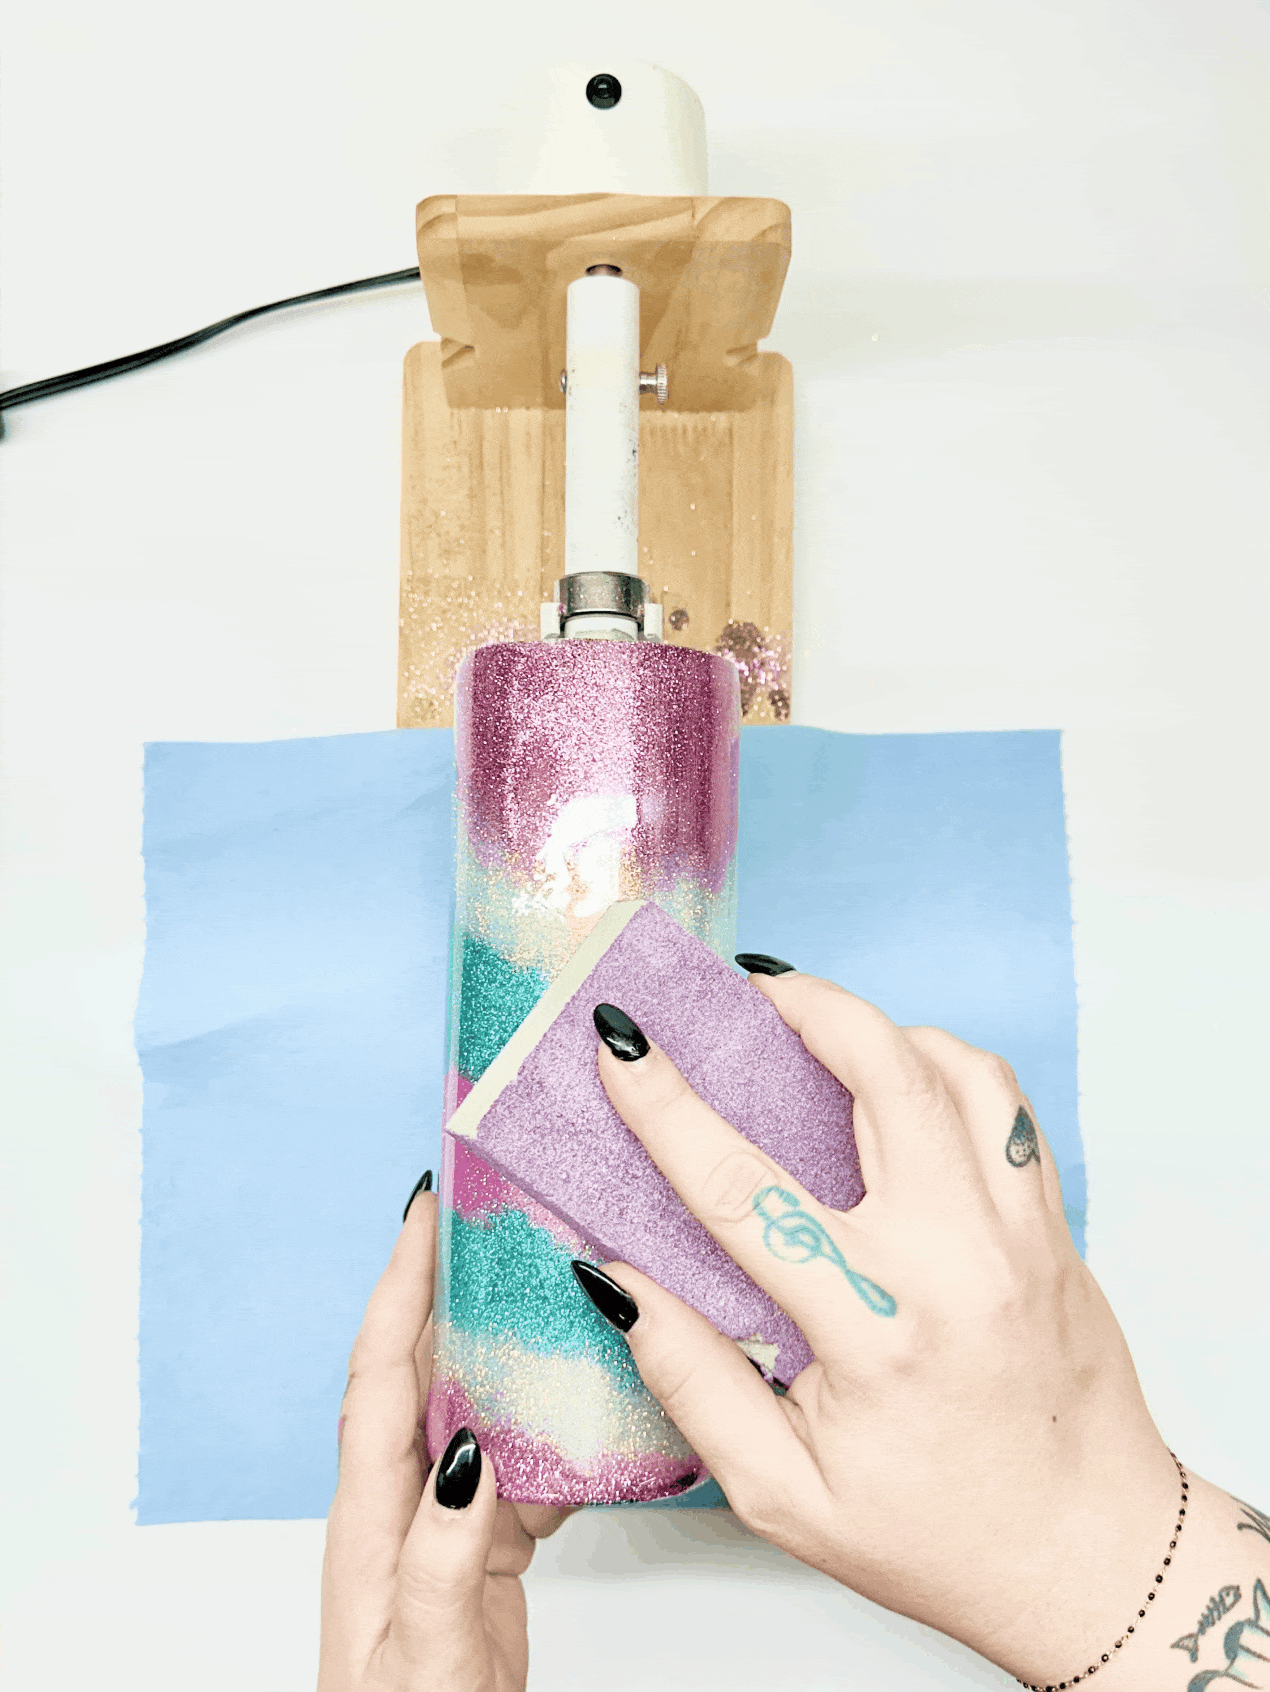
Once the dry time for the first layer has passed, check the tumbler for a smooth, dry, finish. If any glitter is still poking through, do a light sand with 100 grit sandpaper, rinse and dry with a coffee filter, return to the turner and apply a second, much thinner layer of epoxy (15-20ml total). You will repeat adding coats and lightly sanding until smooth.
**Using Water Based Finish Over Glitter
When using a water based finish, you will notice a few positives in the use, because the product is water-based and safe for use with your bare hands (should you choose). Also the work can be done indoors because it does not produce toxic fumes. Most water based finishes must be applied in multiple thin layers, with at least 1 hour on the turner and a total of 4 hours drying between layers. (Always follow manufacturer instructions to ensure best use of the product)
With the tumbler spinning on the turner, apply your first thin layer of water based finish, using a gloved or bare finger or a brush. Once full coverage is achieved, start a 1 hour timer. After 1 hour, the tumbler can be moved off the turner and stored in a vertical fashion for another 3 hours to fully dry. (This would free up your turner for another tumbler).
After 4 layers of water based finish (with 4-hour dry time in between each layer), do a very light sand (100 grit sandpaper), rinse with cool water and dry with a clean coffee filter for a lint-free finish. Return the tumbler to the turner and continue applying layers of the water based finish and sand every 4 layers until smooth.
Tips From Crafters
-
I like to use 100ml silicone mixing cups for my epoxy. You can reuse the cup and it’s large enough to mix enough epoxy for 2 or 3 tumblers without worrying about spilling. Also, I like to keep small keychain or earring molds close by, so if I happen to have extra mixed epoxy, I can drop it in the mold and make cute extras (instead of wasting it).
-Callie
-
Baby wipes are great to use for wiping off silicone or metal stir sticks (and any drips that might happen).
-Janelle
-
Most epoxies are measured by volume (physical space it takes up) and not weight. Measuring parts A and B in a cup with “ml” (milliliter) measurements will give you the most accurate mixture.
-Lisa
Step 6
Adding decals, Waterslides or vinyl
Step 6
Adding decals, Waterslides or vinyl
Once you have a smooth tumbler, you can add a decal, waterslide or vinyl design. After application of these designs, you’ll need to repeat your top coat and sanding step until the top finish is perfectly smooth.
Step 7
cleaning your tumbler for resale
Step 7
cleaning your tumbler for resale
After you've reached your desired look with glitter/decals by sanding and adding top coats until smooth, next you’ll want to clean up the inside of the tumbler. This process will also depend on if you used epoxy or a water based finish.
Epoxy Top Coat Tumbler Clean Up
If you used an epoxy top coat, you can use rubbing alcohol to clean up any overflow/drips that went inside the tumbler. Wash with mild soap, lukewarm water and dry. With Flopoxy, you will get a full cure in 24 hours!!! Other regular epoxy tumblers are set enough for gentle handling or shipment after 72 hours of drying, but full cure time can take between 15-30 days.
Water Based Top Coat Tumbler Clean Up
If you used water based finishing products, use extreme caution to keep rubbing alcohol away from your finished surface. To clean the inside of the tumbler (any overflow/drips of paint, glue or BT) use a mild soap, lukewarm water and a gentle scrubber. Rinse in cool water and dry. Remember, water based finishing products can take 28 days to fully set, so gentle handling is required.

Step 8
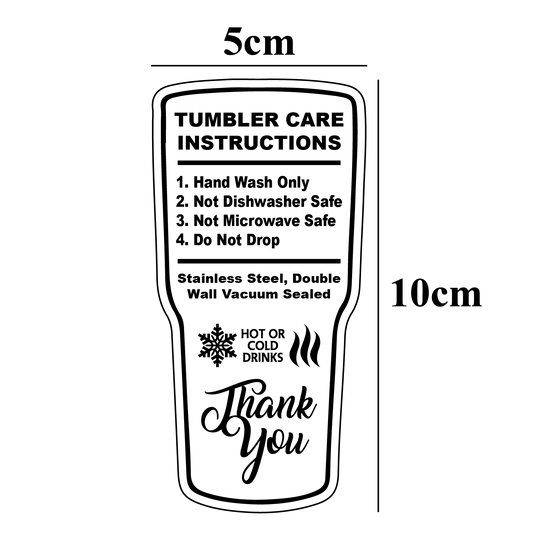
Tumbler Care
Step 8
Tumbler Care
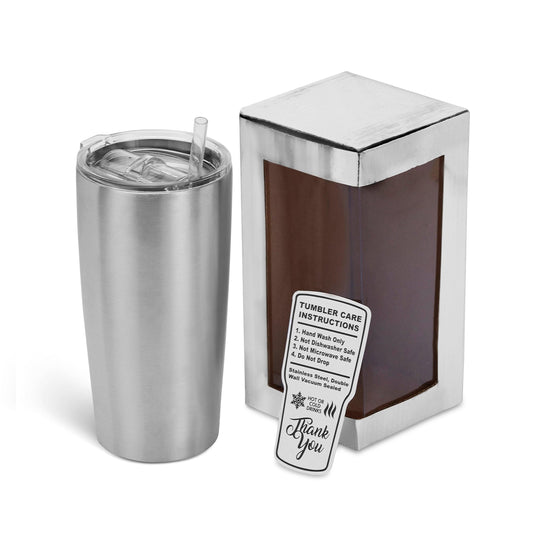
Gentle handling and care should be given to your crafted tumbler throughout it’s life to maintain it’s seal and the hard work you put into crafting it!
Make sure your customers know that dishwashing can break the tumbler’s seal, meaning it will not maintain the hot or cold temperature of the beverage. Whether crafting a tumbler for yourself or a client, take extra special care in the first 30 days, as the top coat is still curing. (Unless you used Flopoxy, then you are all set in 24 hours!)
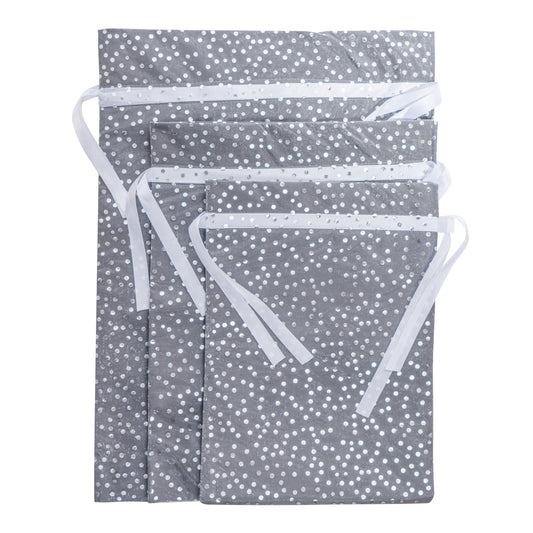
Each MakerFlo tumbler and cup comes with related accessories to include straw(s), lid(s), care card and gift box so that your packaging can match the quality of your craftsmanship.
We also carry replacement lids, straws as well as Tumbler gift bags in the original accessory goes astray.
Shop Tumbler Toppers, Accessories & Replacement


Step 9
PhotoshootS AND VIDEOS
Step 9
PhotoshootS AND VIDEOS
Optional.
If it’s your first or your 100th tumbler, don’t forget about snapping some photos of your creation! You’ll want to keep some images of each of your creations, especially if you sold it to a customer, or gifted it to family or friends, so you can use examples of your work to promote new business!
For best results, we recommend:
- Using natural sunlight (whenever possible) as it makes our glitters sparkle better in photos
- Try to find a natural and neutral space to take your tumbler photos, whether it’s a nice green patch of grass, fresh snow or a fuzzy blanket. Avoid patterns or busy backgrounds, since they provide less contrast and distract from your beautiful creation
- Photos are great, but videos can help capture the amazing sparkle that glitter gives off. Be sure to take both so you can share everywhere
- Don’t be afraid to use a photo editing app to adjust lighting, contrast or add text or logos
Step 10
SHARE With your makerflo fam
Step 10
SHARE With your makerflo fam
Our MakerFlo Crafts social community is strong. Plus with our new rewards program you can now earn more points for sharing your MakerFlo crafted items!
- Tag us and use #MakerFloCrafts for a chance to be reposted on Insta & TikTok
- Get tips on our Pinterest page
- Don’t forget to join our Facebook group and share your projects and your own crafter tips with our MFC family. And when you’re ready to leave a product review on our website, remember to add a photo of your creation to score extra Flo Points.
- For tumbler inspiration view other Makerflo fam crafters' photos and reviews on our website!
- 50 points for a photo review
- 75 points for a video review
