Skip to content

DIY CRAFT GUIDE
How to sublimate a 20 ounce skinny

Getting Started
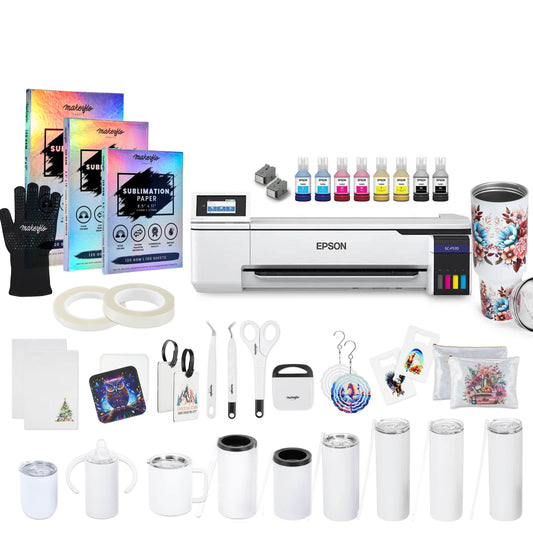
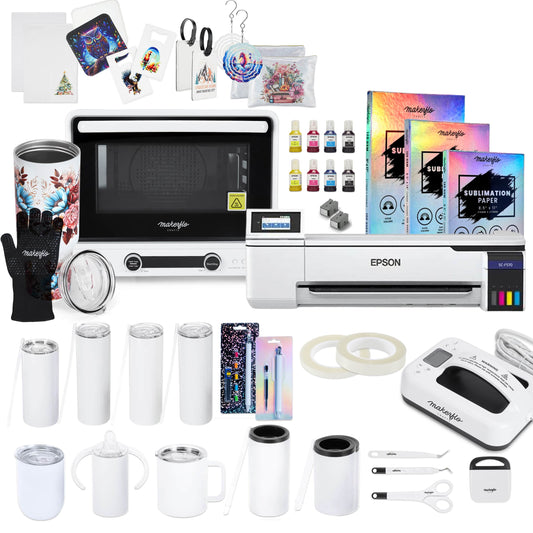
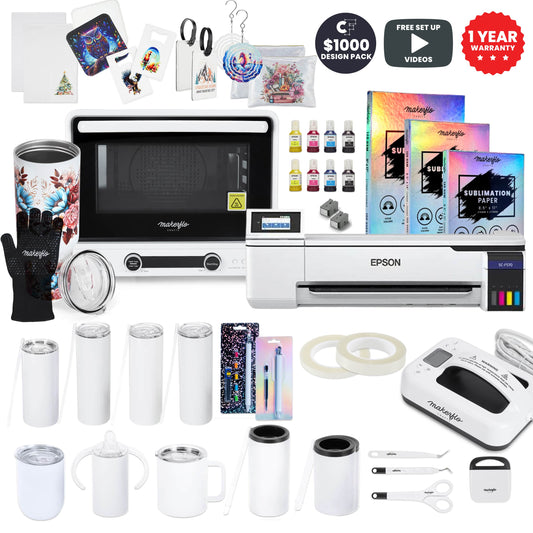
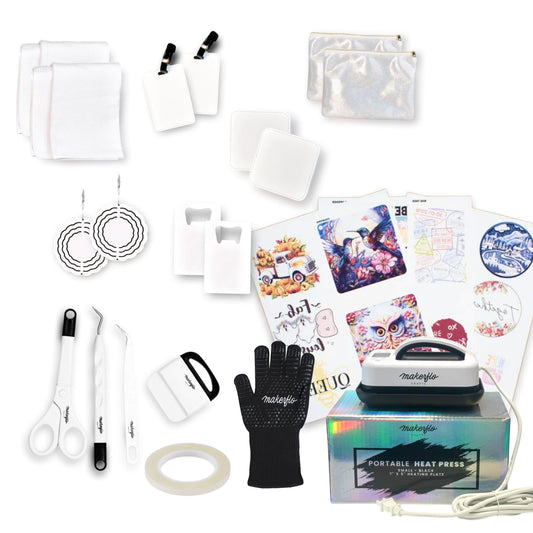
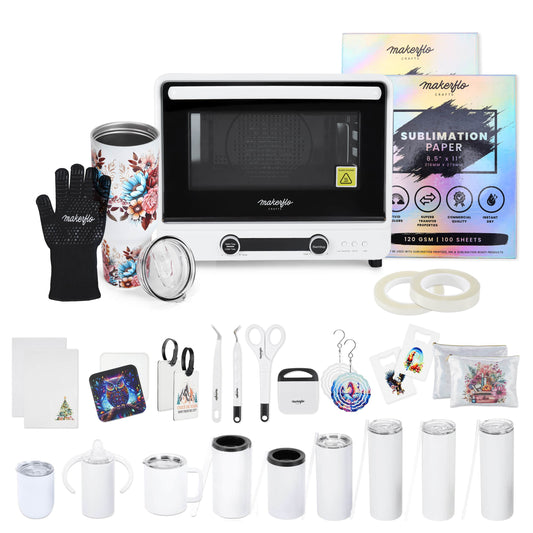
Supplies you’ll need
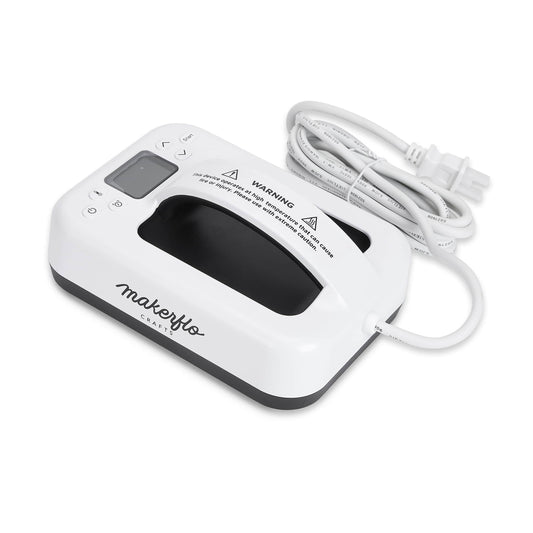
Convection Oven Method Supplies
- Convection or Craft Oven (a countertop toaster oven made specifically for crafters)
- Shrink wrap sleeves for a 20 oz. Skinny Tumbler (optional, if using shrink wrap you'll also need a heat gun or blow dryer)
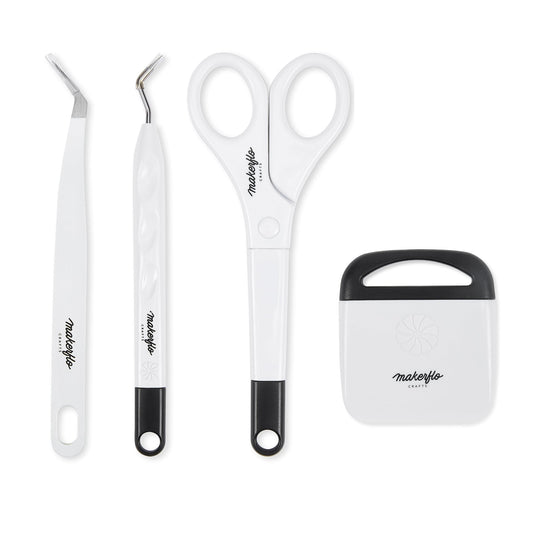
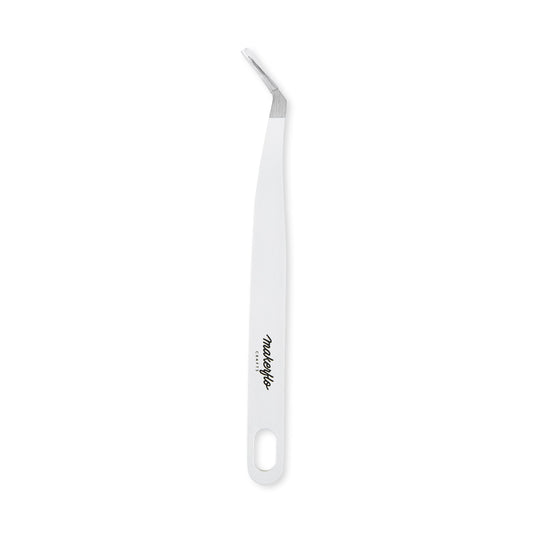
- Weeding tool
- Oven thermometer
- Timer
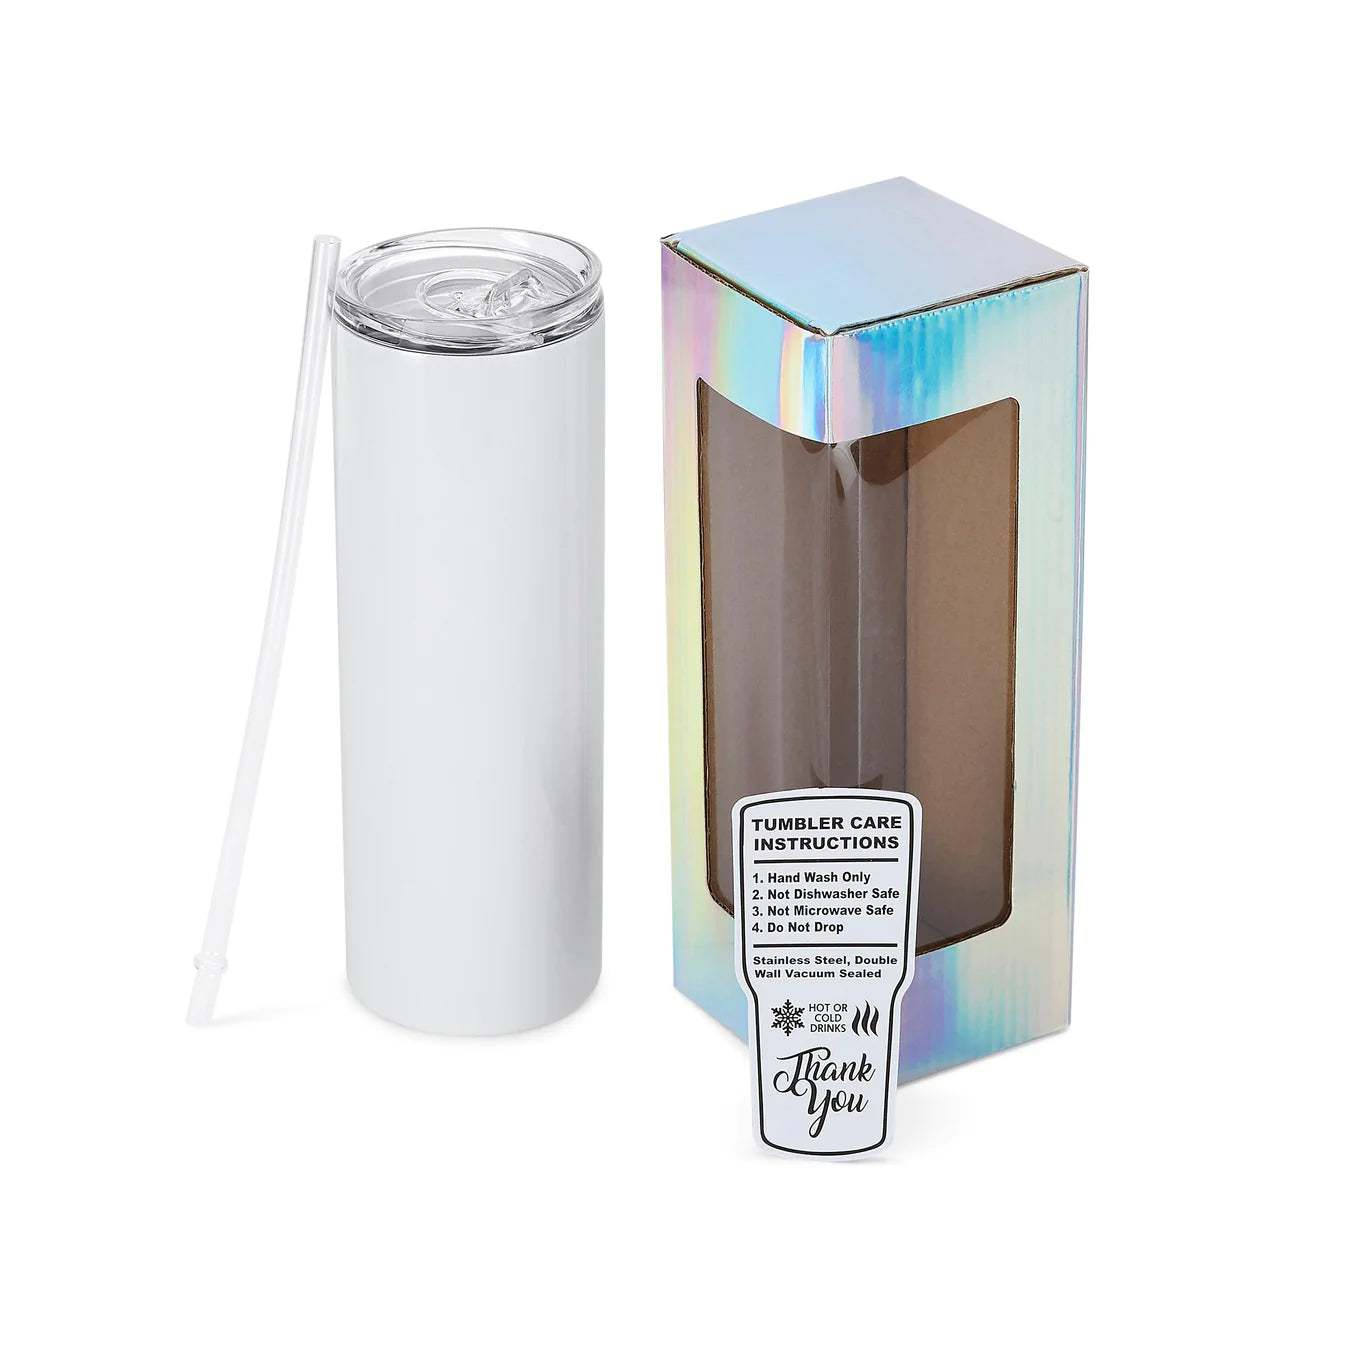
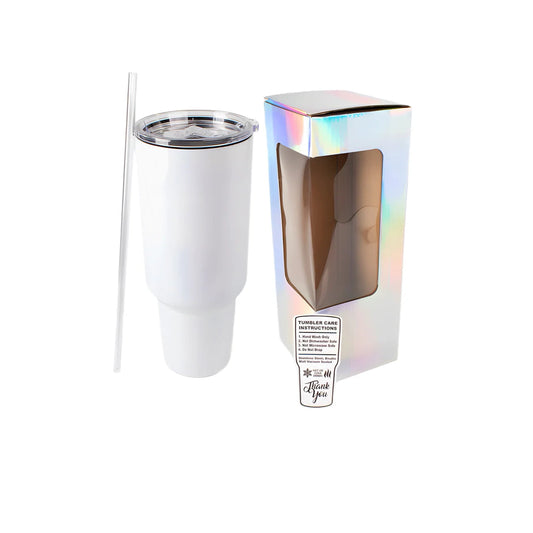
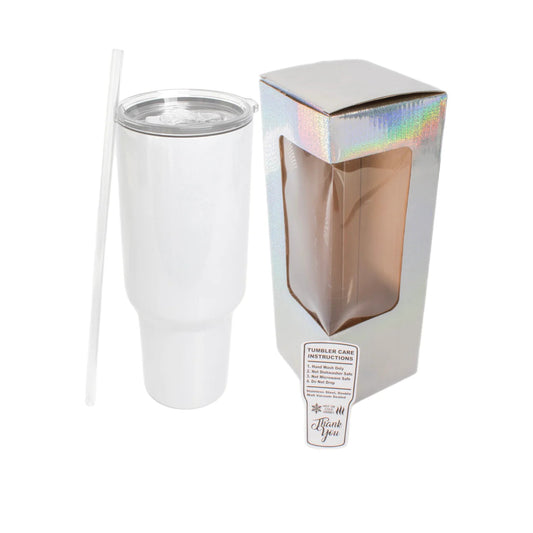
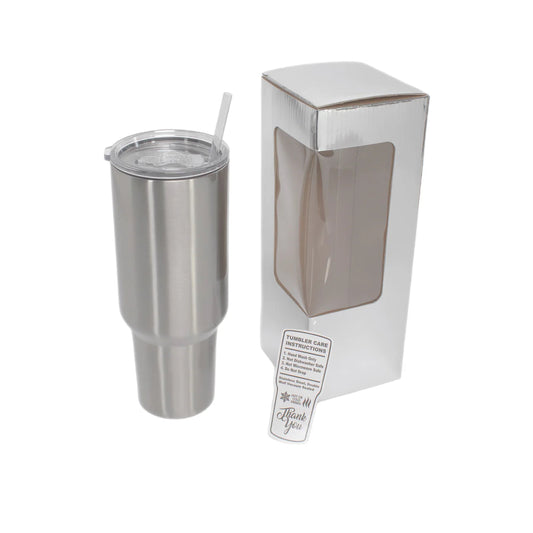
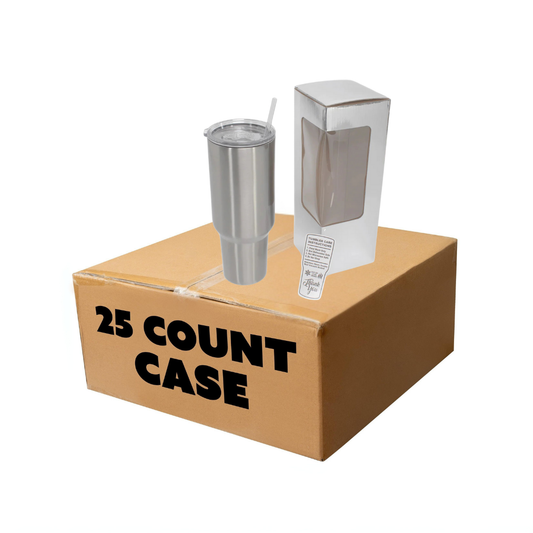
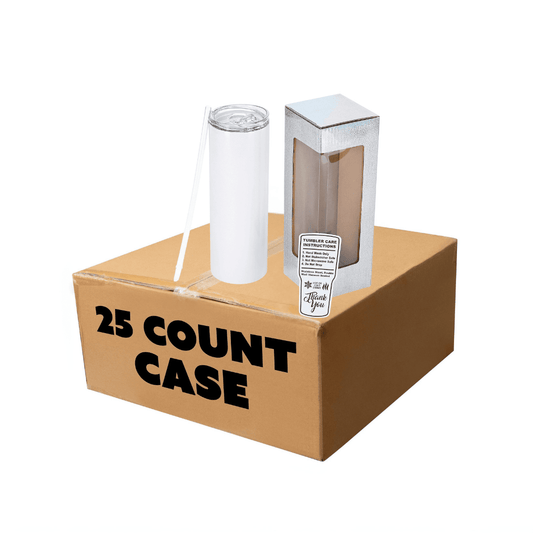
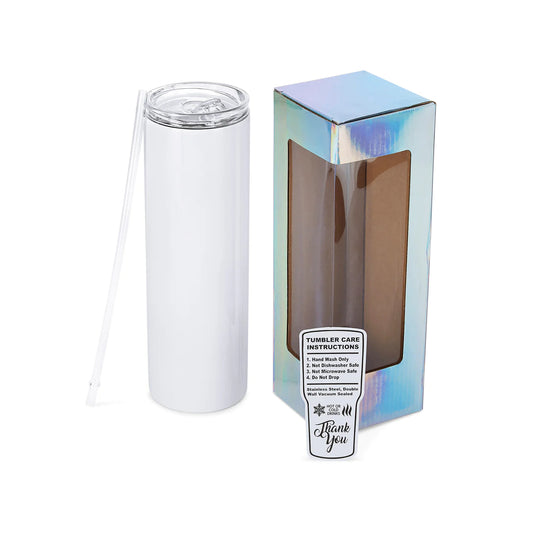
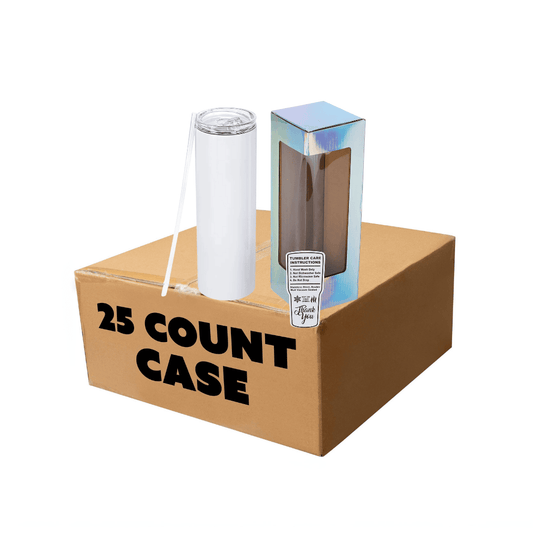
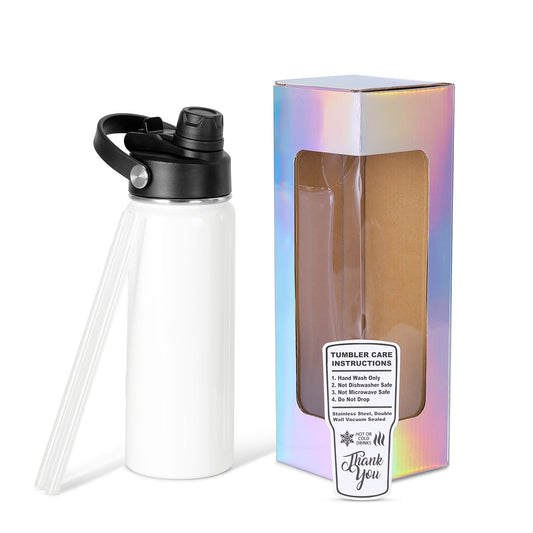
- Polymer coated sublimation tumbler
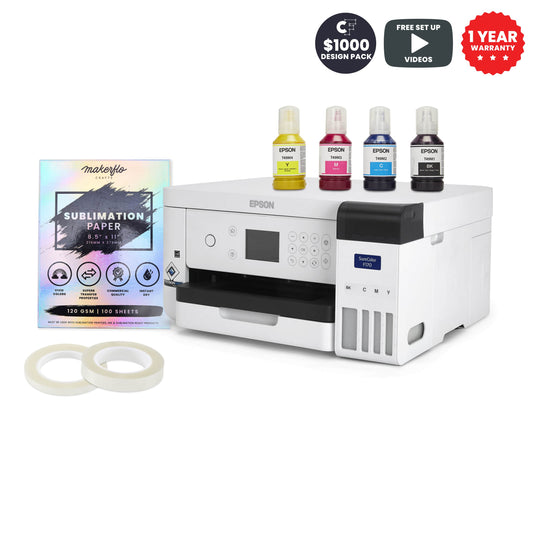
- Sublimation printer OR a printer that can be converted into a sublimation printer
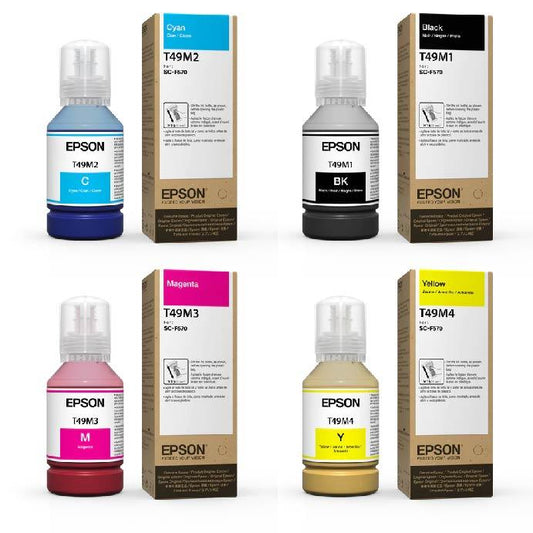
- Sublimation ink specified for your printer
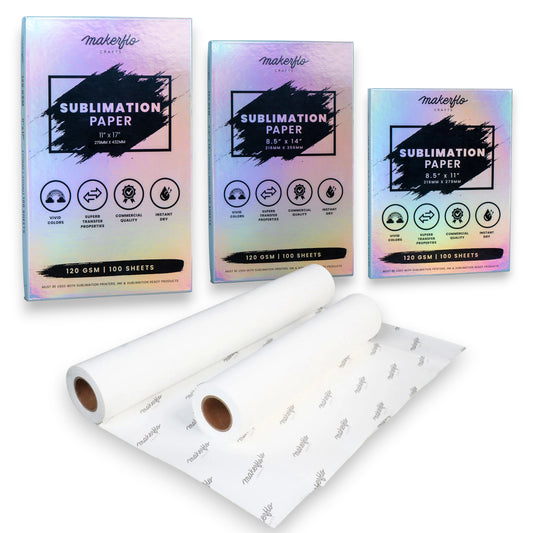
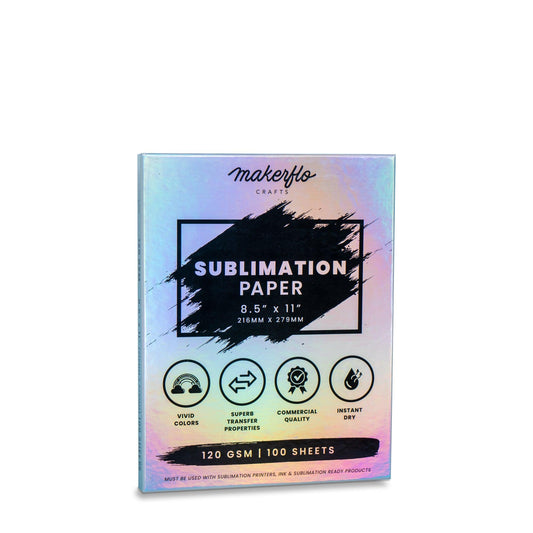
- Sublimation paper or laser paper (laser papers are pricier, but produce superior results)
- An image or design sized to the specifications of your tumbler (height x circumference)
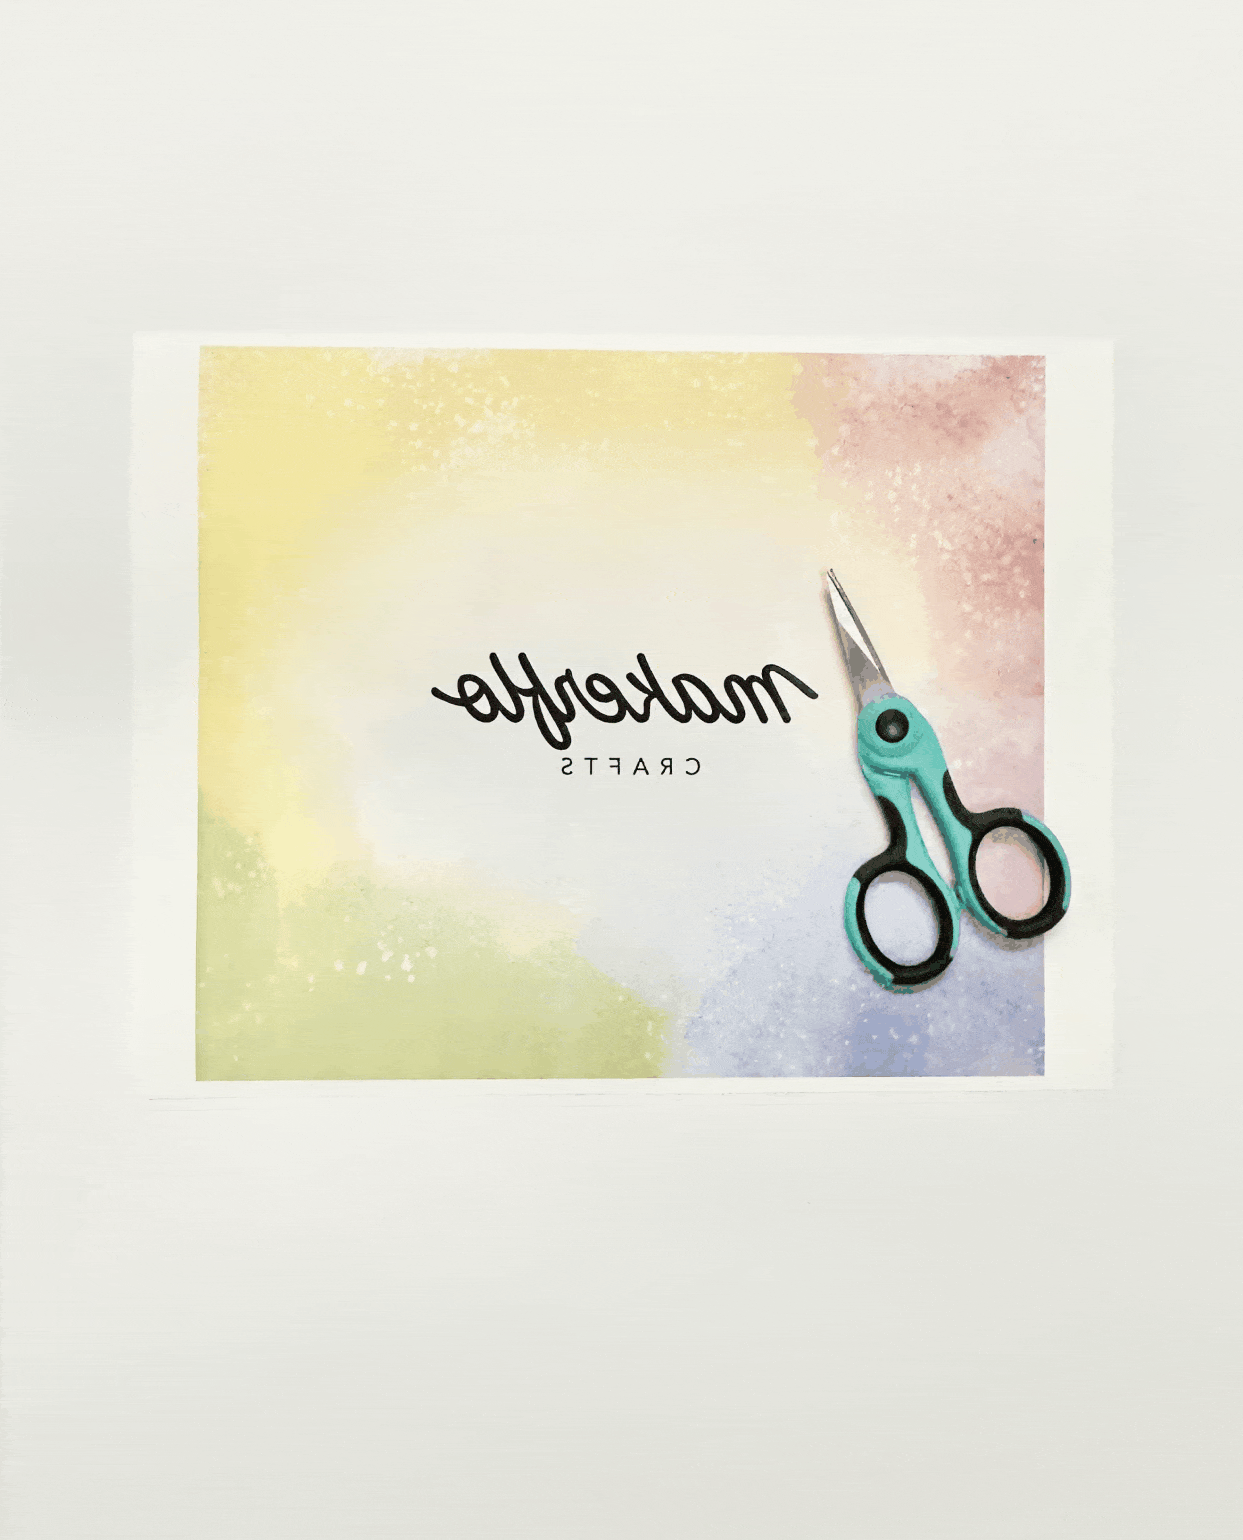
- Scissors or paper cutter to trim printed image
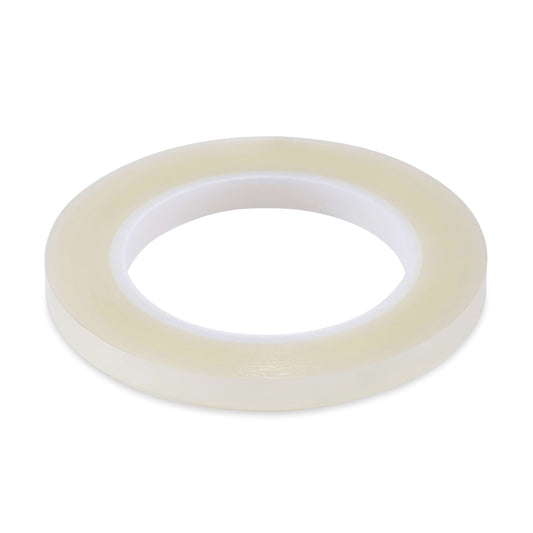
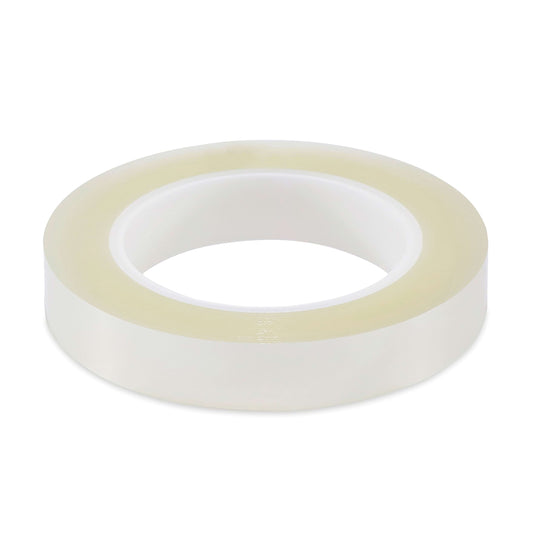
- Heat resistant/transfer tape
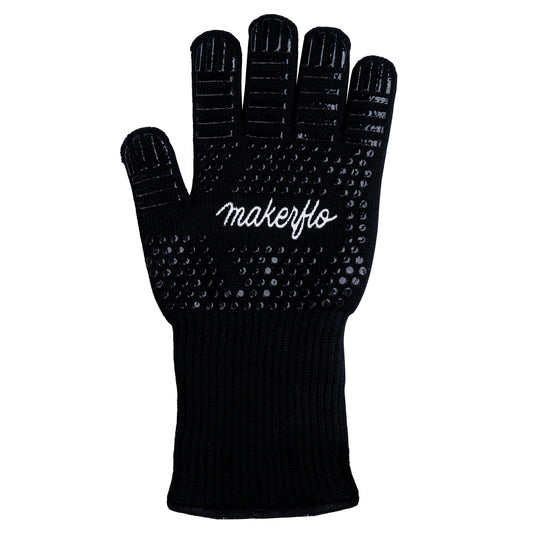
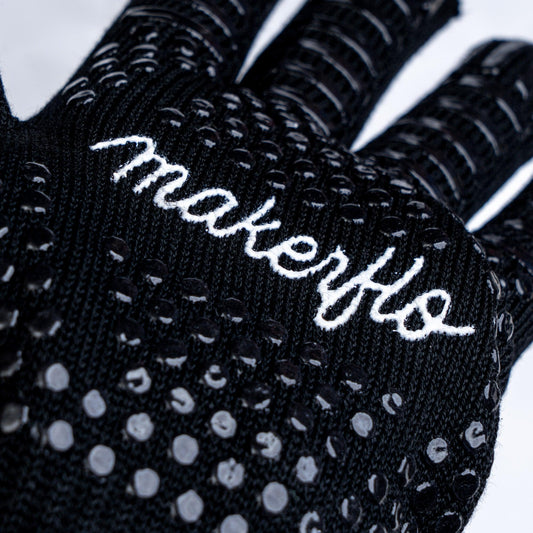
- Heat gloves, heat pad or potholder (to handle and place hot tumbler once it’s out of the oven)
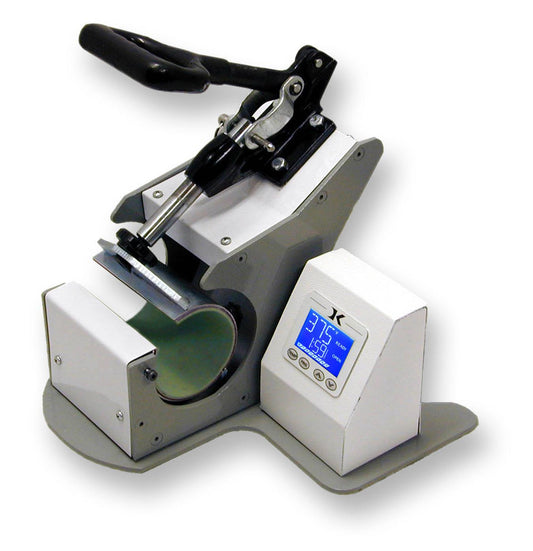
Heat or Tumbler Press Method Supplies
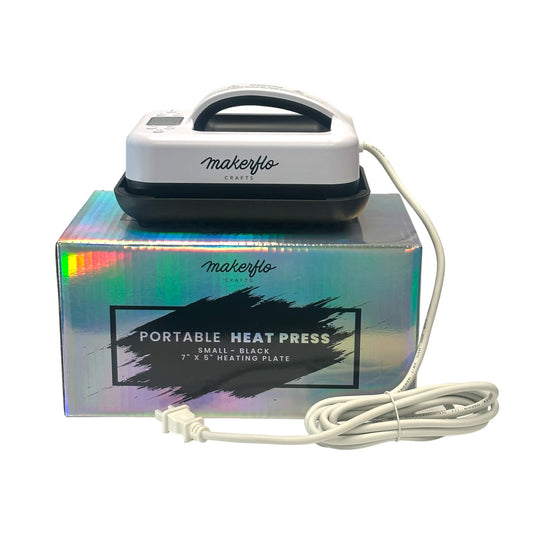
- Tumbler Press
- Polymer coated sublimation tumbler
- Sublimation printer OR a printer that can be converted into a sublimation printer
- Sublimation ink specified for your printer
- Sublimation paper or laser paper (laser papers are pricier, but produce superior results)
- An image or design sized to the specifications of your tumbler (height x circumference)
- Scissors or paper cutter to trim printed image
- Heat resistant/transfer tape
- Heat gloves, heat pad or potholder (to handle and place hot tumbler once it’s out of the press)
Step 1
PUT ON GLOVES AND PREP YOUR TUMBLER
Step 1
PUT ON GLOVES AND PREP YOUR TUMBLER
Wipe your tumbler down with alcohol working with a lint free cloth (or an unused coffee filter) wearing a pair of gloves to ensure you don’t leave fingerprints on the tumbler (as they will show through the sublimated image)
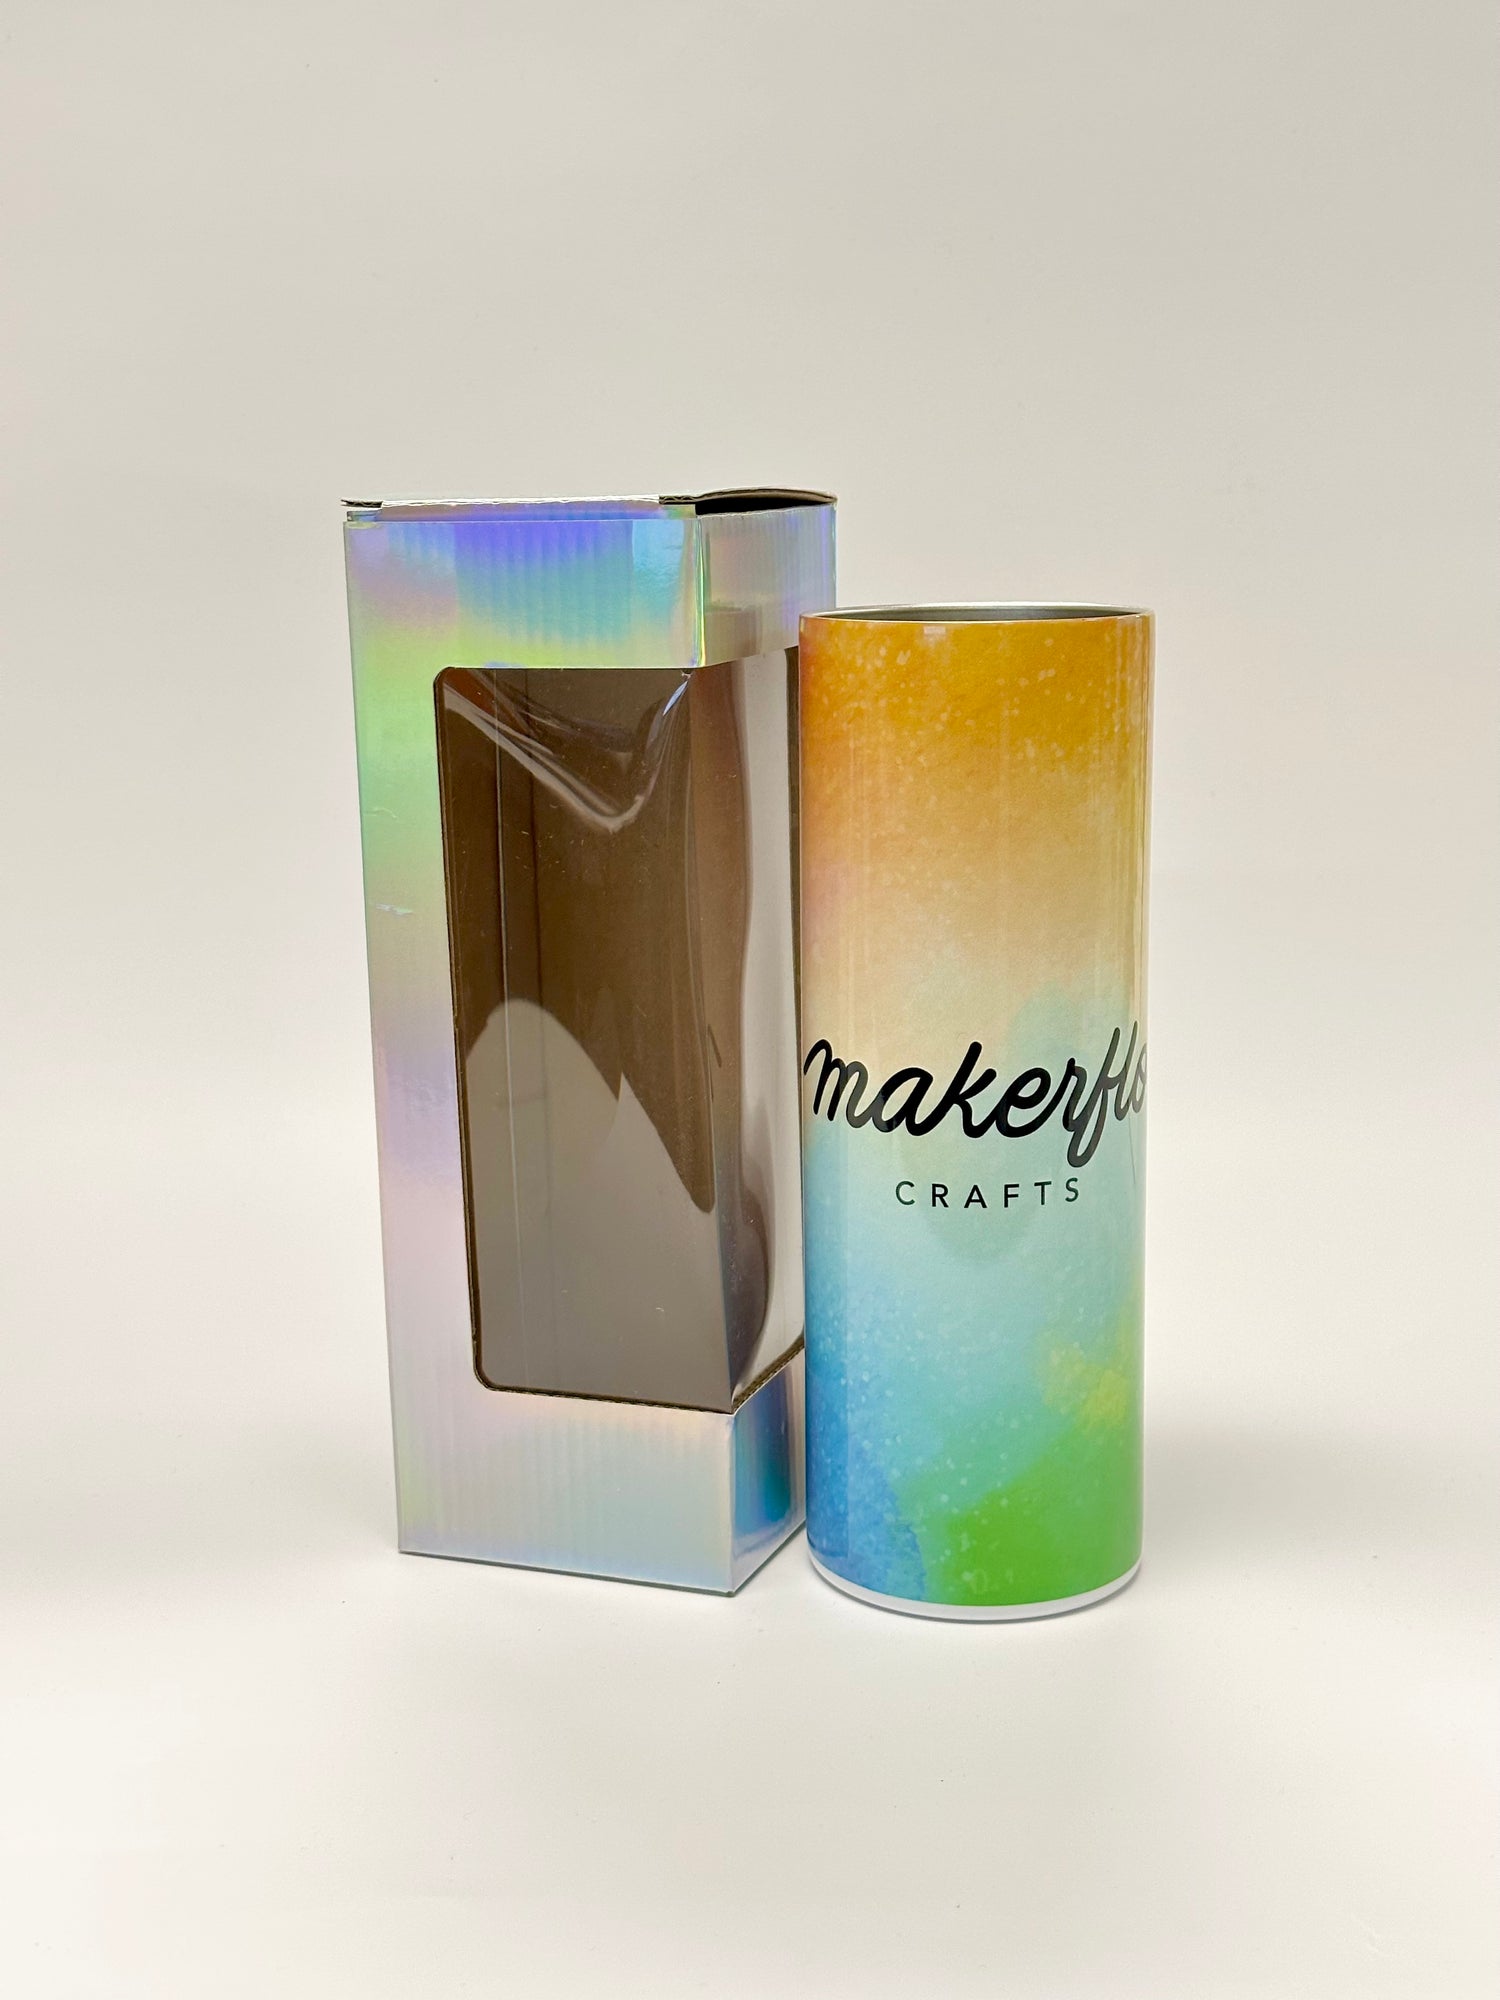
You can use MakeFlo Crafts sublimation tumblers which are prepacked neatly in plastic so that you can avoid touching the sublimation coating and skip this step all together.
Tips From Crafters
-
By wearing gloves when prepping your tumbler you’ll make sure you leave no finger prints or debris on the surface of your tumbler. Which is important since the oils from fingers can show through your sublimation paper.
-
Always design your artwork in CYMK color mode!
-
When working on custom orders for your clients, be sure to make sure your customer approves all of the artwork before sublimating the final designs onto the tumblers.


Step 2
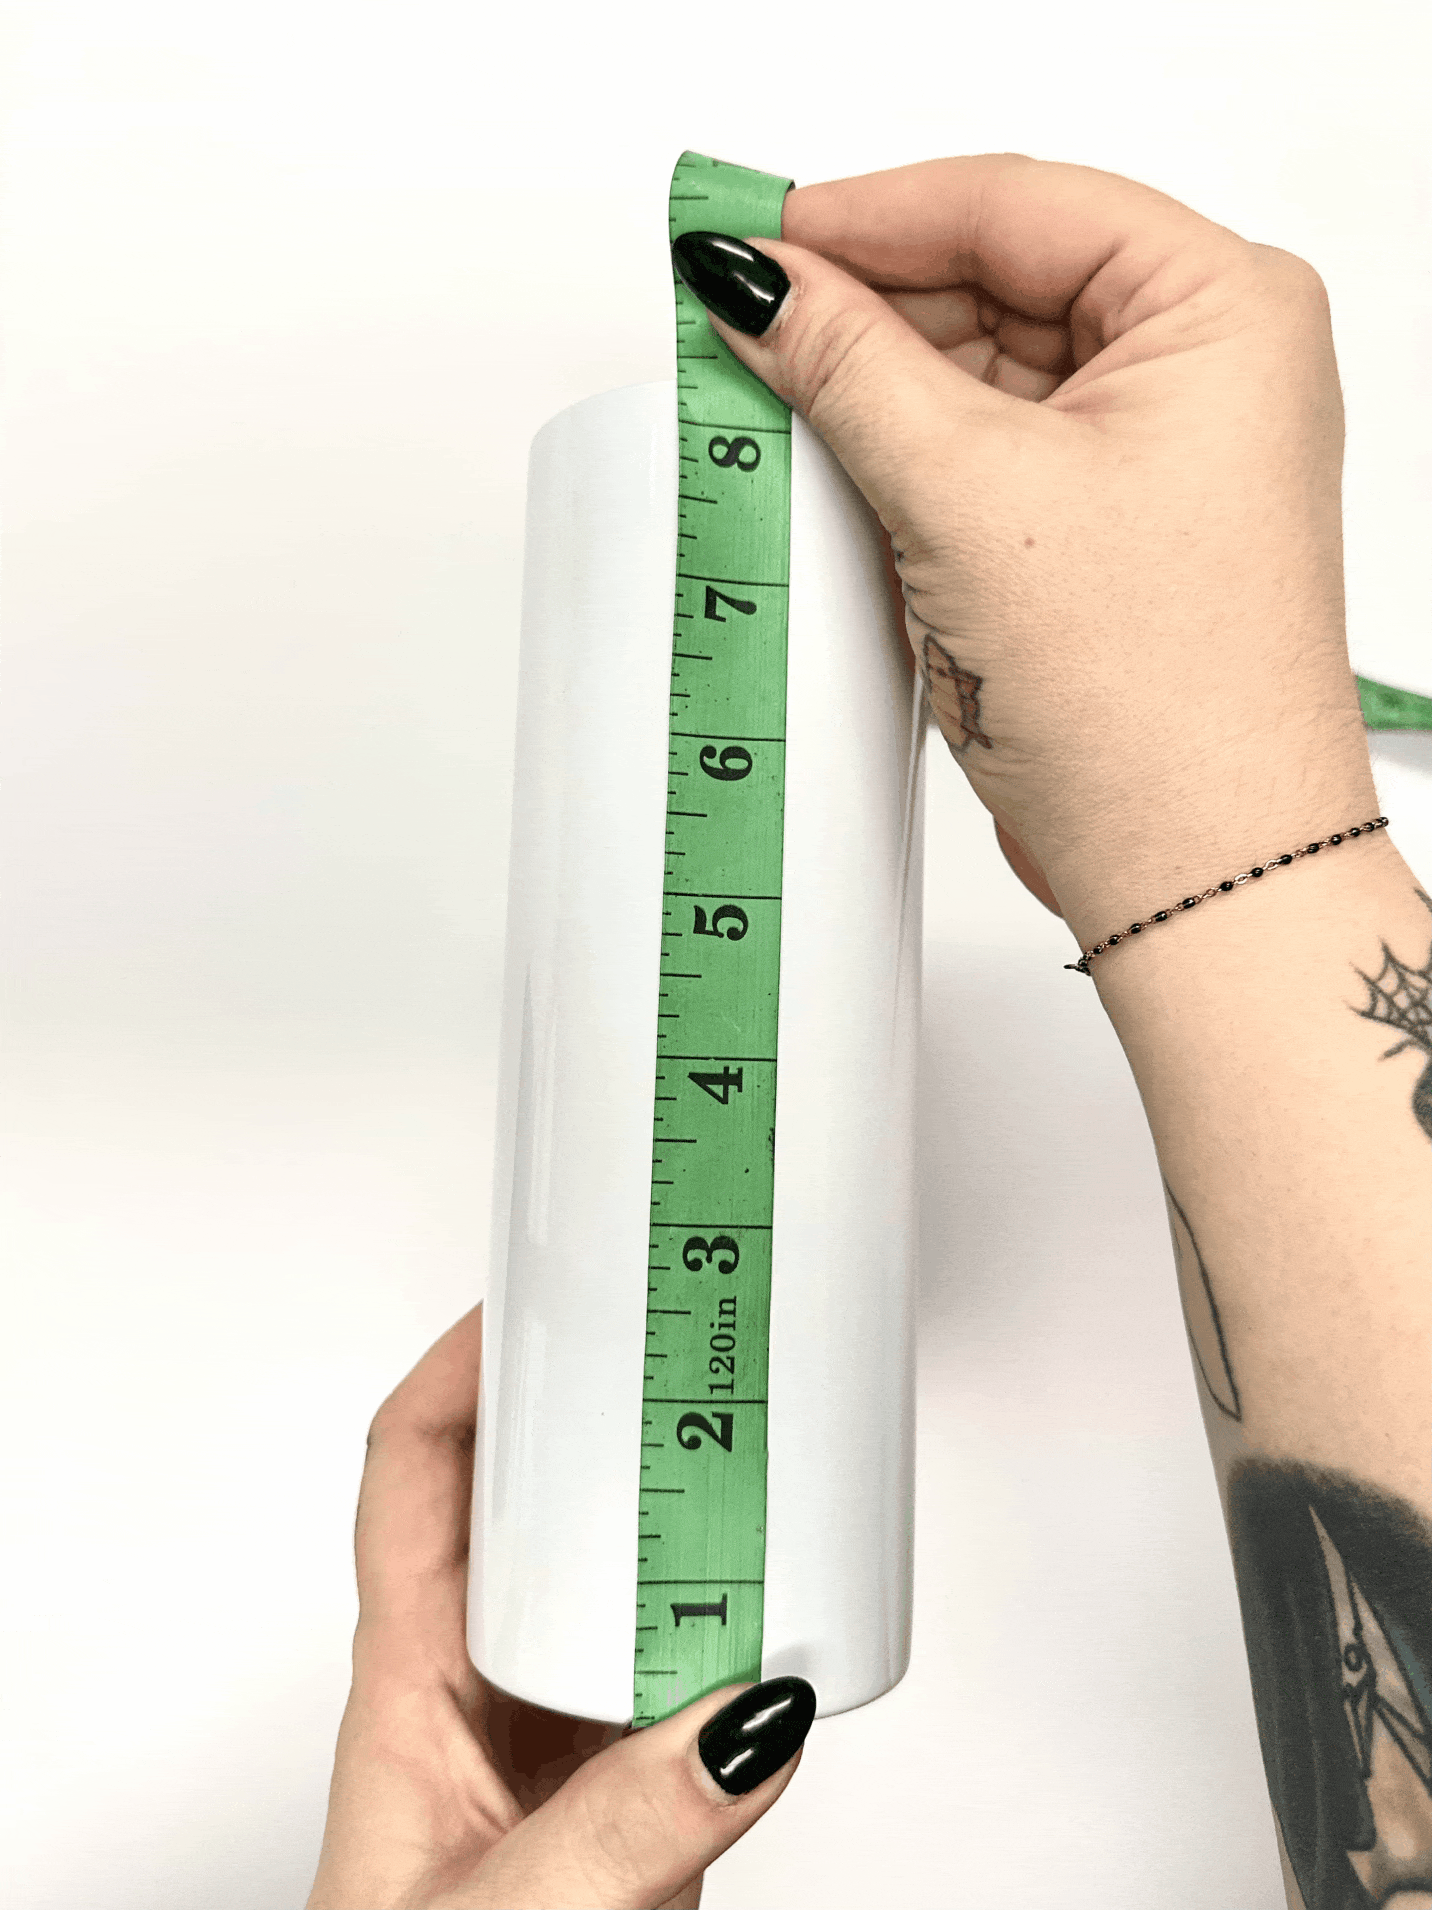
MEASURE YOUR TUMBLER
Step 2
MEASURE YOUR TUMBLER
Measure from top to bottom for height and circumference (around) the tumbler for width. You'll use those dimensions as reference for your image, so measure both exactly, then for width, add a quarter inch so you make sure you have a little overlap.
Hold on to these numbers, you will need them in step 4!
You can download a free template for our 20 oz. Skinny Sublimation Tumbler here, or visit the product page on our website for more info.
Step 3
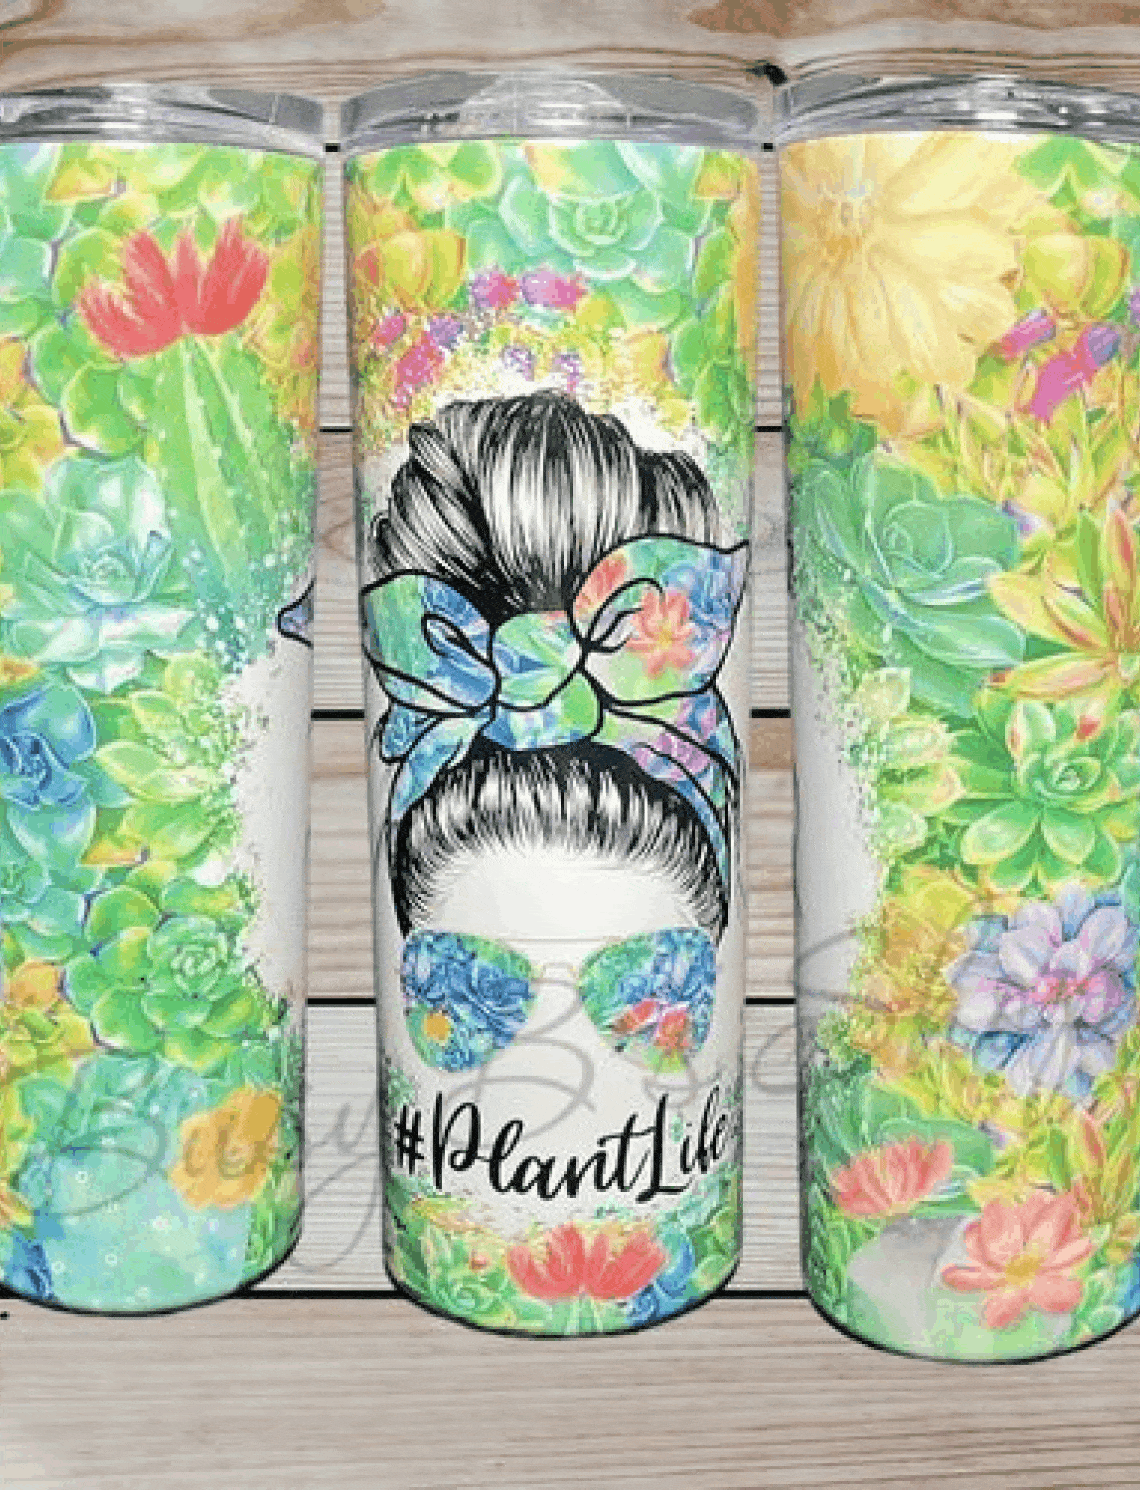
Deciding on YOUR IMAGE/DESIGN
Step 3
Deciding on YOUR IMAGE/DESIGN
Anything you can print can be sublimated, giving you endless options for customizing tumblers. You can make your own image or download one from a variety of sources like Etsy or Creative Fabrica.
We also recommend using your personal measurements when figuring out what the design file needs to be sized to.
Need more inspo? Check out our user reviews on our product pages!
Helpful Hint: Use your Epson Sure Color F series printer which will mirror your design automatically!
Step 4
Printing you image
Step 4
Printing you image
Use a design program to pull up your design and get it printed. A few examples would be
- canva
- silouhette
- adobe illustrator
- cricket design space (options can be limited)
- etc...
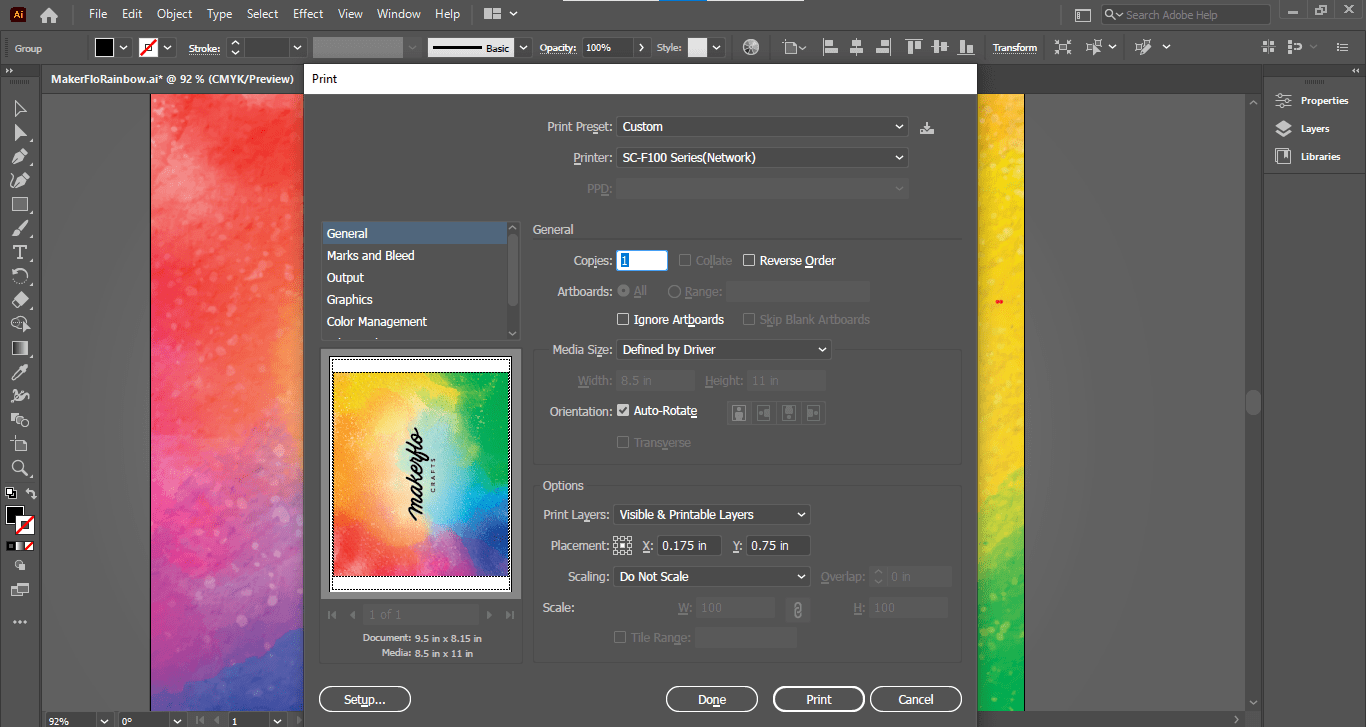
Once you have your image up, adjust the size then go to file>print.
Check out your print preview and make sure the artboard and the design is ligned up with the design laying perfectly in the artboard.
Step 5
APPLY YOUR IMAGE WITH HEAT TAPE
Step 5
APPLY YOUR IMAGE WITH HEAT TAPE
If using an Oven!
Make sure it's dedicated completely to Sublimation. Remove the lid and lay the tumbler upside down to wrap the sublimated image around it. You should not be able to see the image, it should be image side in. Important tip, if the tumbler is upside down, your design should be too!
Take special care to align the bottom seam line at the base of the cup as perfectly as you can. Using one strip of tape, secure the center of the design in place where the papers overlap. Make sure there is no air or movement. when applying tape, start at the side that is overlapping, to make the paper extremely tight. Next hold the design in place by putting a few strips of tape along the center seam line.
Next, wrap the top and bottom at the edge of the design without going over, all the way around the tumbler with heat tape. Tape vertically down the line where the image overlaps, as well as around the circumference of the top and bottom half on the image, half on the cup half on the design paper so it is fully sealed and no air can sneak into your image.
Tumbler Press!
If you will be using a tumbler press the method is similar but you will use less tape. Make sure to line up your image at the base of the cup and apply some strips of tape along the seam line. You can also wrap the sublimation tape around the top and bottom of the cup. The press will hold your image in place, however, an oven will not.
Once your image is securely applied to your tumbler with heat tape, It’s time to sublimate!


Step 6
Time to Sublimate
Step 6
Time to Sublimate
Oven Directions For Tumblers
- Set the convection oven to 375F
- Verify the oven is reaching temp with your thermometer
- Bake for 6 minutes (stand the tumbler if possible or turning half way through 3 minutes when laying down)
For more guidiance on sublimation temps and times visit our sublimation tumbler time and temp blog post.
For Pen Chambers
- Set the convection oven to 400F
- Verify the oven is reaching temp with your thermometer
- Lay on a baking tray or diagonally on the rack so that they don't fall onto the coils
- Bake for 4 minutes
Tumbler Press Directions
Follow your manufacturer’s instructions of your press for both setting the temperature and timer for sublimating using a press.
As a starting point to find the best temperature and time for your tumbler press, we recommend setting the tumbler press to 365F. Press for 40 seconds, then rotate 180 degrees and press again for another 40 seconds. Remove from the press, allow to cool and then remove tape.


Step 7
Let it Cool and Unwrap!
Step 7
Let it Cool and Unwrap!
Take your tumbler out of the oven or press with a heat glove. Allow it to cool a few moments for ease of unwrapping, then go ahead and peel the tape and design off of the tumbler. Being careful not to scratch the sublimated surface if you are using anything sharp to unwrap.
Optional: submerge the tumbler in an ice bath after you've taken it out of the oven to speed up the cool down process. Some say this even gives the tumbler a bit of a shine!

Step 8
Final Thoughts
Step 8
Final Thoughts
Tumbler Care
Gentle handling and care should be given to your crafted tumbler throughout it’s life to maintain it’s seal and the hard work you put into crafting it!
Make sure your customers know that dishwashing can break the tumbler’s seal, meaning it will not maintain the hot or cold temperature of the beverage.
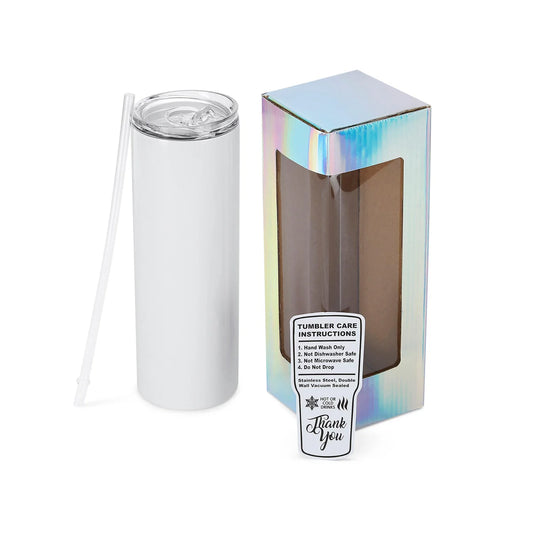
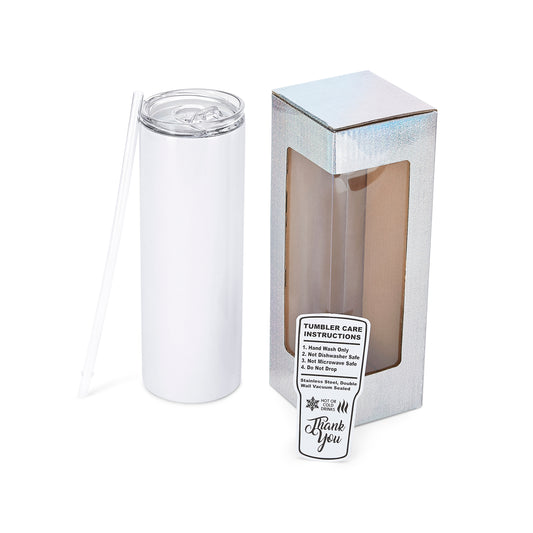
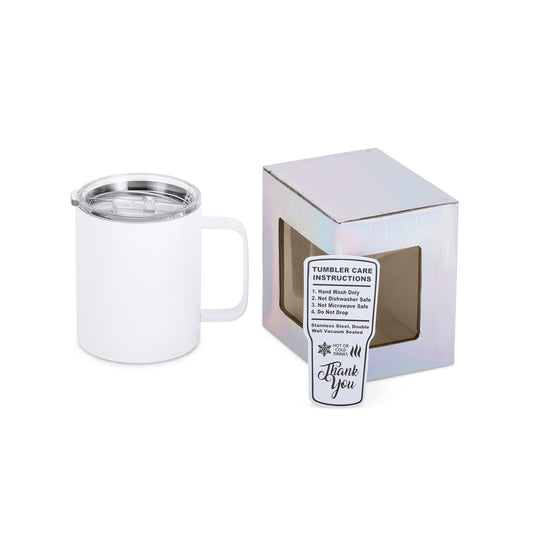
Most MakerFlo tumblers and cups comes with related accessories like straw(s), lid(s), care card and gift box so that your packaging can match the quality of your craftsmanship.
We also carry replacement lids, straws as well as Tumbler gift bags in the original accessory goes astray.
SOCIAL SHARING
If it’s your first or your 100th tumbler, don’t forget about snapping some photos of your creation! For best results, we recommend:
• Use natural sunlight (whenever possible)
• Try to find a natural and neutral space to take your tumbler photos, whether it’s a nice green patch of grass, fresh snow or a fuzzy blanket. Avoid patterns or busy backgrounds, since they provide less contrast and distract from your beautiful creation
• Photos are great, but videos can help capture your designs. Be sure to take both so you can share everywhere.
SHARE IT WITH YOUR MAKERFLO FAM
Don’t forget to join our Facebook group and share your projects and your own crafter tips with our MFC family. And when you’re ready to leave a product review on our website, remember to add a photo of your creation to score some extra Flo Rewards.