DTG printing (also known as direct-to-garment printing) is a unique printing method in which a specialized printer jets ink directly onto fabric. Most people pre-treat the fabric before printing to make the colors pop and help the design last longer.
If you’re considering purchasing a DTG printer to make your own prints at home, you’re in the right place!
We're not talking about outsourcing here! Instead, we're talking about printing at home.
We’ll talk about the advantages of DTG printing, how it compares to other methods, how to do it yourself, and more.
Take a peek at what’s inside:
- Why Should You Consider DTG Printing?
- What Can You Print On With DTG Inks?
- What You Need for At-Home DTG Printing
- The DTG Printing Process
- How Long Does DTG Printing Last?
- What is DTG All-Over Printing?
- Downsides of DTG Printing
- DTG vs Other Printing Methods
- Should You Start a DTG Business?
- Which DTG Printer Should I Buy?
Why Should You Consider DTG Printing?
If you're thinking of starting a small business or want to customize some t-shirts or garments for fun, DTG printing is a great option.
While screen printing is the go-to standard for larger print shops, DTG is easier for beginners.
@garmentgiants Print a tee with us in 15 seconds 🌪️ #tshirtprinting #directtofilmprinting #dtgprinting #customclothing #directtogarment ♬ original sound - Garment Giants
It's much easier to set up than screen printing, doesn't require any stencils, and is perfect for smaller batches or one-off personalized items. (More on that later.)
Plus, it makes up for the downsides of sublimation printing, which can’t print on dark fabrics or 100% cotton without modifications.
DTF prints best on 100% cotton shirts and can use white ink to print on any color fabric.
To sum it up, it's a great choice for home-based businesses or anyone getting started with a garment customization business.
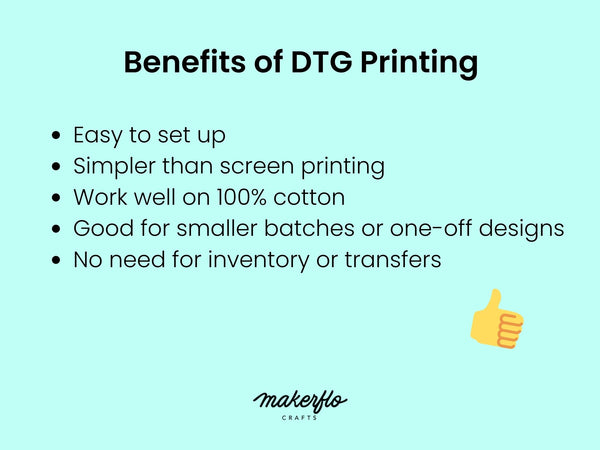
And there are even more benefits:
- Removes the need to make, store, and press transfers
- Can lower the cost and effort needed per shirt
- Easy to create and store designs digitally and print them on demand, no inventory or stencils required
- Easy to make personalized designs and one-off custom work
What Can You Print On With DTG Inks?
When it comes to direct-to-garment printing, you can choose from a wide variety of materials to print on.
Natural fibers like cotton, linen, and hemp are the best choices. In general, any flat natural textile that fits onto the printing platen and isn't too thick for the printer should work well.
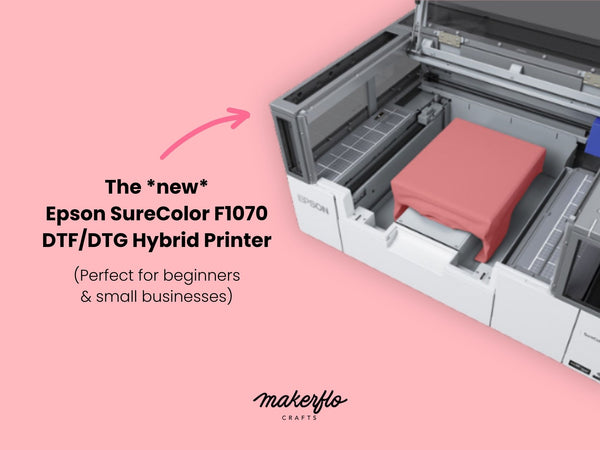
For instance, Epson’s new entry-level DTG printer, the SureColor F1070, can handle fabrics up to 1 inch thick and prints images up to 10" by 12" in size.
That said, you can’t print on polyester, which repels the water-based DTG ink. (Leave the polyester for sublimation printing 😊)
Some popular items that you can print on with a DTG printer include:
- T-shirts
- Sweatshirts
- Onesies and baby clothes
- Pants
- Underwear
- Socks
- Tote bags
- and more!
What You Need for At-Home DTG Printing
So, you're interested in setting up your own DTG printing operation at home? That's awesome! Here's what you'll need to get started:
|
DTG Printer |
This is a specialized printer that has a platen, or printing surface, designed to hold the fabric in place for printing. There are a few different brands and models out there, so do your research and find one that fits your needs and budget. |
|
Fabric or Garment |
You’ll want to pick a t-shirt or other garment to print on. Anything flat and of a natural material should work, but look at your printer’s recommendations just in case. |
|
DTG Ink |
Your printer manufacturer will have their own brand of ink that works best with the printer. Don’t try to substitute another type of ink, as it won’t work. |
|
Pretreatment Solution |
You’ll want to apply a pretreatment to garments before printing on them. We’ll talk more about why this matters in the printing process section. |
|
You’ll need this (or a specialized dryer) to cure the ink and make it permanent. You’ll also want some parchment paper to put between the garment and the heat press while pressing. |
That's pretty much all you need to get started with DTG printing at home! It's a fun and rewarding process, and you'll be able to create some awesome custom shirts, tote bags, and more to sell or share with family and friends.
The DTG Printing Process
Let’s take a look at the entire process from start to finish, so you can see the full picture.
@embroideryplug How we Oversize Direct To Garment Print over pocket of hoodies 🔥 #directtogarment #directtogarmentprinting #dtg #screenprint #screenprinting #hoodies ♬ original sound - EmbroideryPlug
Step #1 - Pre-treat the material
Have you ever wondered why fabric needs pre-treatment before printing?
Well, it's like putting on a primer before painting a wall. The pre-treatment helps the ink stick better—especially white ink, which can sink into the fabric if not treated.
It also speeds up drying time, preventing the second color layer from smearing the white ink.
But that's not all! Pre-treatment keeps the fabric feeling soft even after applying ink, and it creates a smoother surface because it contains a glue that flattens the fibers.
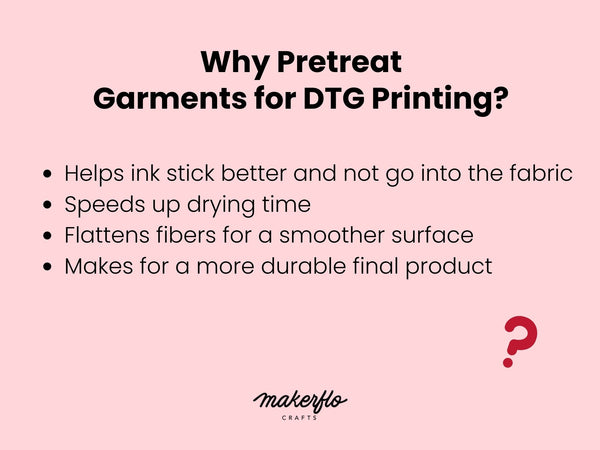
Now, some printers use inks that don't require pre-treatment, so be sure to check your printer's instructions.
It's a simple step that makes a big difference in the final result, so don't skip it!
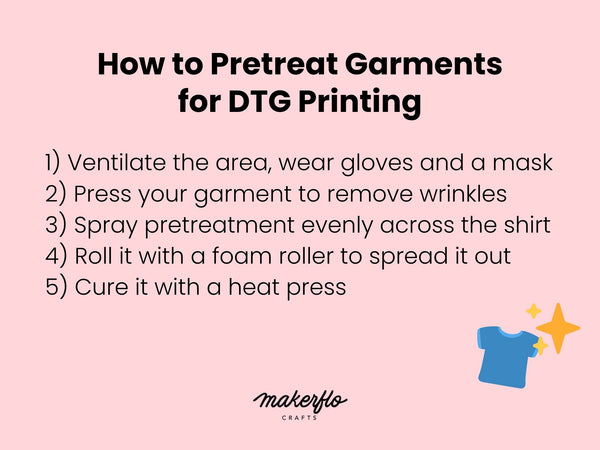
Before you start printing, there are a few things you need to do to pretreat the garment. Some printers have an automatic pretreating function, which is super convenient.
But if yours doesn't, don't worry—it's still pretty easy to do it yourself.
Just make sure you do the pretreating in a well-ventilated area with proper protection (gloves and a respirator at least) to protect yourself from the chemicals.
It's also a good idea to press your garment before pretreating to remove any wrinkles and ensure that the liquid is evenly absorbed.
Spray the liquid evenly in rows across the fabric using a continuous sprayer until the entire surface is covered. Your specific brand of pretreatment will tell you how many ml to use for the size of the garment.
(Important: Stay away from your printer when you're spraying the pretreatment liquid to keep the printer clean.)
Finally, use a foam roller to spread the liquid evenly, then cure it using a heat press or a specialized dryer.
That's it! Your item is now ready for printing.
Step #2 - Position the garment on the platen (printing surface)
This step isn’t complicated, but you want to be careful to line up the garment correctly.
First, you'll want to center the garment on the platen (aka the printing surface).
Make sure that your garment is straight and centered where you want it to print.
Next, secure the garment with the fabric hoop attached to the printer. This will help to keep the garment in place during the printing process.
Finally, you may need to adjust the height of the platen to ensure that it's at the correct level for printing.
The good news is that some DTG printers, like the Epson SureColor F1070, automatically adjust the height for you, making the process a breeze.
Step #3 - Print the image directly onto the surface
So, you've got your garment loaded in the DTG printer, and now, it's printing time!
This step is a piece of cake.
Send the image to the printer and watch as it layers white, then colors to finish your design.
You’ll need RIP software (which stands for Raster Image Processor), to prepare the image for printing, but many printers will come packaged with this already.
Step #4 - Cure the ink with heat to finish the garment
The final step in creating your custom garment is curing the ink.
Don't worry, you don't need to be a scientist! Curing simply means making the inks durable enough to withstand washing and regular use.
It's like baking a cake - you can't just mix the batter and leave it to dry. The heat from the oven sets the ingredients and makes the cake sturdy.
In the same way, curing your garment with a heat press or dryer at the right temperature and time will ensure that your design looks fantastic for a long time to come.
(With a heat press, make sure to put down a piece of parchment paper to protect it from ink.)
As for how long and at what temperature to cure your garment, it’s best to look at your printer and ink’s instructions for details.
@thetrendmachine These are the type of jobs we like to print. All with #dtgprinting #thetrendmachine #howtostartabrand #customtees #screenprinting ♬ original sound - thetrendmachine | DTG Printing
How Long Does DTG Printing Last?
DTG-printed items are incredibly durable and can last for a long time with the right care.
How to keep them looking their best?
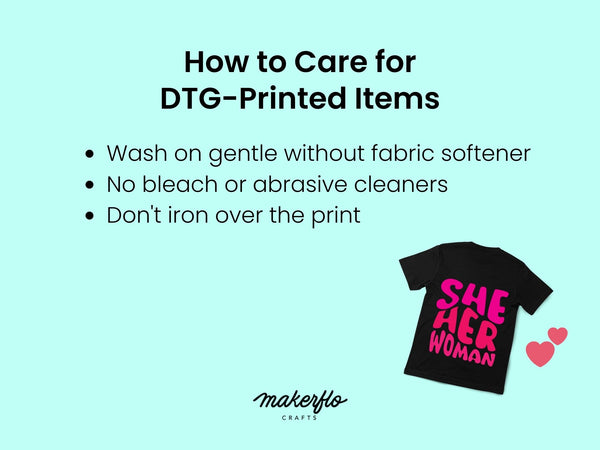
To start, always wash them on a gentle cycle without fabric softeners or harsh chemicals, as these can damage the print. Bleach and abrasive cleaners are also a big no-no, so steer clear of those.
And when it comes to ironing, avoid directly pressing the part with the design to prevent any unwanted marks or damage.
By following these simple tips, you'll make sure your DTG-printed items stay vibrant and looking fresh for the long haul.
Downsides of DTG Printing
DTG printing has some limitations to be aware of.
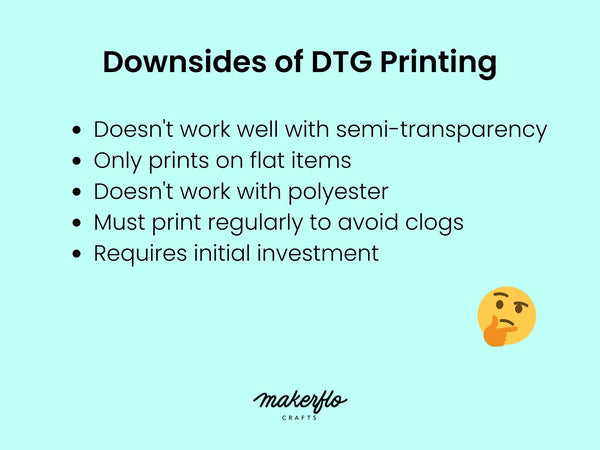
One downside is that it doesn't work well with images that have less than 100% opacity, like faded edges or shadows in a design.
This means that if you have a design with varying levels of opacity, you’ll need to either change the design or try a different printing method.
Printful has a helpful tutorial for transforming transparent parts of an image into a half-tone effect (like comic book illustrations).
This makes it possible to have a fading effect in a DTG print, but it’s tricky if you're not familiar with Adobe design software.
If you want to print designs with fades or watercolor effects, you might want to consider using sublimation printing instead.
Another downside is that it doesn’t work with oddly-shaped items, at least not without some modifications. For example, you can’t print on the rounded part of a hat with a DTG printer.
Third is that you must print with this printer regularly to avoid clogs and dried-up ink. You can’t leave it alone for a long time like you can with a sublimation printer.
A fourth downside is that you can’t print on polyester, as the ink won’t absorb.
And finally, the fifth downside is that you can’t quickly print a set of transfers like you can with DTF or sublimation. You must print one shirt at a time, pretreating and curing each time, before moving to the next one.
@redloopcreations Raise your hand if you've ever been personally victimized by a DTG machine 🙃 #tipsandtricks #directtogarment #learningcurve #fyp #OneStepCloser ♬ last september mashup - thquib
DTG vs Other Printing Methods
How does this printing method stack up against other popular contenders?
DTG vs Screen Printing
DTG printing has some advantages:
- You get sharper images
- Can print anything you want without worrying about layers or stencils
- Better for small batches or one-off prints
But screen printing wins in these ways:
- You can print on more types of fabric and create more effects
- It’s more cost-effective for larger batches and industrial-level production
DTG vs Sublimation
DTG printing can do many things that sublimation can’t:
- Prints on dark-colored fabrics with white ink
- Works best on natural materials, including 100% cotton, linen, cotton blends, and more
- Doesn’t require a transfer to be printed or pressed
But sublimation has its own advantages:
- No pretreatment step—just print out the transfer and press
- Works on round items like hats and tumblers
- Works on more than just garments (there’s a huge array of sublimation blanks out there)
- Prints beautiful fades and watercolor effects with no problem
- No texture on the final garment
DTG vs DTF
DTG printing and DTF printing are somewhat similar. They both have pre-treatment steps and they both print with white ink.
The main difference is that DTF prints the image onto film first, which can be transferred to any item with a heat press.
DTG has some advantages:
- No need to apply powder adhesive and cure, which is part of the DTF process
- Lower safety risk than DTF, though both require proper safety equipment
- Doesn’t require placing a transfer and pressing
But DTF has advantages too:
- Can apply transfers to any object, not just flat garments, but hats, cups, and more
- Can print out transfers in advance and store them for later (or sell them as standalone products)
Related: What is DTF? The Crafter’s Guide to Direct-to-Film Printing
The good news is, since these printing technologies are so similar, there are also hybrid printers that can do both.
That’s the case with the new Epson SureColor F1070, which can print both directly to the garment and also to DTF film.
What is DTG All-Over Printing?
You may have heard the term all-over printing, which is basically a seamless design that wraps around a garment (instead of a single design centered in the middle).
You can technically do it with DTG printer, but it's not easy.
That's where sublimation printing comes in. Sublimation printing allows you to print transfers, then press them so they continue seamlessly on all sides of the garment, including the sleeves, pocket, and collar, for a true all-over design.
Want to learn more about sublimation printing? Check out our in-depth beginner’s guide that outlines everything you need to know to get started.
Should You Start a DTG Business?
There’s a huge potential in the custom t-shirt and garment industry right now.
Just look at the stats: the global t-shirt market is expected to reach nearly $300 billion by 2025, and the custom t-shirt printing market is estimated at $3.9 million in 2023.

Why the surge? According to market research firm Future Market Insights, people love expressing themselves with unique and personalized items, businesses are getting creative with custom merch and branded items, and fans of all kinds are showing their support for their favorite shows, artists, and sports teams through personalized apparel.
And yes, screen printing may still be the king of t-shirt printing, but DTG is projected to grow by 16% in the years leading up to 2030.
That's a lot of potential and demand! If you're willing to invest in the equipment and materials, the world of DTG printing is wide open for you to explore.
@garmentgiants Printing & Packing DTG tees 🔥 #dtgprinting #tshirtprinting #digitalprinting ♬ original sound - Garment Giants
Which DTG Printer Should I Buy?
Here's the scoop on DTG printers.
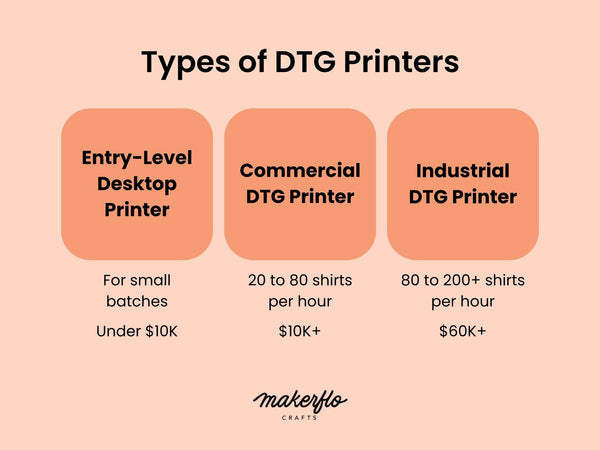
There are three main types: entry-level, commercial, and industrial.
Entry-level printers are slower and better suited for smaller batches, while commercial printers can churn out a shirt in 3 to 5 minutes and industrial printers are super fast, knocking out a shirt in as little as 10 seconds.
It's come a long way since the first DTG printer, the "Revolution," hit the scene in 1996.
Today, some of the major manufacturers of DTG printers include Epson, Kornit, Mimaki, Brother, and RICOH.
Epson has a solid reputation for making high-quality DTG printers, and their F2000 model changed the game with new-and-improved ink that defied expectations with a two-year shelf life and resistance to clogging.
And yes, DTG printers can be pricey, but there are beginner-friendly machines out there.
Epson is about to drop the SureColor F1070, a hybrid DTG and DTF printer that's perfect for beginners and small businesses. You can learn more in our upcoming deep-dive guide to the SureColor F1070. (We'll add the link when it's live!)
Pre-Order the SureColor F1070 (*estimated to ship soon*)
Final Thoughts
DTG printing has come a long way, and it's only getting better.
With the upcoming Epson F1070, you can even do both DTG and DTF printing in one entry-level printer.
If you're thinking about starting a DTG printing business from home, this is the machine we recommend. It's easy to use, and the possibilities are endless!

