 Skip to content

DIY CRAFT GUIDE
Getting started wtih epoxy crafts
Let's Get Started!
Picture this: vibrant pigments swirling together, transforming a plain surface into a mesmerizing masterpiece. With epoxy, you have the power to encapsulate your wildest dreams in a glossy, glass-like finish. From enchanting jewelry and stunning coasters to awe-inspiring resin art, the possibilities are as boundless as your imagination.
But wait, what exactly is epoxy? Well, think of it as a magical alchemical concoction that consists of two components—resin and hardener. When combined, they set off a chemical reaction that leads to a durable, glossy, and oh-so-satisfying final product. Working with epoxy is like embarking on a thrilling artistic adventure, where you become the captain of your creativity.
In this journey, we'll guide you through the basics of getting started with epoxy crafts. We'll uncover the secrets of proper mixing, share tips and tricks for achieving stunning effects, and navigate the potential pitfalls so you can confidently embark on your epoxy escapades.
So, grab your apron, don your artistic hat, and get ready to unlock the wonders of epoxy crafts. From novices to seasoned artisans, everyone is welcome aboard this vibrant, swirling adventure. Let your imagination take flight and prepare to create objects that will leave jaws dropping and hearts soaring. It's time to dive into the mesmerizing world of epoxy crafts and turn your artistic dreams into tangible, awe-inspiring realities!
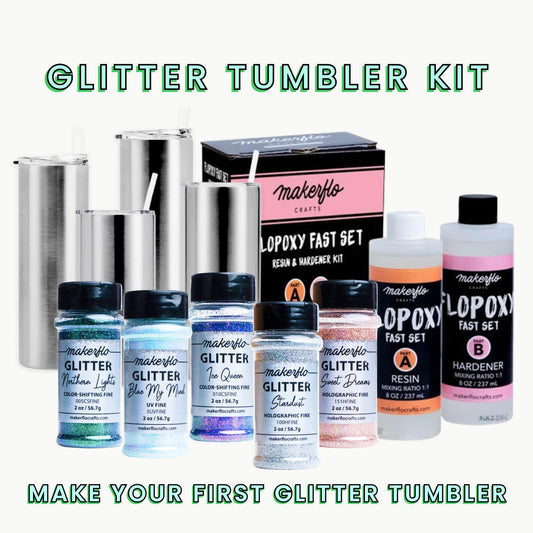
Or... if you are ready to make your glitter tumbler, proceed to How to Make A Glitter Tumblers.

Cleanliness and PPE
Safety First
Cleanliness and PPE
Safety First
Everyone’s level of tolerance to Resin crafting is different so we always recommend using full PPE (personal protective equipment).
Resin can cause skin and eye irritation, so wear protective gloves, goggles, a respirator, and craft friendly clothing!
Work in a Ventilated Area: To minimize resin fumes, choose a well-ventilated workspace and use a respirator mask.
Read the Instructions: Familiarize yourself with the manufacturer's instructions for the specific resin you're using. Ensure your workspace is clean and dust-free to prevent imperfections.

Timing Your Projects
Timing Your Projects
Depending on what you are crafting with or on, the curing time can vary. If you are using MakerFlo’s FloPoxy Fast Set it will take about 24 hours of waiting time for the resin to fully cure
Curing is the chemical reaction that happens when epoxy resin mixes with hardener, and the ingredients turn from a liquid into a solid. Always refer to the directions on the back of the products you’re using - FloPoxy, spray paint, etc. to make sure that you’re allowing for proper drying and curing time!
Here's a few starting projects
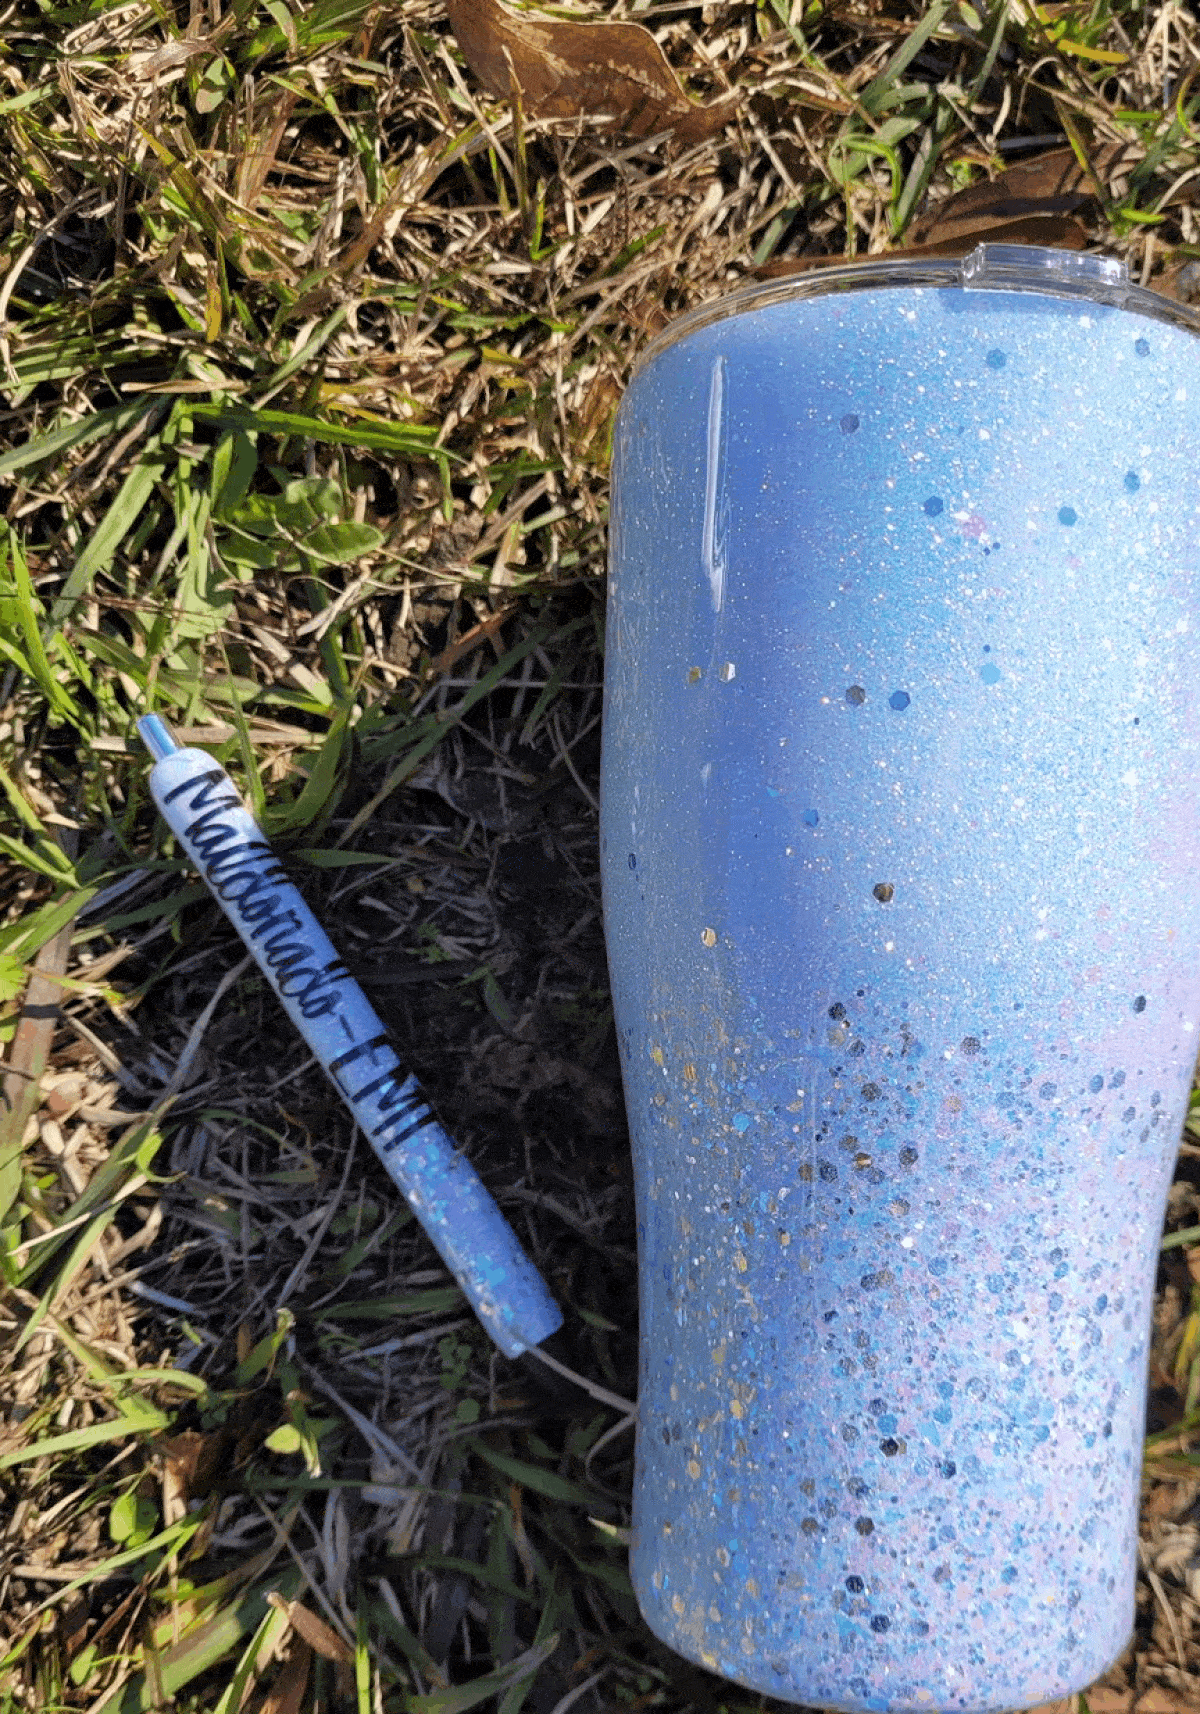
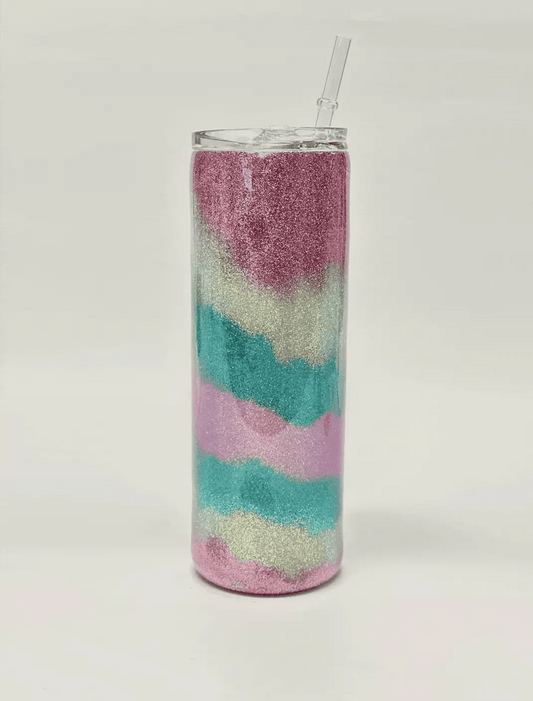
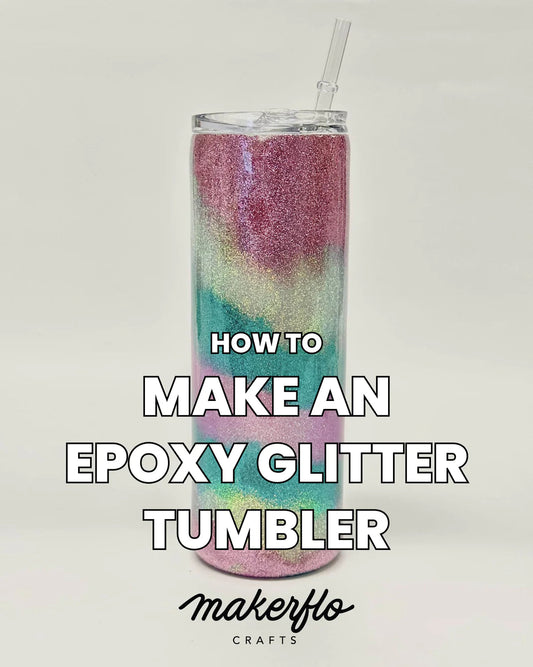
- Resin Glitter Cups: With a touch of sparkle, you can create masterpieces with glitter, resin and a cup turner! Check out this guide for details!
- Resin Jewelry: Create unique and eye-catching pendants, earrings, bracelets, and rings by embedding colorful beads, dried flowers, or even small trinkets into resin molds.
- Coasters: Design beautiful and functional coasters by pouring resin into molds and adding touches of creativity with glitters, pigments, or embedded objects like shells, dried leaves, or even comic book cutouts.
- Keychains: Craft personalized keychains by pouring resin into small molds and adding initials, tiny photographs, or small decorative items like miniatures, charms, or sequins.
- Resin Art on Canvas: Create abstract or intricate designs on canvas using colored resin. Experiment with different pouring techniques, layering colors, and adding textures to achieve stunning, one-of-a-kind resin artwork.
- Resin Decorative Trays: Make elegant and stylish decorative trays by pouring resin into tray molds and incorporating elements like dried flowers, glitter, or metallic accents. These trays can be used to display jewelry, candles, or small trinkets.
- Resin Magnets: Create vibrant and personalized magnets by pouring resin into small molds and embedding images, stickers, or decorative elements like glitter, sequins, or small beads.
Remember, these are just a few ideas to kickstart your resin crafting adventure. Feel free to explore and experiment with your own unique designs and inspirations. Let your creativity guide you and have fun with the limitless possibilities of resin crafts!


Do's and Don'ts
Do's and Don'ts
Epoxy Do's
- Read and follow the instructions: Carefully read the instructions provided by the manufacturer and follow them accurately. Each epoxy brand may have specific guidelines and ratios for mixing and curing as well as a humidity tolerance.
- Wear protective gear: Protect yourself by wearing gloves, safety goggles, and a respirator or mask, especially when handling the resin and hardener. This helps prevent skin irritation and inhalation of fumes.
- Prepare your workspace: Set up a clean, well-ventilated area to work in. Cover your work surface with plastic or a non-stick mat to make cleanup easier.
- Mix epoxy thoroughly: Take your time to mix the resin and hardener thoroughly. Use a clean, disposable mixing container and stir gently, scraping the sides and bottom to ensure even mixing. Incomplete mixing can result in sticky or tacky spots in your project.
- Use molds and barriers: For specific shapes or designs, use molds or create barriers using tape or silicone to contain the epoxy and prevent leakage. This helps achieve clean and defined edges.
- Keep a Torch or Heat Gun nearby for difficult bubbles that refuse to pop!
Epoxy Don'ts
- Don't rush: Epoxy requires patience. Avoid rushing the curing process by applying excessive heat or using high-speed curing agents. Follow the recommended curing time to allow the epoxy to set properly.
- Don't overload the epoxy: Be mindful of the maximum thickness recommended for your epoxy brand. Pouring too thick of a layer can result in excessive heat buildup, bubbles, or uneven curing.
- Don't pour over uncured epoxy: Avoid pouring fresh epoxy directly over uncured or tacky epoxy surfaces. Allow the first layer to fully cure before adding additional layers to prevent adhesion issues.
- Don't neglect safety precautions: Always work in a well-ventilated area and avoid prolonged exposure to epoxy fumes. Keep epoxy away from open flames or heat sources as it is flammable.
- Don't dispose of epoxy in the sink or trash: Properly dispose of any excess epoxy and mixing containers following local waste disposal regulations. Do not pour epoxy down the sink as it can clog pipes or contaminate water systems.
- Do not touch your crafts before the curing time! You could leave fingerprints or imperfections in your project.
By following these do's and don'ts, you can ensure a safe and successful epoxy crafting experience. Enjoy your epoxy projects and let your creativity shine!


Practice Makes Perfect
Practice Makes Perfect
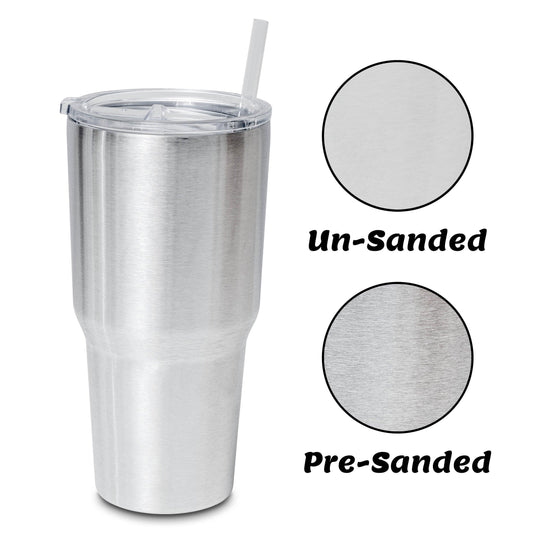
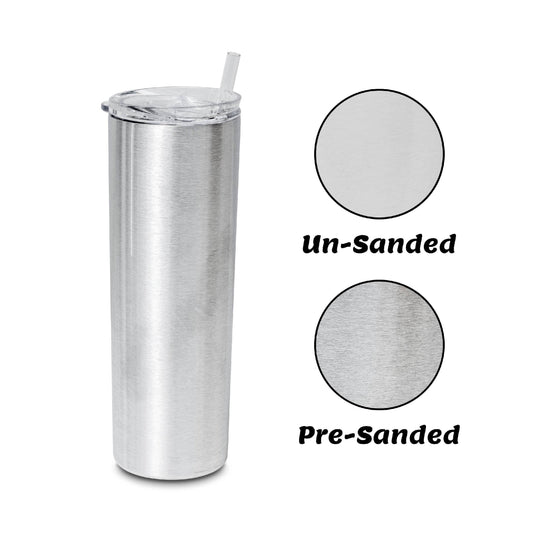
As many glitter epoxy/resin crafters will tell you, it takes practice to learn all the techniques for prepping, sanding, curing, even exploring different color combos to become a pro at resin craft making.
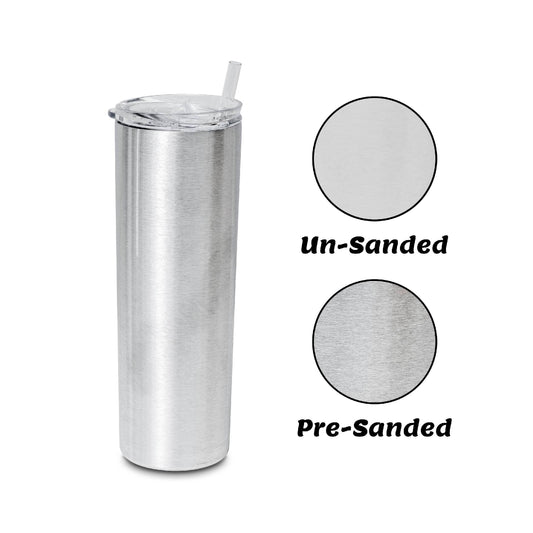
To help keep your costs down as you're learning your craft (especially if you want to learn how to make tumblers), we offer lower-priced tumbler “uh-ohs,” destash and - made especially for practice - our 16 oz. Pencil Tumbler (Single Wall Cup) at $3.50 each.
