Skip to content
DIY CRAFT GUIDE
How to make UV Resin Jewelry with Bezels and Dried Flowers

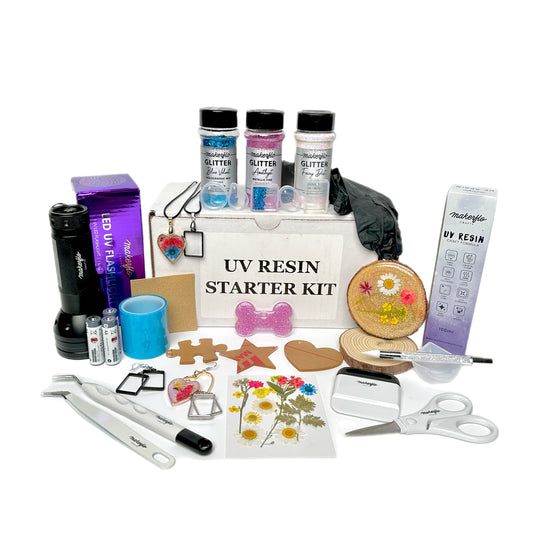
Tools for this project
Essential Tools and Materials
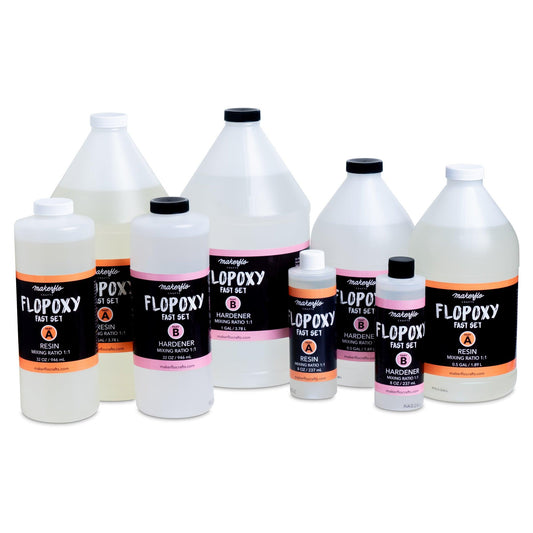
- UV Resin: Opt for a high-quality UV resin designed for crafts. (Check out MakerFlo's new UV Resin)
- Ultraviolet Light Source: A UV lamp or UV flashlight is essential to cure the resin. (24-36 Watts for our UV Resin)
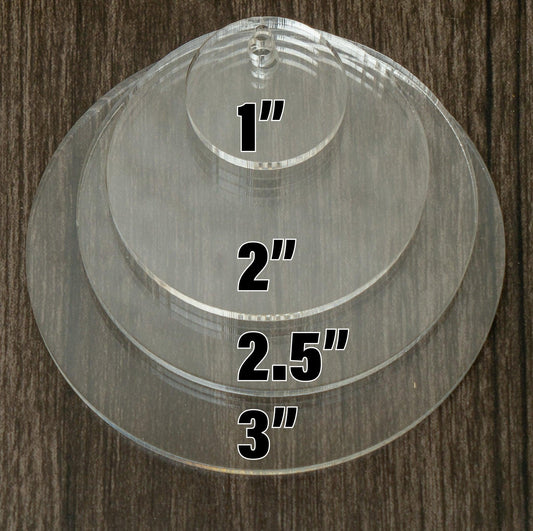
- Bezels: Choose from an array of bezels to shape your resin.
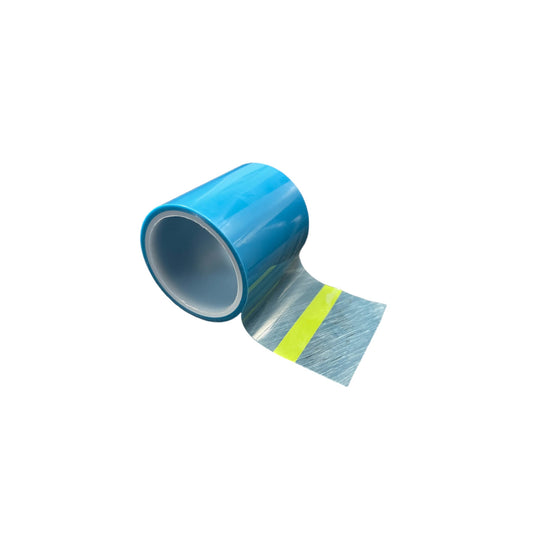
- Resin Tape: For use with hollow bezels, sticky tape with a high tolerance to heat for crafting
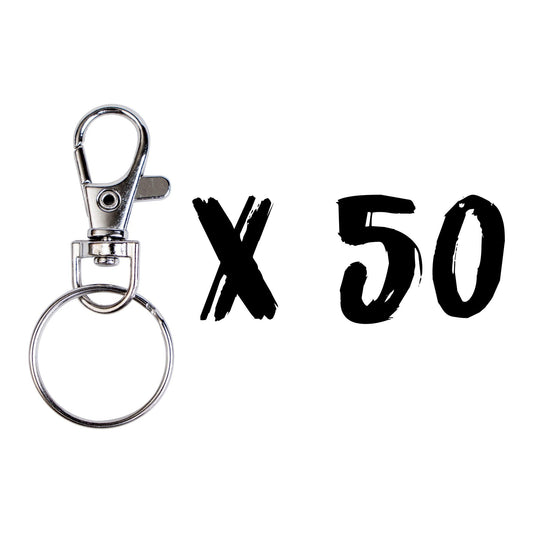
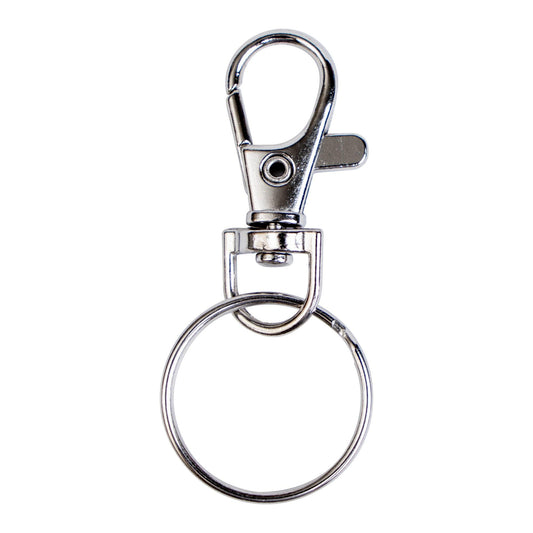
- Hardware: Jewelry attachments to make necklaces, earrings, bracelets or rings (We would recommend pinch bales for any hardware possible)
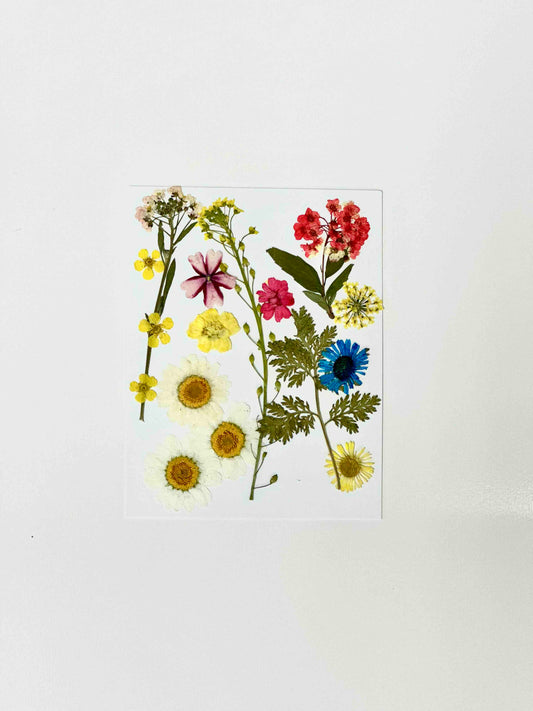
- Dried Flowers: Pressed or dried flowers/foliage, like these
- Scissors: for cutting tape, and flowers if needed
- Parchment Paper: To have something to protect your surface from spills and staging your flowers
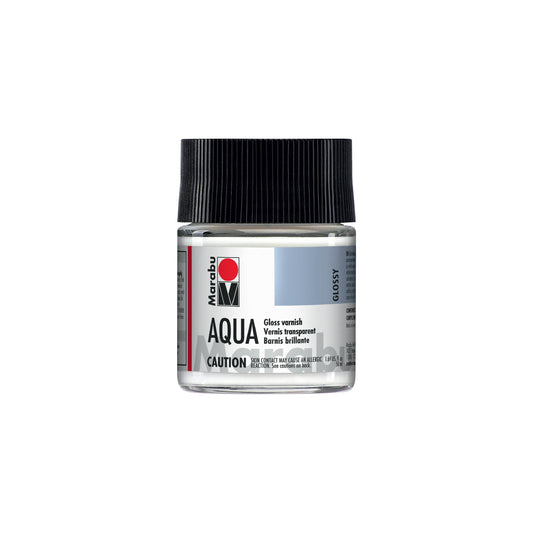
- Optional Add-ons: Glitters, sequins, pigment, gold flake, and charms can add a touch of magic to your resin projects.
- Torch: for pesky bubbles that refuse to pop
- Stirring Tools: Plastic or silicone stirrers work well to mix resin and additives.
- Mixing Containers: Use silicone cups or other non-stick containers to prepare and mix the resin.
Cleanliness N' PPE:
Safety First:
Cleanliness N' PPE:
Safety First:
- Everyone’s level of tolerance to UV Resin is different so we always recommend using PPE.
- UV resin can cause skin and eye irritation, so wear protective gloves and goggles.
- Work in a Ventilated Area: To minimize resin fumes, choose a well-ventilated workspace or use a respirator mask.
- Read the Instructions: Familiarize yourself with the manufacturer's instructions for the specific UV resin you're using.
- Ensure your workspace is clean and dust-free to prevent imperfections. ( we recommend laying down some parchment or wax paper before getting started to collect any drips or over pours)
Tips From Crafters
-
Take your time when working with UV Resin, you have much more work time and can really fine tune what you are working on!
-Sam
-
Have fun with it! Add a little sparkle or fun objects, just be sure to leave the UV resin clear enough to allow the curing process.
-Natalie
-
Slowly introduve the UV rays to your project while curing to avoid shocking the Resin. Start curing from farther away and slowly get closer to your project.
-Mandy
Let's Get started
Step 1: Set up Your Project
Let's Get started
Step 1: Set up Your Project
- Lay down your wax or parchment paper and be sure to gather all of your supplies (UV Resin, tape, flowers, bezels, jewelry hardware, flashlight, torch, scissors, gloves...)
- Cut tape about the size of your project and lay it sticky side up on the parchment/wax paper
- Attach the bezels to the tape and arrange them close together without touching each other
- Press them firmly on the tape and make sure there is no space between the bezel walls and tape so that your resin won’t slip through
- Stage your flowers, set them up on the parchment paper they way you want them so that once it's time to add them in you will be ready, (Do not put them on the Resin tape or in the bezels)
- (optional step) You can either use a warming tray or get a mug of hot water filled about a quarter full, and allow your resin to warm up a bit before pouring. This will minimize bubbles and make the resin a little thinner for this precise project.

Step 2
UV Resin Time
Step 2
UV Resin Time
- Put on your gloves and preferred PPE
- Pour a thin layer of resin into the bezels to create the surface of your jewelry
- Look for bubbles then cure for about 45 seconds. (For best practice, we would recommend slowly introducing the wattage to the bezel by holding the flashlight about 12 inches away from your crafts and slowly bringing it in to them)
- Give it a knock or tap to ensure the first layer is cured

Step 3
Add Flowers
Step 3
Add Flowers
- Add a drop of UV resin to each bezel and add your décor face side down (Pressed flower, sticker, or other accessories)
- Use your silicone wand to press the flower or accessory into the resin to ensure it’s laying flat in the bezel.
- Be sure the flower or accessory is completed soaked in the UV Resin to avoid bubbles from popping up in the curing process
- Give it a cure for about 30 seconds

Step 4
Final layer and Cure
Step 4
Final layer and Cure
- Final layer of resin! At this point you can fill in your background. You can either just fill it with the resin as is, or you can mix some glitter or pigment with this last layer to provide an awe inspiring background. (When adding colors or pigments, be sure to leave some fluidity in the resin to allow the UV light to penetrate and cure your project. We would recommend adding these into your resin in a silicone bowl to ensure it’s properly mixed and to distribute the color evenly.)
- Cure for about 60 seconds since this is the thickest layer of resin so far, give them a tap to ensure the bezels are cured then flip over and cure the back side for about 30 seconds
- Pull the bezels off of the tape
- Trim any excess resin, sand and polish as needed
- Finish the look by adding hardware to your jewelry

Step 5
Get Creative!
Step 5
Get Creative!
- Once you have tried these steps, feel free to switch up the order that you are creating your jewelry, add or remove layers depending on what look you are wanting to achieve.
- You can even try doming your jewelry by adding a bubble of resin to the top layer to create a magnified look
Step 6
That's It!
Step 6
That's It!
Well done on finishing your UV resin Bezel Jewelry with Dried Flowers! With the fundamentals under your belt, it's time to unleash your creativity and craft captivating jewelry, keychains, and ornamental pieces that will leave others in awe. Remember, continuous practice will lead to perfection!