 Skip to content
DIY CRAFT GUIDE
Getting Started: Sublimating Tumblers
Timing
Compared to making Glitter Tumblers with Epoxy or water based resins, this project is actually fairly short. The most time consuming part is deciding on the image, resizing it to make sure it fits the tumbler perfectly, and taping up the entirety of the tumbler (if you choose to do this option instead of the shrink wrap option). Once the tumbler is fully taped, it only requires about 6 minutes in the oven or 1 minute and 20 seconds in a press, and 10-20 minutes to cool down. You could likely tackle this project in an hour or two if you have the right supplies at your disposal.

IDEAS FOR IMAGERY
#Time To Get Creative
IDEAS FOR IMAGERY
#Time To Get Creative
As you might have already guessed... the possibilities are endless when it comes to designing. You can look at a website that offers free (or paid) templates for your sublimation tumbler, or gather inspiration from Pinterest and YouTube. Etsy, among other platforms, offers a wide variety of unique design templates from various sellers in the case you don’t want to use a personal image. "Sofontsy" is another site with tons of themed skinny tumbler PNG’s available for instant download upon purchase. "Creative Fabrica" has themed options if you’re looking to do something like a holiday inspired sublimation tumbler.
For example, If this sublimation project is a gift, consider what the person you are gifting to enjoys doing. If this is for yourself, consider what you are passionate about or what brings you joy. When in doubt, the internet is your friend. Most importantly, have fun with it! Once the measuring is over and done with, let loose a little bit. Maybe pop open a bottle of vino and sip while you craft. “Wine” not make this a fabulous experience?
*Note that your images should be mirrored since you are wrapping them around the tumbler.*


EQUIPMENT FOR SUBLIMATION
EQUIPMENT FOR SUBLIMATION
With Sublimation, you have a few different options on how to bake your design onto the sublimatable item. Here is a basic list of what you will need to get started.
- Sublimation friendly item/surface
- Sublimation printer
- Sublimation ink specified for your printer
- Sublimation paper or laser paper (laser papers are pricier, but produce superior results)
- An image or design sized to the specifications of your project, (height x circumference) design will also need to be printed in CMYK color mode
- Scissors or paper cutter to trim printed image
- Heat resistant/transfer tape
- (optional for oven) Sublimation shrink wrap sleeves appropriate for the item
- (if using shrink wrap)Heat gun or blow dryer
- Convection or Craft Oven, (a countertop toaster oven made specifically for crafters) or Press
- Heat gloves, heat pad or potholder (to handle and place hot tumbler once it’s out of the oven)
- Weeding Tool
- Oven Thermometer (for oven)
- Timer


Blog posts
View all-
31 Hand-Picked Easter SVG Files for Laser Engra...
Find 31 hand-picked Easter SVG files inside! Perfect for laser engraving, Cricut crafts, and more.
31 Hand-Picked Easter SVG Files for Laser Engra...
Find 31 hand-picked Easter SVG files inside! Perfect for laser engraving, Cricut crafts, and more.
-

Best Software for Laser Engraving & Cutting? 8 ...
Explore the best software options for laser engraving and cutting, including free, beginner-friendly, and advanced tools.
Best Software for Laser Engraving & Cutting? 8 ...
Explore the best software options for laser engraving and cutting, including free, beginner-friendly, and advanced tools.
-

What is Truflat Paint? How to Use & Project Ideas
Save time & money with Truflat Paint! This primed laser plywood lets you create colorful projects with just one coat of paint.
What is Truflat Paint? How to Use & Project Ideas
Save time & money with Truflat Paint! This primed laser plywood lets you create colorful projects with just one coat of paint.


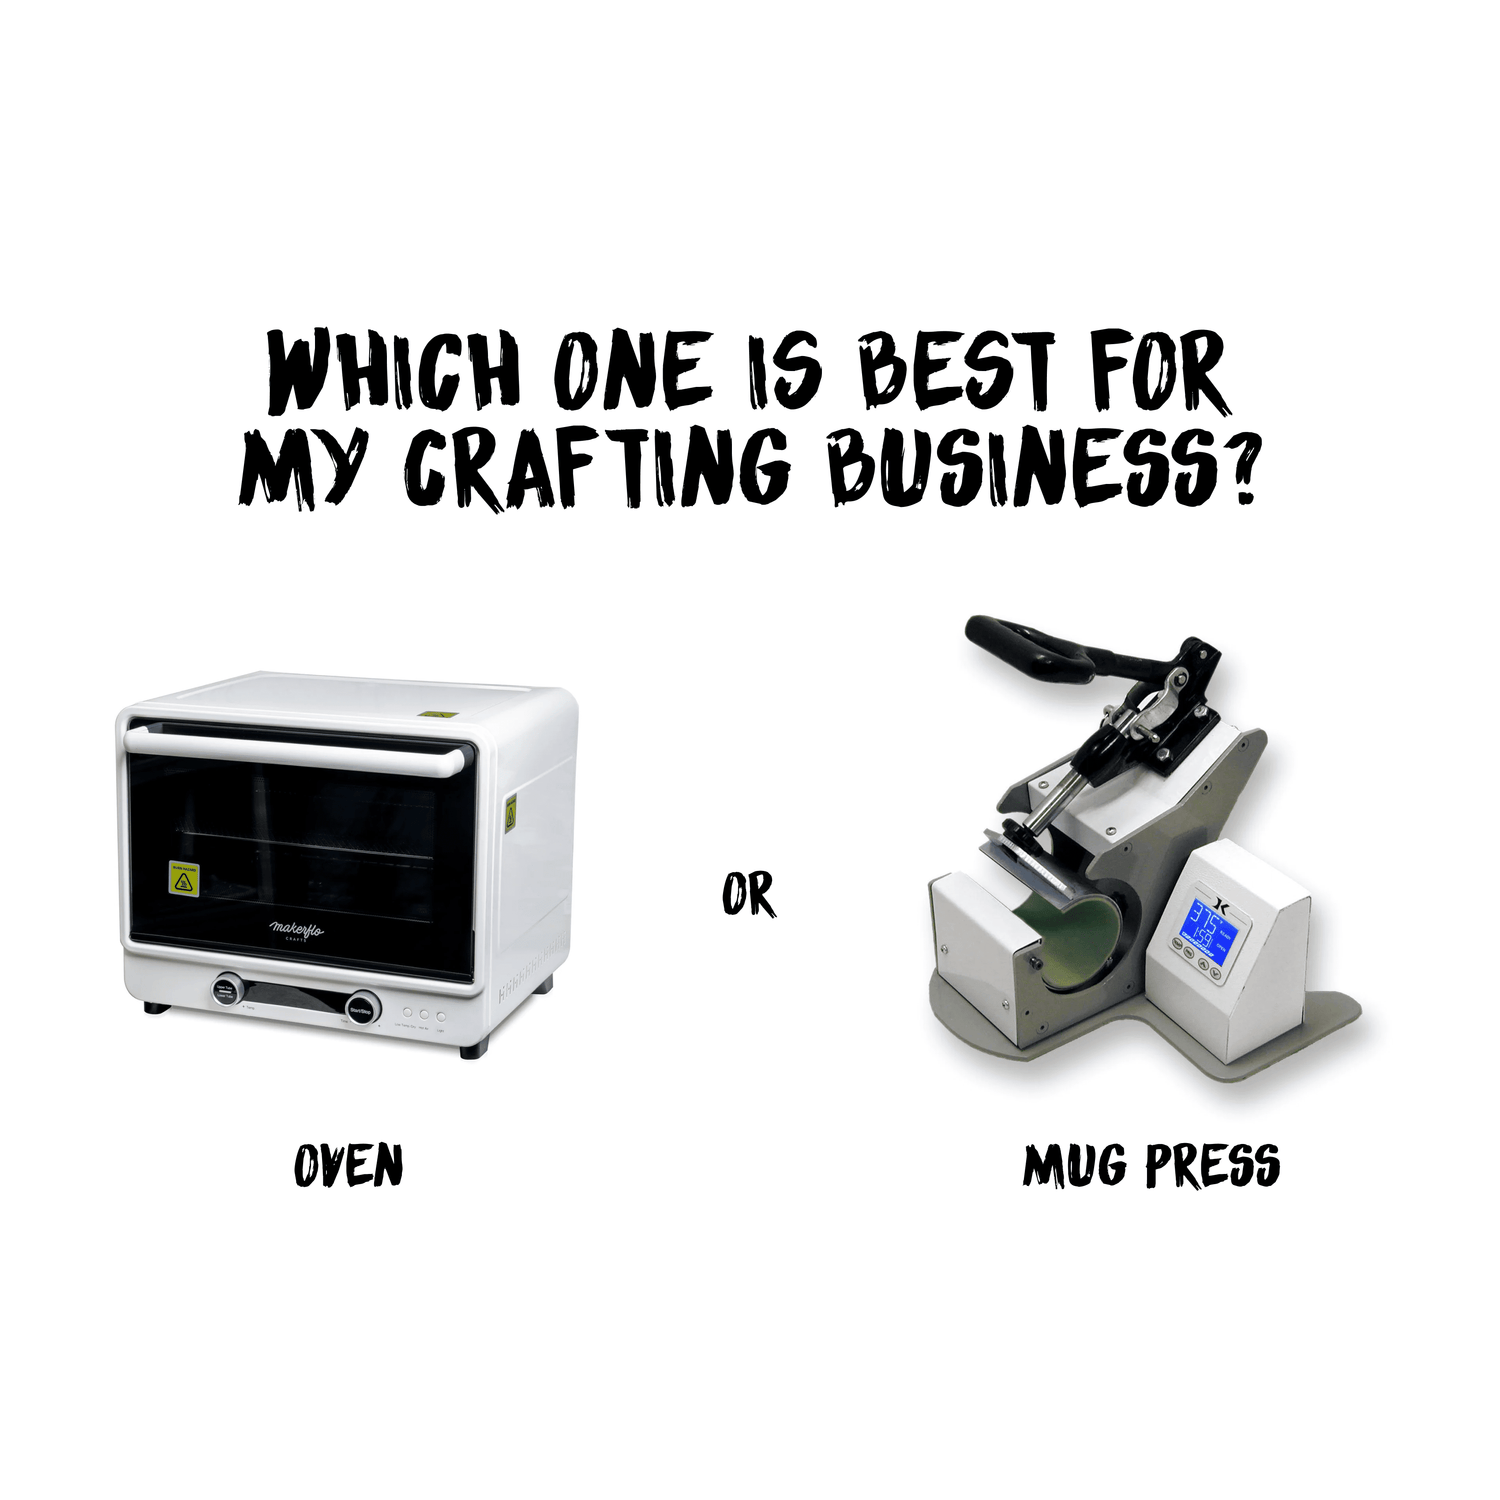
To Bake or To Press?
To Bake or To Press?
The biggest difference between heating devices is the timing and the versatility.
For instance, if you are only doing one kind of item, you could use your same press settings over and over, creating a finished project minutes after it's been pressed. But if the sizes or shapes change, you will need to adjust the press each time a change is introduced. We typically recommend the press for the more experienced crafter.
With an oven, you can put a number of cups and similar products in at the same time and get a consistent bake without any adjustments. However, your product will take at least 4-6 minutes to be fully baked onto your surface. You also need to keep an eye on your internal thermometers for this one, you can put one in the front of the oven and one in the back to make sure everywhere in the oven is the right temp. We recommend the oven heat source for anyone just starting out as it can be a little more forgiving when trying a variety of products.

That's it!
That's it!
Thank you for checking out this introductory guide to Sublimation! We hope you find this article helpful and that we've removed some of the mystery behind sublimation!
Please be sure to join our facebook group, we’d love to see your final products and hear about your experience sublimating.
Looking to get started? Check out our crafting guide, How To Sublimate a 20oz Skinny Tumbler
