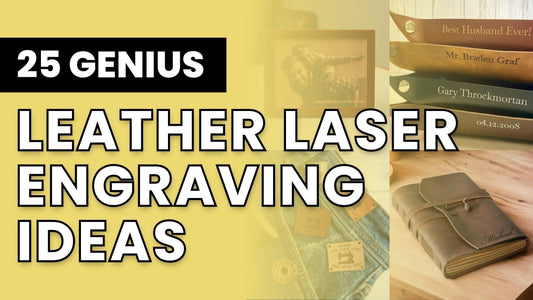
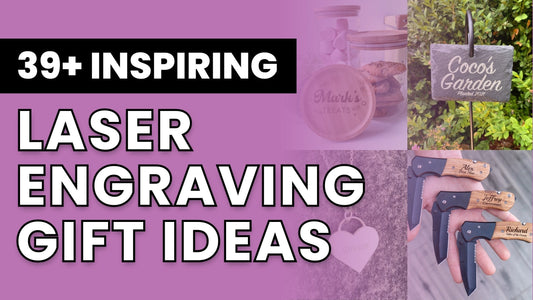
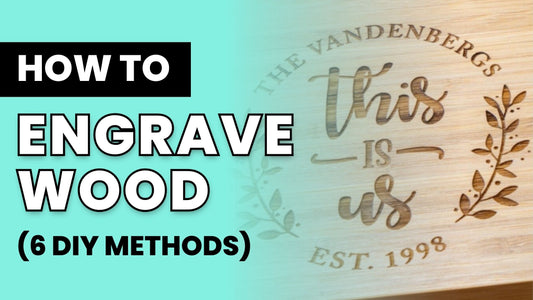
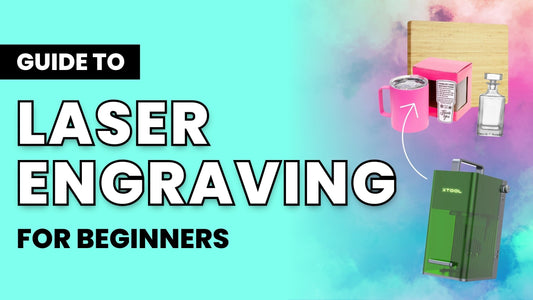
Want to engrave wood at home but unsure where to begin? You’re in the right place!
Woodcarving and engraving have existed as an art form for thousands of years. There’s something elegant, beautiful, and very human about etching designs into wood.
Plus, engraved wood items make great home decor, kitchen tools, gifts for friends, and product ideas for a laser engraving business.
The question is: What’s the best way to engrave wood?
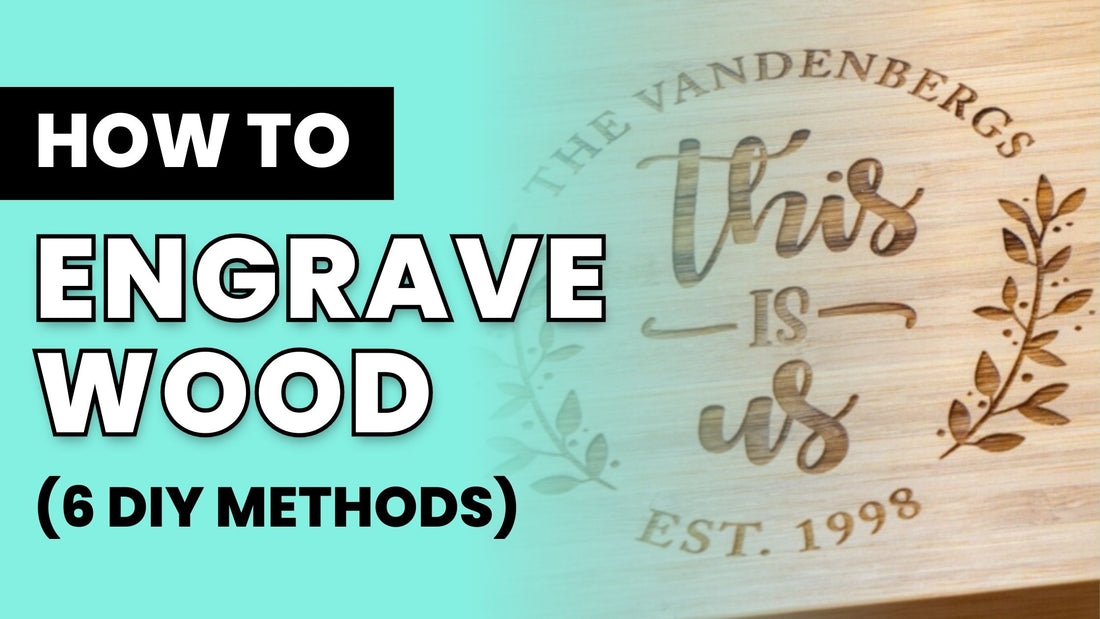
Let’s talk about it! In this article, we're sharing how to engrave wood with 6 awesome DIY methods you can do at home.
Why you should listen to us: We’ve been engraving and selling engraving equipment for many years, so we know a thing or two!
Note: This post contains affiliate links, which means that we may receive a commission if you make a purchase using third-party links.
First up is laser engraving 👇
Method #1 - Laser Engraving

Source: MunsellMade on Etsy
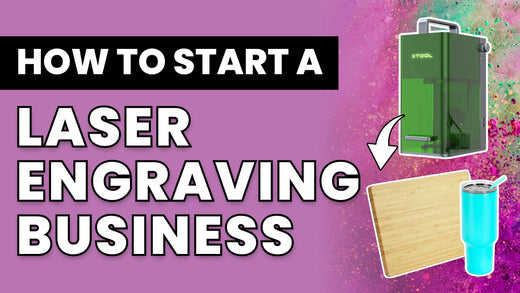
Laser engraving is an easy and fast technique that engraves pixel-perfect designs onto your items every single time.
Why choose this method: It’s as simple as lining up your engraving blank, choosing the right settings, and pressing a button. Plus, you can engrave other materials, like leather, metal, and acrylic.
Downsides: These machines cost $1500 and up, and in most cases, you can only carve flat or cylindrical items.
What you need for laser engraving
- A laser engraving machine
- A design file in SVG, AI or other vector format
- A computer with design or laser engraving software
- Safety equipment like eye protection, a ventilation system for the machine, etc.
- Laser engraving blanks
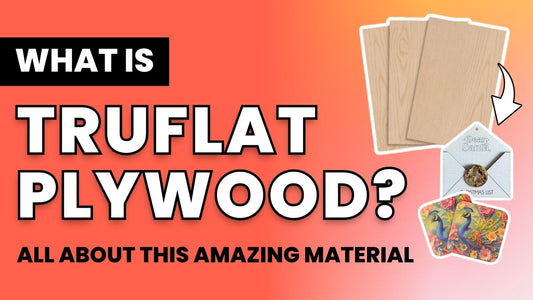
Pro Tip! If you're just getting started, we recommend choosing wood that is specifically designed for engraving. TruFlat is a great option, because it's perfectly flat (won't bow or bend), easy to paint fill, and pre-finished, saving you a ton of frustration.

Wood for Laser Cutting by TruFlat 1/8
The best wood for laser cutting!.
How to do it
- Prepare your wood for engraving so it doesn’t get burned. Many crafters cover the surface with masking tape. It’ll keep the surface clean and bright and pulls off easily. Others stain and coat it with lacquer for the same effect.
- Load your design into your laser engraving software.
- Place the engravable wood blank into the machine's workspace. Position it to etch the design where you want it to go.
- Adjust the settings inside your laser engraving software, including wattage, the height of the blank, and more.
- Focus the laser on the item, then click the button to start engraving!
Learn more about laser engraving
Check out our guide to laser engraving for beginners to find out how to get started.
And if you’re looking for a machine to buy, discover the best laser engravers for small business and the best laser engravers for tumblers next.

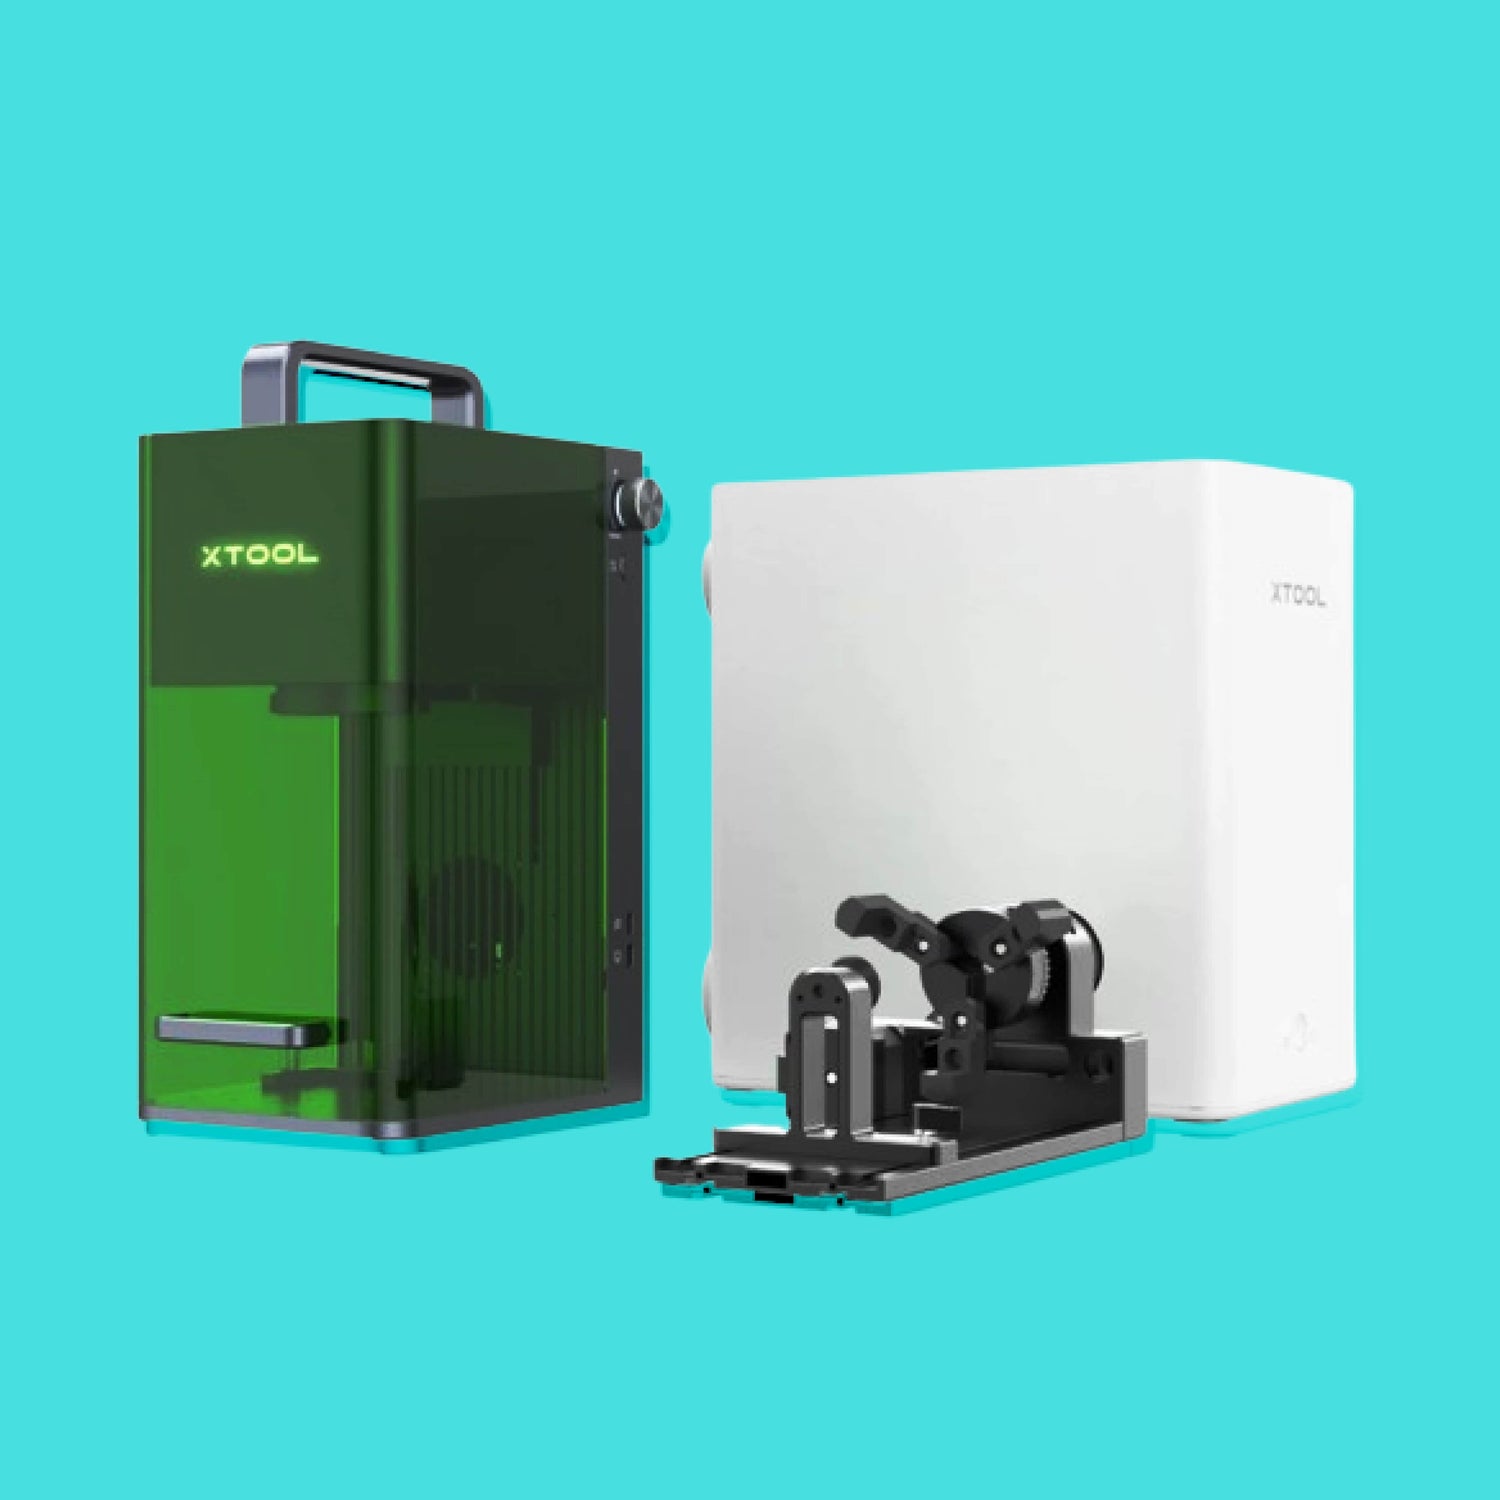
xTool F1: Fastest Portable Laser Engraver with IR + Diode Laser
Our best-selling laser engraver for beginners!
Method #2 - Cricut Engraving

Source: The Country Chic Cottage
Did you know that you can engrave wood with a Cricut? By adding an engraving tip to a Cricut Maker, you can engrave designs on wood, soft metals, leather, acrylic, plastic, and anodized aluminum.
Why choose this method: If you already have a Cricut Maker, this is an easy way to start.
Downsides: The engraver creates rougher lines than a laser and only works on flat items.
What you need for Cricut engraving
- A Cricut Maker machine
- The Cricut Engraving Tip
- A computer running Cricut Design Space software
- An SVG or design file you want to engrave
How to do it
- Attach the engraving tip onto the Cricut Maker and turn it on.
- Open a design file in Cricut Design Space.
- Set the Linetype to “engrave.”
- Select your material and make sure the settings are correct.
- Click the button to engrave the design.
Learn more about Cricut engraving
Here’s a helpful tutorial from Angie Holden showing how the Cricut Engraving Tip works on different materials:
Method #3 - Engraving By Hand

Source: Kuksa
Of course, you don’t need a machine to help you carve wood. You can do it the old-fashioned way using a chisel and a little bit of strength.
Why choose this method: It’s fun to hand-carve designs like you would draw or paint an image. It’s the most affordable and easiest way to get started. And you can create some beautiful artwork if you take your time.
Downsides: It takes practice to be able to do this well. It’s harder to make designs consistent. And this method is the slowest by far.
What you need to engrave by hand
- A chisel or gouge (a type of chisel with a curved edge)
- Sandpaper
How to do it
- Draw or transfer your design onto the surface you want to carve (graphite transfer paper is great for this).
- Use chisels to carefully etch out the design. Many carvers create a V shape by carving into both sides of the line so the etches meet in the middle.
- Gently sand down the carved edges to make them smooth.
- Oil, paint, or stain the wood as you like.
Learn more about engraving by hand
This simple carving tutorial by Wood By Wright How To will get you started:
If you like this, check out the Scandinavian art of kolrosing, which takes woodcarving to another level!
Method #4 - Power Tool Engraving

Source: Walmart
Power tool engraving is a type of engraving done by hand with a rotary tool. The head of the tool spins quickly to carve away wood wherever you place it.
The most famous brand is Dremel, which is why rotary tools are often called Dremel tools, but you can find options from many different brands.
Why choose this method: You get the textured feel of hand-drawn engraving, but it’s faster and easier with the rotary tool.
Downsides: You still need to draw with precision and skill to get good results.
What you need for power tool engraving
- A rotary tool or engraving pen
- Sandpaper or a sanding attachment
How to do it
- Draw or transfer your design onto the surface of the wood (graphite transfer paper is a great choice for this).
- Turn on the rotary tool and slide it over the design until you’re happy with it.
- Sand over the carving to make it smooth. (Some rotary tools also have sanding attachments to make this easy.)
- Oil, paint, or stain the wood as necessary.
Learn more about power tool engraving
Here’s an official tutorial from Dremel:
Method #5 - Wood Burning Pens

Source: James Stallings via Wikimedia Commons (License: CC BY-SA 4.0)
Next, we come to possibly the most unique and fun type of DIY wood engraving: wood burning, also called pyrography or “fire writing.”
It’s exactly as it sounds: you use special tools to burn your design into wood. Instead of carving the surface, the tools burn away the wood to leave a blackened design.
Why choose this method: First off, it’s fun. Plus you get a blackened design that stands out from the wood, unlike hand and laser etching.
Downsides: There's a risk of burning yourself with the pyrography pen.
🎥🌈✨ Watch our team try woodburning live on Instagram here!
What you need for wood burning with a pen
- A wood burning tool (pyrography pen)
That’s it!
How to do it
- Draw or transfer your design with a pencil or graphite transfer paper.
- Turn on the pyrography pen and let it heat up.
- Use the pen to draw along the design, charring and etching the surface.
- Let the wood cool completely before finishing with oil or paint.
Learn more about wood burning
Learn the basics of pyrography with this beginner’s guide to wood burning from Hobby Hoarder:
#6 - Wood Burning Paste

Source: Torch Paste
This last method of wood engraving is gaining a lot of steam these days, probably because it's easy, fun, and affordable, but still produces gorgeous results. 😍
With this method, you paint a special paste over a stencil, then use heat to burn it into the wood.
Why choose this method: It's affordable, and with a good stencil, you can get pixel-perfect designs similar to laser engraving. Plus, the burn marks make the design black, which stands out more than simple etching.
Downsides: It takes trial and error to get the right amount of paste. And as always, there's a risk of burning, so caution is needed.
What you need for wood burning paste
- Wood burning paste, like Torch Paste
- A stencil for your design (bought or made with a Cricut or other cutting machine)
- A heat gun or heat press
How to do it
- Place the stencil on your wood blank and secure it with painters tape.
- Apply a thin layer of wood burning paste (like Torch Paste) over the stencil.
- Carefully peel away the stencil to reveal the design. Let the paste absorb into the wood for 2 to 3 minutes.
- Use a heat gun at 400 °F or higher to heat up the design. The paste will burn into the wood and leave an etched and blackened design. (Some people use a heat press with butcher paper and get similar results.)
Learn more about wood burning paste
Watch this tutorial on wood burning paste from Torch Paste:
Final Thoughts
Now you know how to engrave wood in six different ways. The question is, what will you do next?
If you’re interested in laser engraving, you might like our beginner’s guide to laser engraving.
And if you’re looking for wood blanks to engrave, check out our selection of wooden engraving blanks for more.
We invite you to join us in the Official MakerFlo Facebook Community to interact with other crafters, get inspired, and ask questions to the community (we’re in there, too!).
And finally, leave us a comment here or in the Facebook group if you have any more questions for us! We’re happy to help 😊
Frequently Asked Questions (FAQs)
What do you put on wood before laser engraving?
You can cover wood with masking tape or a layer of sealant to avoid burning the wood. Or you can play with the laser engraving settings and use a lower power if you want to use uncovered wood.
How do you make wood engraving stand out?
You can add a stain or paint to the engraved area to make it stand out. It’s even easier if you apply masking tape before engraving and leave the tape on while painting so it only covers the engraved area.
You can also fill the engraved area with UV resin and cure it for a colorful and shiny finish. Or use a wood burning pen or paste instead of a laser engraver for a different look.
How do you engrave wood without an engraver?
You can engrave wood by hand with a chisel, a rotary power tool, a wood burning pen or wood burning paste.
Is it hard to engrave on wood?
Wood is one of the easiest materials to engrave on because it’s soft yet durable! Read the article above to discover 6 ways to engrave wood at home.
What is the easiest wood to engrave?
Choose a light-colored wood with minimal streaking to keep engravings looking their best. Softer woods are easier to carve by hand. At MakerFlo, we have a selection of wooden blanks that are excellent for laser engraving.

