Skip to content


I'm not going to sugarcoat it. Figuring out the art and science of laser engraving can be *really* hard.
But once you do master it, you can make some fantastic products that people absolutely love.
Beautifully etched tumblers, personalized jewelry and bags, and monogrammed whiskey decanters… It all becomes possible once you know what you’re doing.
That’s why in this guide to laser engraving for beginners, I'm sharing everything I wish I knew when I started my own engraving business many years ago.
So don’t waste hours trying to “figure it out” or spend money on a machine you don’t enjoy using… Read this guide instead 😊
Laser Engraving for Beginners: What’s Inside
- How To Use a Laser Engraver
- Laser Engraving Tutorials for Beginners
- What is Laser Engraving?
- Why Start Laser Engraving? 5 Awesome Benefits
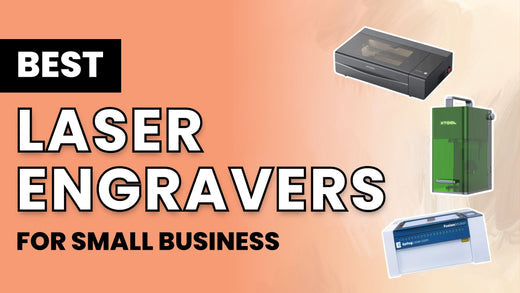
- How Do I Choose a Laser Engraver for My Business?
- Best Laser Engraver for Beginners: The xTool F1 Desktop Laser Engraver
- Get Started with the xTool F1 and Engraving Blanks
- Final Thoughts
How to Use a Laser Engraver
Using a laser engraver doesn’t have to be complicated.
Once you get the hang of it, it becomes a smooth and enjoyable process.
Here’s how to do it step by step:
Step #1 - Prepare Your Engraving Setup
You’ll want to have your laser engraver ready with some kind of ventilation system attached to keep fumes at bay.
🚨CAUTION: Read the manual carefully to understand all the safety precautions and the exact steps for using the machine. Failing to do this can not only damage the machine but also your eyes, not to mention cause permanent injury.
Next, prepare your engraving blank. Make sure it fits into the working area of your engraver.
Finally, you’ll want to have the proper safety gear. Make sure to close the cover when the laser is active. Use safety glasses designed for lasers for extra protection. And avoid looking directly at the laser or its reflection, even with eye protection.
Step #2 - Prepare a Design
Next, you’ll create or prepare your design with your favorite laser engraving software.
If you're looking for designs to use, we've got you covered with 1000+ free laser engraving and cutting designs.
Make sure the design is in black and white in a vector format like SVG, EPS, AI, CDR, DXF or similar for best results. Bitmap images like JPG or PNG can also work but might result in a messy engraving.
Why vectors?
Vector means that the design is made up of digital lines and points on the screen and can be resized and moved around without losing quality. Bitmap images, on the other hand, are made up of little colored dots called pixels, like a paint-by-number painting.
The laser engraver will follow the lines of the vector to “draw” the design. But if it’s following a bitmap, it’ll do its best to recreate the tiny dots of color wherever they are. Instead of moving in a straight line and making clear designs, it’ll be all over the place.
Step #3 - Place the Item
So you’ve got your equipment set up, and you’ve got your design ready.
Now, it’s time to place your blank on the base of the machine to prepare it for engraving.

Find affordable laser engraving blanks in our shop, and save money with our Laser Blanks Build-a-Bundle!
Most machines have a grid or other markings to help straighten the item. You’ll figure out where to place them to get the best results every time.
Next, you’ll focus the laser on the surface you want to engrave. Most good engravers can do this automatically for you.
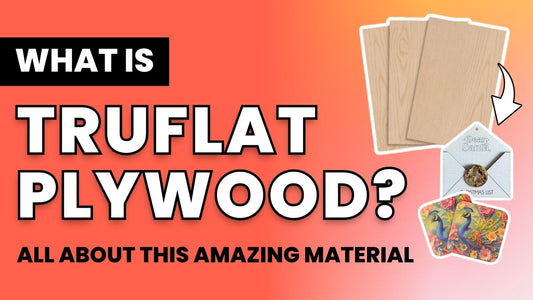
Pro Tip: Some woods can be slightly bent or may even bow. Check out TruFlat plywood, designed with the engraver in mind to be perfectly flat, pre-finished, and available in 6 different wood finishes and colors!

Wood for Laser Cutting by TruFlat 1/8
Try this ultra-flat and easy-to-use laser plywood
Step #4 - Choose Your Engraving Settings
The last step is to open your design file in the laser engraving software and choose your settings for the project.
Things like:
- Thickness of your blank
- Power
- Speed
- How many passes to make
Honestly, there’s no correct answer for these. Your machine, engraving blank, and design determine the best settings to use.
So, while we wish we could give you some cheat codes to get good results every time, we really can’t.
The best thing you can do is use your software’s default settings for your type of blank, then tweak and experiment until you find what’s right.
Step #5 - Engrave!
Once you’ve chosen your settings, click the button on your software or app to start the engraving process.
After it’s done, you can carefully open the machine and see the results.
Let’s be honest. It's a learning process, and it's okay if it doesn't go perfectly the first time. It’s frustrating when you don’t get the exact look you imagined, but we want to encourage you: Don’t give up! You will figure it out.
You’ll develop exceptional products that your customers can’t get enough of, and you’ll sit back with a smile, feeling so proud that you learned a new skill and used it to build your business.
We’re cheering you on!
Laser Engraving Tutorials for Beginners
So you've gotten the basics of laser engraving above, but there's so much more to it than that!
We've created some more detailed guides to get you started with each type of material and project.
What is Laser Engraving?
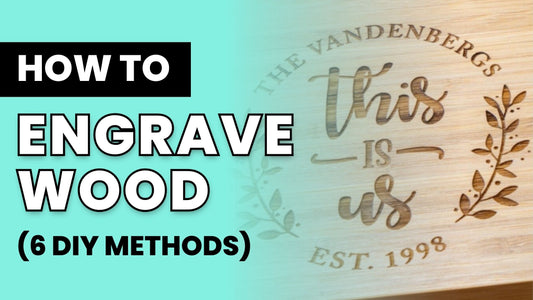
Laser engraving is a process in which a laser burns away part of an object to leave marks on the surface. It’s also known as laser etching. You do this when you engrave someone’s name on a cutting board or etch a design into a tumbler.
Laser cutting, on the other hand, is when you cut *through* something. For example, you can use a laser cutter to cut wood or acrylic into shapes.
The star of the show is the laser engraver, the machine that houses the laser. Most lasers can also cut through things, which is why they’re also known as laser cutters.
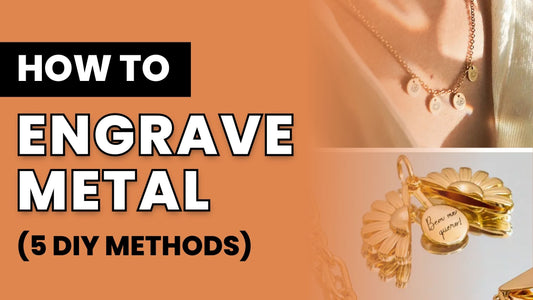
What Can I Make With a Laser Engraver?
You can add designs, words, and textures to materials like wood, metal, and leather. (Check your laser engraver for recommended materials.)
That means you can customize practically any product with custom designs to make them your own.
We’re talking:
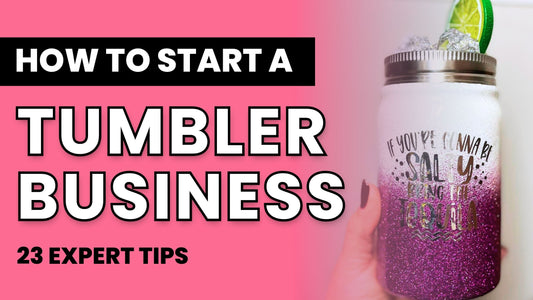
- Tumblers
- Cutting boards
- Coasters
- Purses
- Jewelry
- Wine glasses
- Signs
And that’s just the beginning! Any blank that your laser can etch into is fair game.
What is a Laser?
A laser is a super-concentrated beam of light.
While a regular light bulb sends light softly in every direction, a laser takes all the light and forces it into one single point. It’s so powerful that it can burn through objects.
It’s kind of like a hose. If you put it on a mist or shower setting, it gently waters your flowers. But if you switch it to the jet stream setting, you’ll rip up the whole garden.
How Do Lasers Work?
The laser contains an “excitable” type of matter like metal or gas.
It sends electricity into the matter, which gets the particles “excited” and jumping around like a 4-year-old on his birthday.

This energy increase (and later decrease) causes the particle to release a photon (aka a light particle).
Two mirrors at each side of the tube reflect the light particles back and forth, exciting the molecules even more. They produce more photons, which keep the cycle going: more excitement, more light.
One of the mirrors sends all those photons out of the laser in an ultra-concentrated straight line, and that’s the laser beam.
What Materials Can I Use With a Laser Engraver?
It depends on the laser engraving machine you buy.
The power and type of laser determine what you can engrave and cut through. Check your manufacturer’s instructions for all the deets.
That said, there are a number of materials that you can’t engrave. Some produce toxic gas, like PVC. Others catch fire, like styrofoam. Research your materials carefully to make sure they’re okay for engraving.
What Kind of Lasers Are There, and What Makes Them Different?
You should know three main types if you’re looking to buy an at-home engraving machine.
- Diode lasers
- Infrared lasers
- Fiber lasers
- And CO2 lasers, which come in two types: glass tubes and RF
👉 Type #1 - Diode Lasers
A diode laser uses a type of semiconductor called a diode to charge up with electricity and create light.
In case you were wondering what a semiconductor is (we asked too), it’s a material that can control the flow of electricity in a specific direction, kind of like a traffic light for electricity 🚦
These are also called semiconductor lasers.
Diode lasers can produce visible light, UV light, and infrared light.
Pros of Diode Lasers:
- More affordable than CO2 lasers
- Doesn’t use harmful chemicals like CO2, so a little bit safer
Cons of Diode Lasers:
- Lower power than CO2 lasers
- Can’t engrave clear or bright-colored acrylics
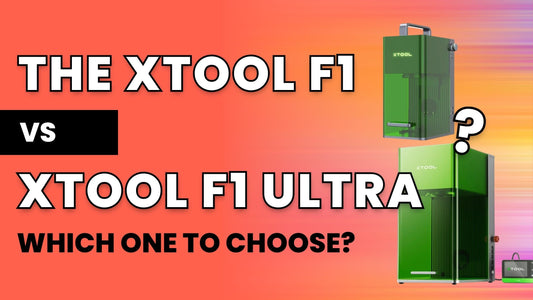
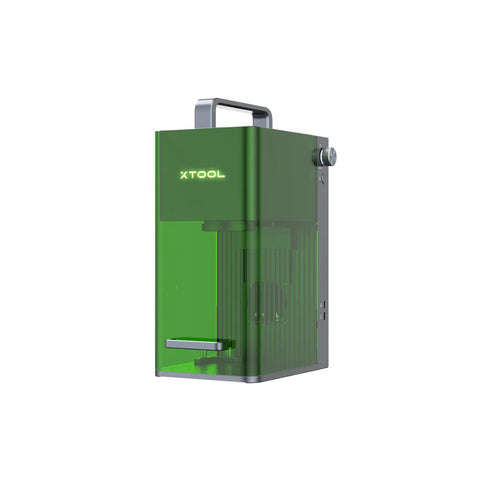
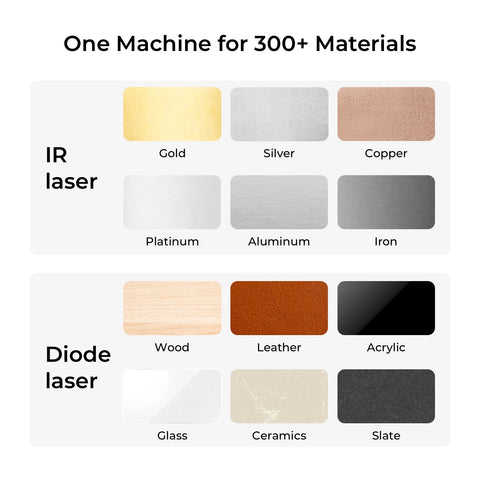
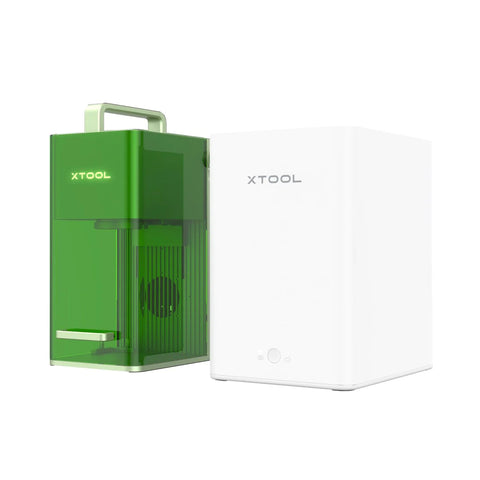
Our best-selling laser engravers xTool F1 and xTool F1 Ultra both contain diode lasers.

xTool F1: Fastest Portable Laser Engraver with IR + Diode Laser
The xTool F1 contains a diode and infrared laser. It's lightweight, portable, and engraves at high speeds.
👉 Type #2 - Infrared Lasers
An infrared laser is simply a laser that emits infrared light. A laser can be a diode infrared laser or a CO2 infrared laser, for example.
Pros of Infrared Lasers:
- Infrared diode lasers can engrave metals and acrylics of all colors (while blue light diode lasers cannot)
- Smaller point size for finer engraving
Cons of Infrared Lasers:
- You can’t see infrared lasers, but they can still damage your eyes. Exercise caution with these guys.
The xTool F1 contains an infrared laser, which makes it able to create fine engravings and mark some metals.
👉 Type #3 - Fiber Lasers
Fiber lasers use optic fibers to charge up the laser inside. This produces a very high-powered beam that can cut and engrave metal with ease.
If you're planning to do jewelry or metal engraving, a fiber laser is your best choice.
Pros of Fiber Lasers:
- More powerful than diode, infrared, and CO2 lasers
- Great for marking metal
Cons of Fiber Lasers:
- Can be expensive, not necessary if you don't need to cut metal
If you're looking for an affordable and beginner-friendly fiber laser, check out the xTool F1 Ultra at MakerFlo.

xTool F1 Ultra 20W Fiber & Diode Dual Laser Engraver
The xTool F1 Ultra still engraves at super high speeds, but includes a fiber laser and diode laser, perfect for engraving and cutting metal and a variety of other materials.
👉 Type #4 - CO2 Lasers
CO2 lasers contain carbon dioxide gas, which is energized to emit light particles.
These are also called gas lasers.
CO2 lasers are more powerful and flexible than diode and infrared lasers, but less powerful than fiber lasers.
Pros of CO2 Lasers:
- CO2 lasers emit light faster than diode lasers, which makes them more powerful for engraving and cutting most materials
- Can engrave and cut into more types of blanks
Cons of CO2 Lasers:
- Create carbon dioxide fumes which need to be ventilated
- Won't cut into metal
CO2 lasers come in two types: glass tube lasers and RF lasers.
Glass tube CO2 lasers are exactly how they sound. Carbon dioxide is housed in a glass tube. They’re more powerful and more affordable than the other type, but they don’t last as long and they need to be cooled with water.
On the other hand, RF lasers use radio frequency (RF) to excite the CO2 molecules inside a metal tube (kinda like a microwave). ⚡RF lasers have a finer point than glass tubes, they last longer, and don’t require cooling. But they’re more expensive and don’t get as powerful as glass tube types.
If you're looking for a beginner-friendly CO2 laser, check out the xTool P2 Desktop CO2 laser cutter at MakerFlo.

xTool P2: 55W Desktop CO2 Laser Cutter
The xTool P2 C02 laser cutter fits on a desktop and engraves and cuts a large variety of materials.
Why Start Laser Engraving? 5 Awesome Benefits
Sooo… is it worth investing $2K or more into a laser engraving machine? Here are some benefits to consider:
Benefit #1 - You can make really cool stuff
You can make projects with wood, acrylic, painted metal, felt, paper, leather, cement, glass, ceramic, and the list goes on and on.
By combining blanks, cutting them into different shapes, and engraving them in different ways with different designs, you can create something truly unique and interesting.
Benefit #2 - Laser engravings last as long as the object
When you etch into a tumbler, you’re not just applying ink or attaching a transfer. You’re permanently changing the surface of the cup.
And that won’t just rub off or peel off after too much use. It’s going to stay fresh and readable for years to come.
Benefit #3 - It’s hard to imitate
If you're making t-shirts, you might get some customers who say, “I could make this at home with my ironing board!”
Not so with laser engraving. It's going to be a lot more difficult to imitate your products, and you can price them accordingly.
Benefit #4 - Engraving is easy once you get the hang of it
It’s actually not that difficult to make laser engravings once you have it down.
Once you know your blanks and your favorite designs, you can streamline your process and make lots of high-quality stuff really, really fast.
Benefit #5 - People love personalized products
Everybody wants personalized items, whether it’s their name on a tumbler, their child’s drawing on a necklace, or a keepsake for their wedding day.
Laser engraving gives you the tools you need to create long-lasting personalized gifts and keepsakes that your customers can’t wait to buy.
How Do I Choose a Laser Engraver for My Business?
If you’re looking for a machine to do laser engraving at home, here’s how to find the right one for you!
Do I Have to Buy My Own Laser Engraver?
No, you don’t have to buy a machine all by yourself. There are places where you can rent one, like crafting shops, hardware stores, or local universities, for example.
But if you *are* planning to buy one, here’s what to consider:
What to Look for in a Laser Engraver
Working Area: Every machine has a limit to the area they can engrave. Make sure it’s big enough and tall enough to accommodate the kind of items you want to engrave.
Type of Laser: Some lasers are more powerful than others, while other lasers are longer lasting or more affordable. We’ve covered that above under “What Kind of Lasers Are There?”
Materials Supported: Check your manufacturer’s notes about what materials are recommended for use. That’ll give you a good idea of what you can engrave with your machine.
That said, there’s one laser engraver we feel stands out from the rest as a great choice for the beginner engraver.
And that’s the xTool F1.
The xTool F1 is the best laser engraving machine for beginners because it’s small, portable, and super fast.
Best Laser Engraver for Beginners: The xTool F1 Desktop Laser Engraver
This entry-level laser engraver from xTool is both fast and powerful enough to engrave things like wood, powder-coated tumblers, acrylic, and more.
Unlike other laser engraving machines that cost upwards of $5000, this one is a steal at just under $1,500. It doesn’t take up space and you can take it with you wherever you go.
The F1 comes with two different diode lasers. One emits blue light, and the other emits infrared light. This means more materials to engrave and cut.
Plus, it’s faster than most other leading lasers (even more expensive ones), with a max speed of 4000mm per second. Other engravers top out around 1000mm/s.
Here are the specs for the xTool F1:
- Size: 7” x 9.25” x 13.1”
- Weight: 10.1 lbs
- Laser Type: Diode & Infrared
- Working Area: 4.53” x 4.53” square with rounded corners (Can expand to 15.75” x 4.53” with slide extension)
- Maximum Engraving Height: 4.4”
- Power: Diode: 10W, Infrared: 2W
- Max Speed: 4000mm/s
- Laser Spot Size: Diode: 0.08mm x 0.06mm, Infrared: .03mm x .03mm
- OS: iPhone, Android, iPad, Windows, Mac
- Software Support: xTool Creative Space (Free), Lightburn
- Warranty: 1-year warranty for main parts including laser, 3 months for other parts
- Can Engrave: Diode: Paper, wood, leather, MDF, stainless steel, bamboo, some dark opaque acrylic, fabric, dark glass, ceramic, jade, marble, shale, cement, brick, plated metal, and painted metal, Infrared: metals and plastics
- Can Cut: Diode: Up to 8mm of wood and 5mm of some dark opaque acrylic, also paper, leather, MDF, felt
- Connectivity: USB/Wi-Fi
Pricing: $1599.00
Get Started with the xTool F1 and Engraving Blanks
The fastest way to get started is to try it for yourself.
Pick up the beginner-friendly xTool F1 for fast and precise engraving without a huge price tag.
And check out some of our best-selling engravable blanks:
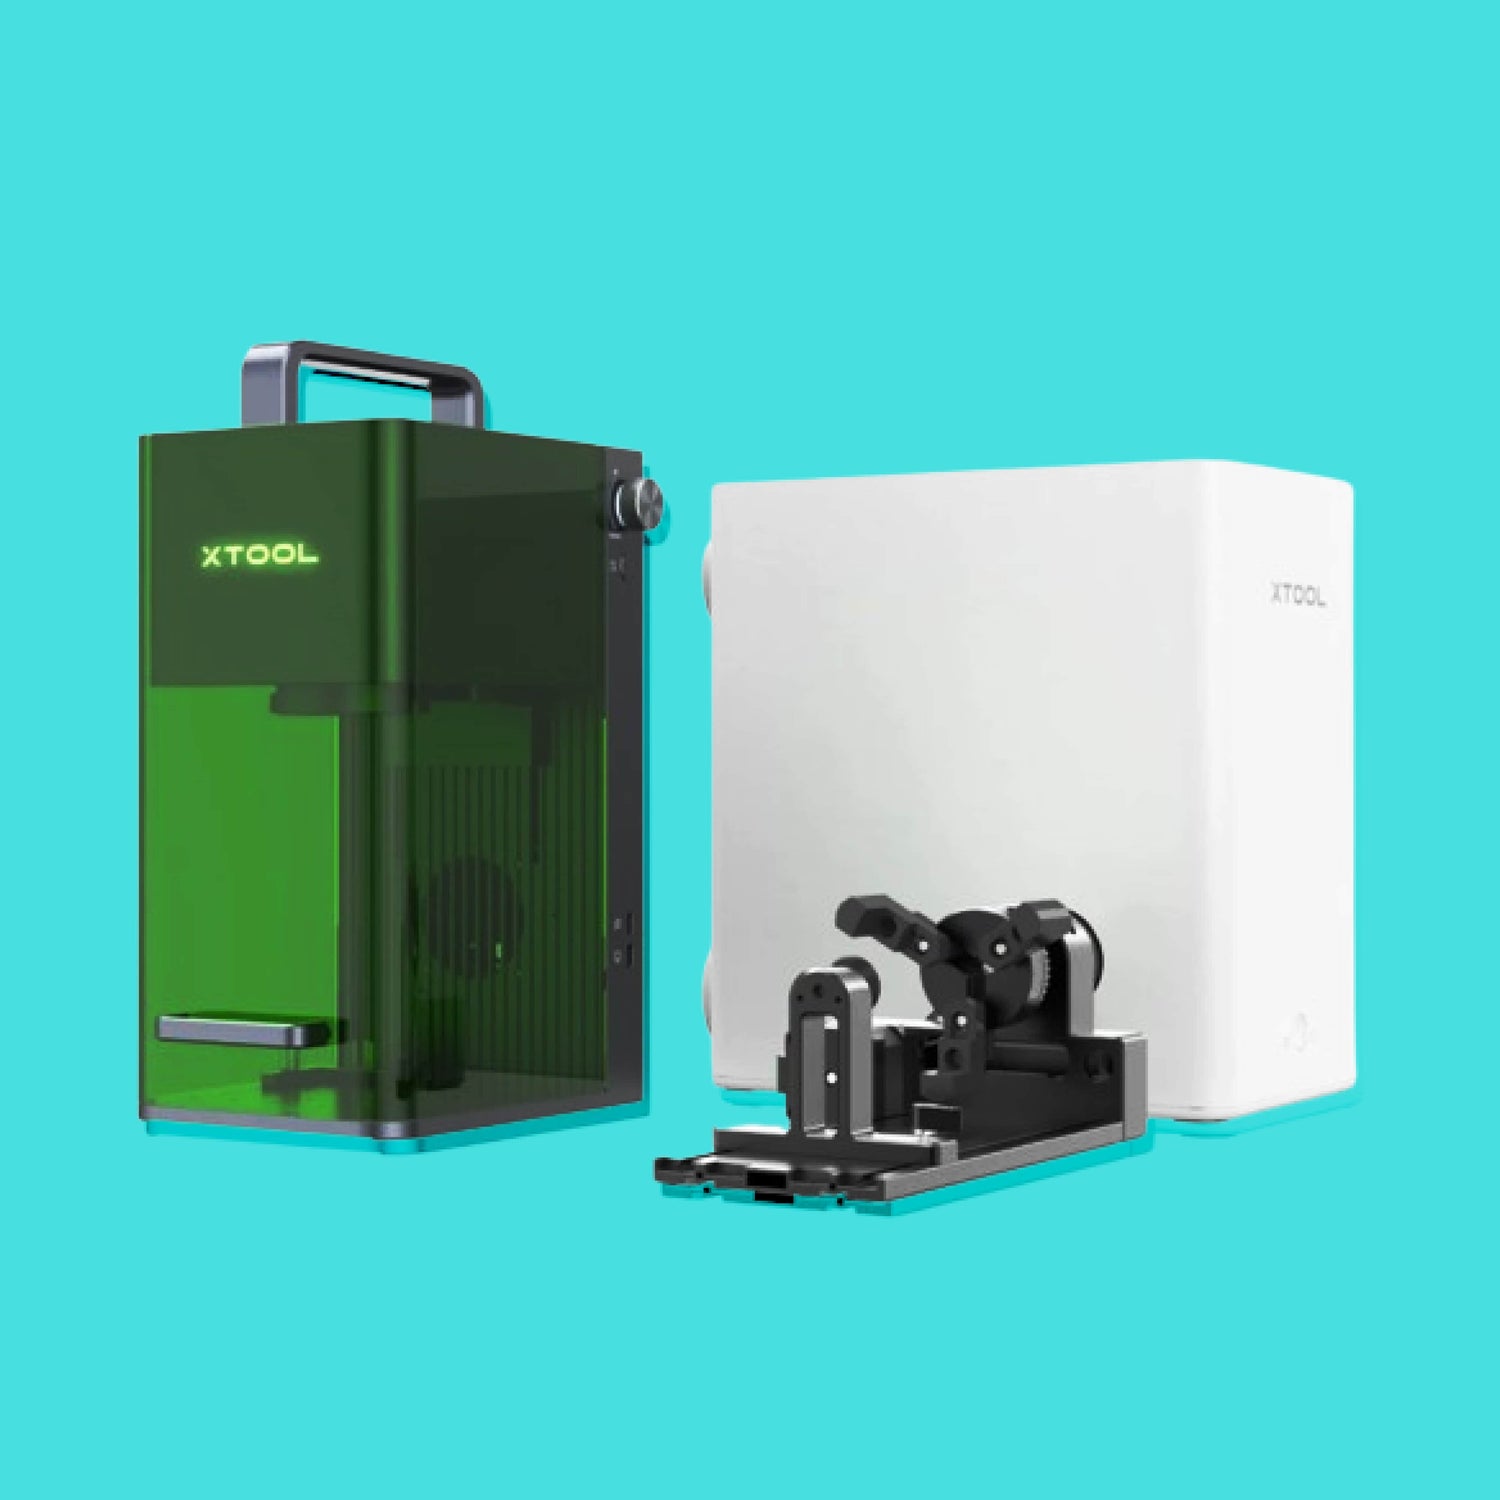
- Powder-coated tumblers (with the rotary attachment for the F1)
- Cutting boards
- Memory boxes
- Whiskey decanters and glasses
And there’s way, way more! See more engravable blanks here.

40oz Tumbler
Check Out Our New 40 Oz Tumbler With Handle Before They Sell Out!
Final Thoughts
Feeling more confident about laser engraving? We hope so!
If you have another question we haven’t answered here, ask us in the comments below or post it in our Official MakerFlo Facebook Community. We’d love to help!
Before you go, let us know in the comments: what do you plan to make with your new laser engraver? 💡✨